Wallpaper gift bags

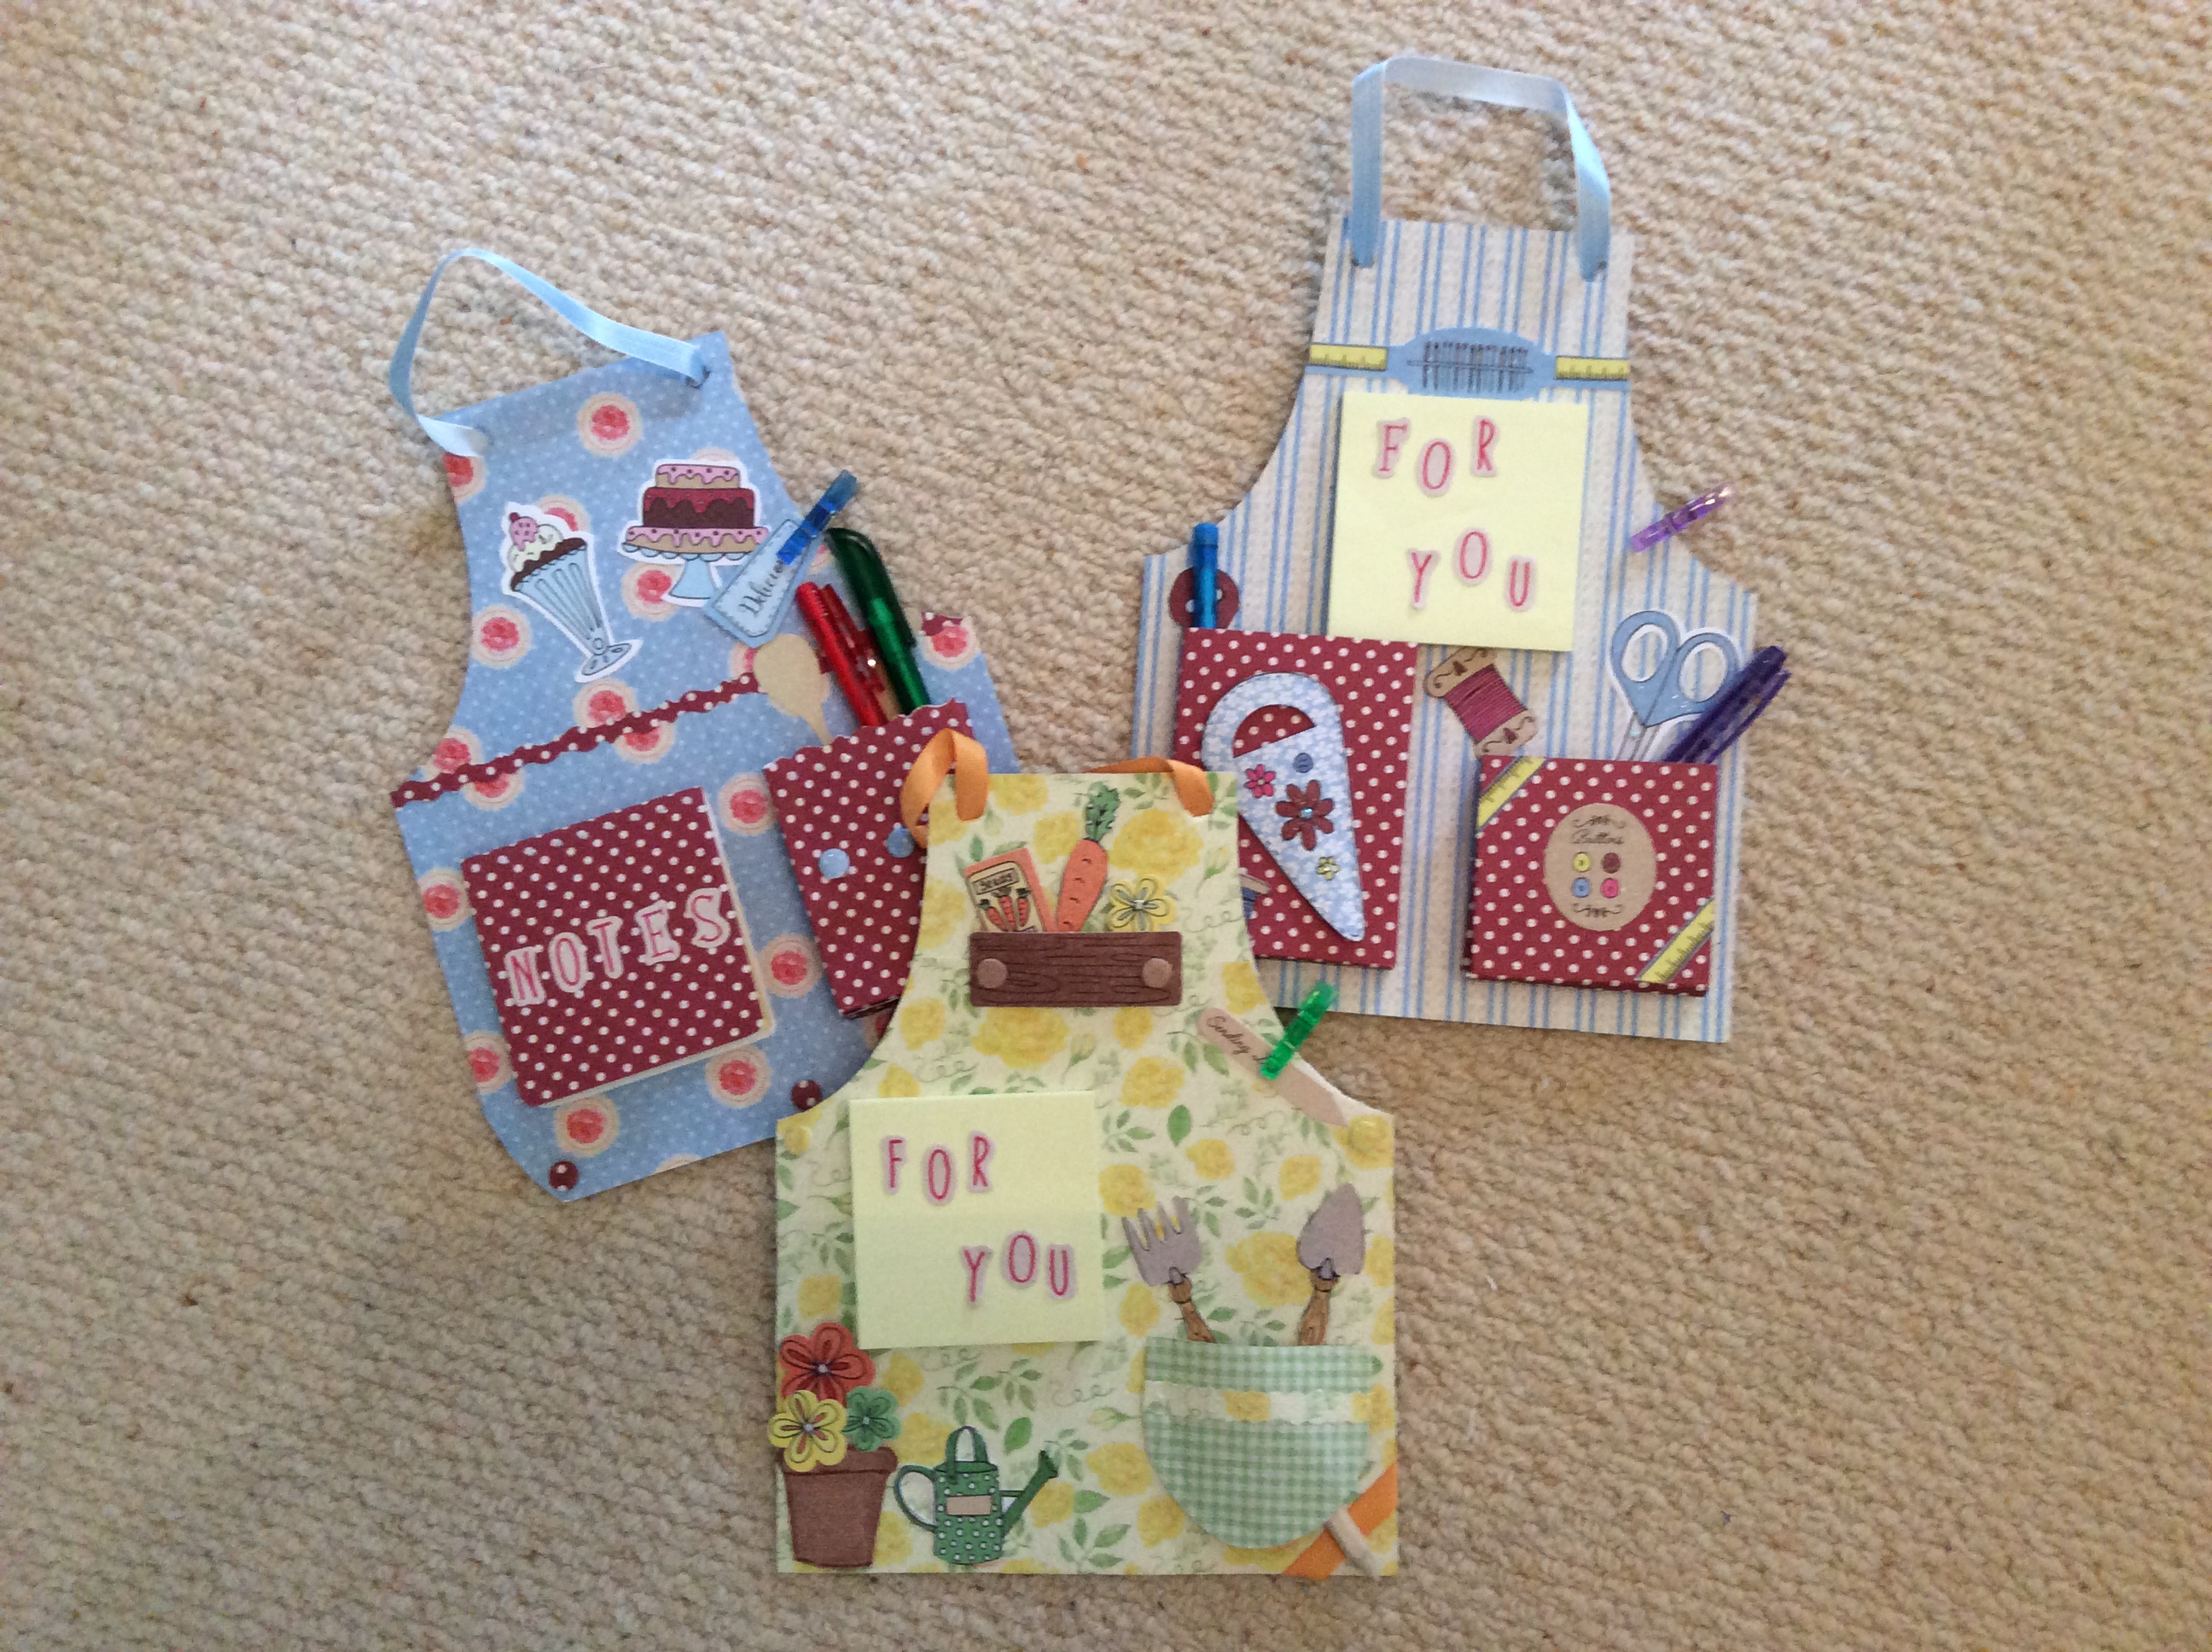
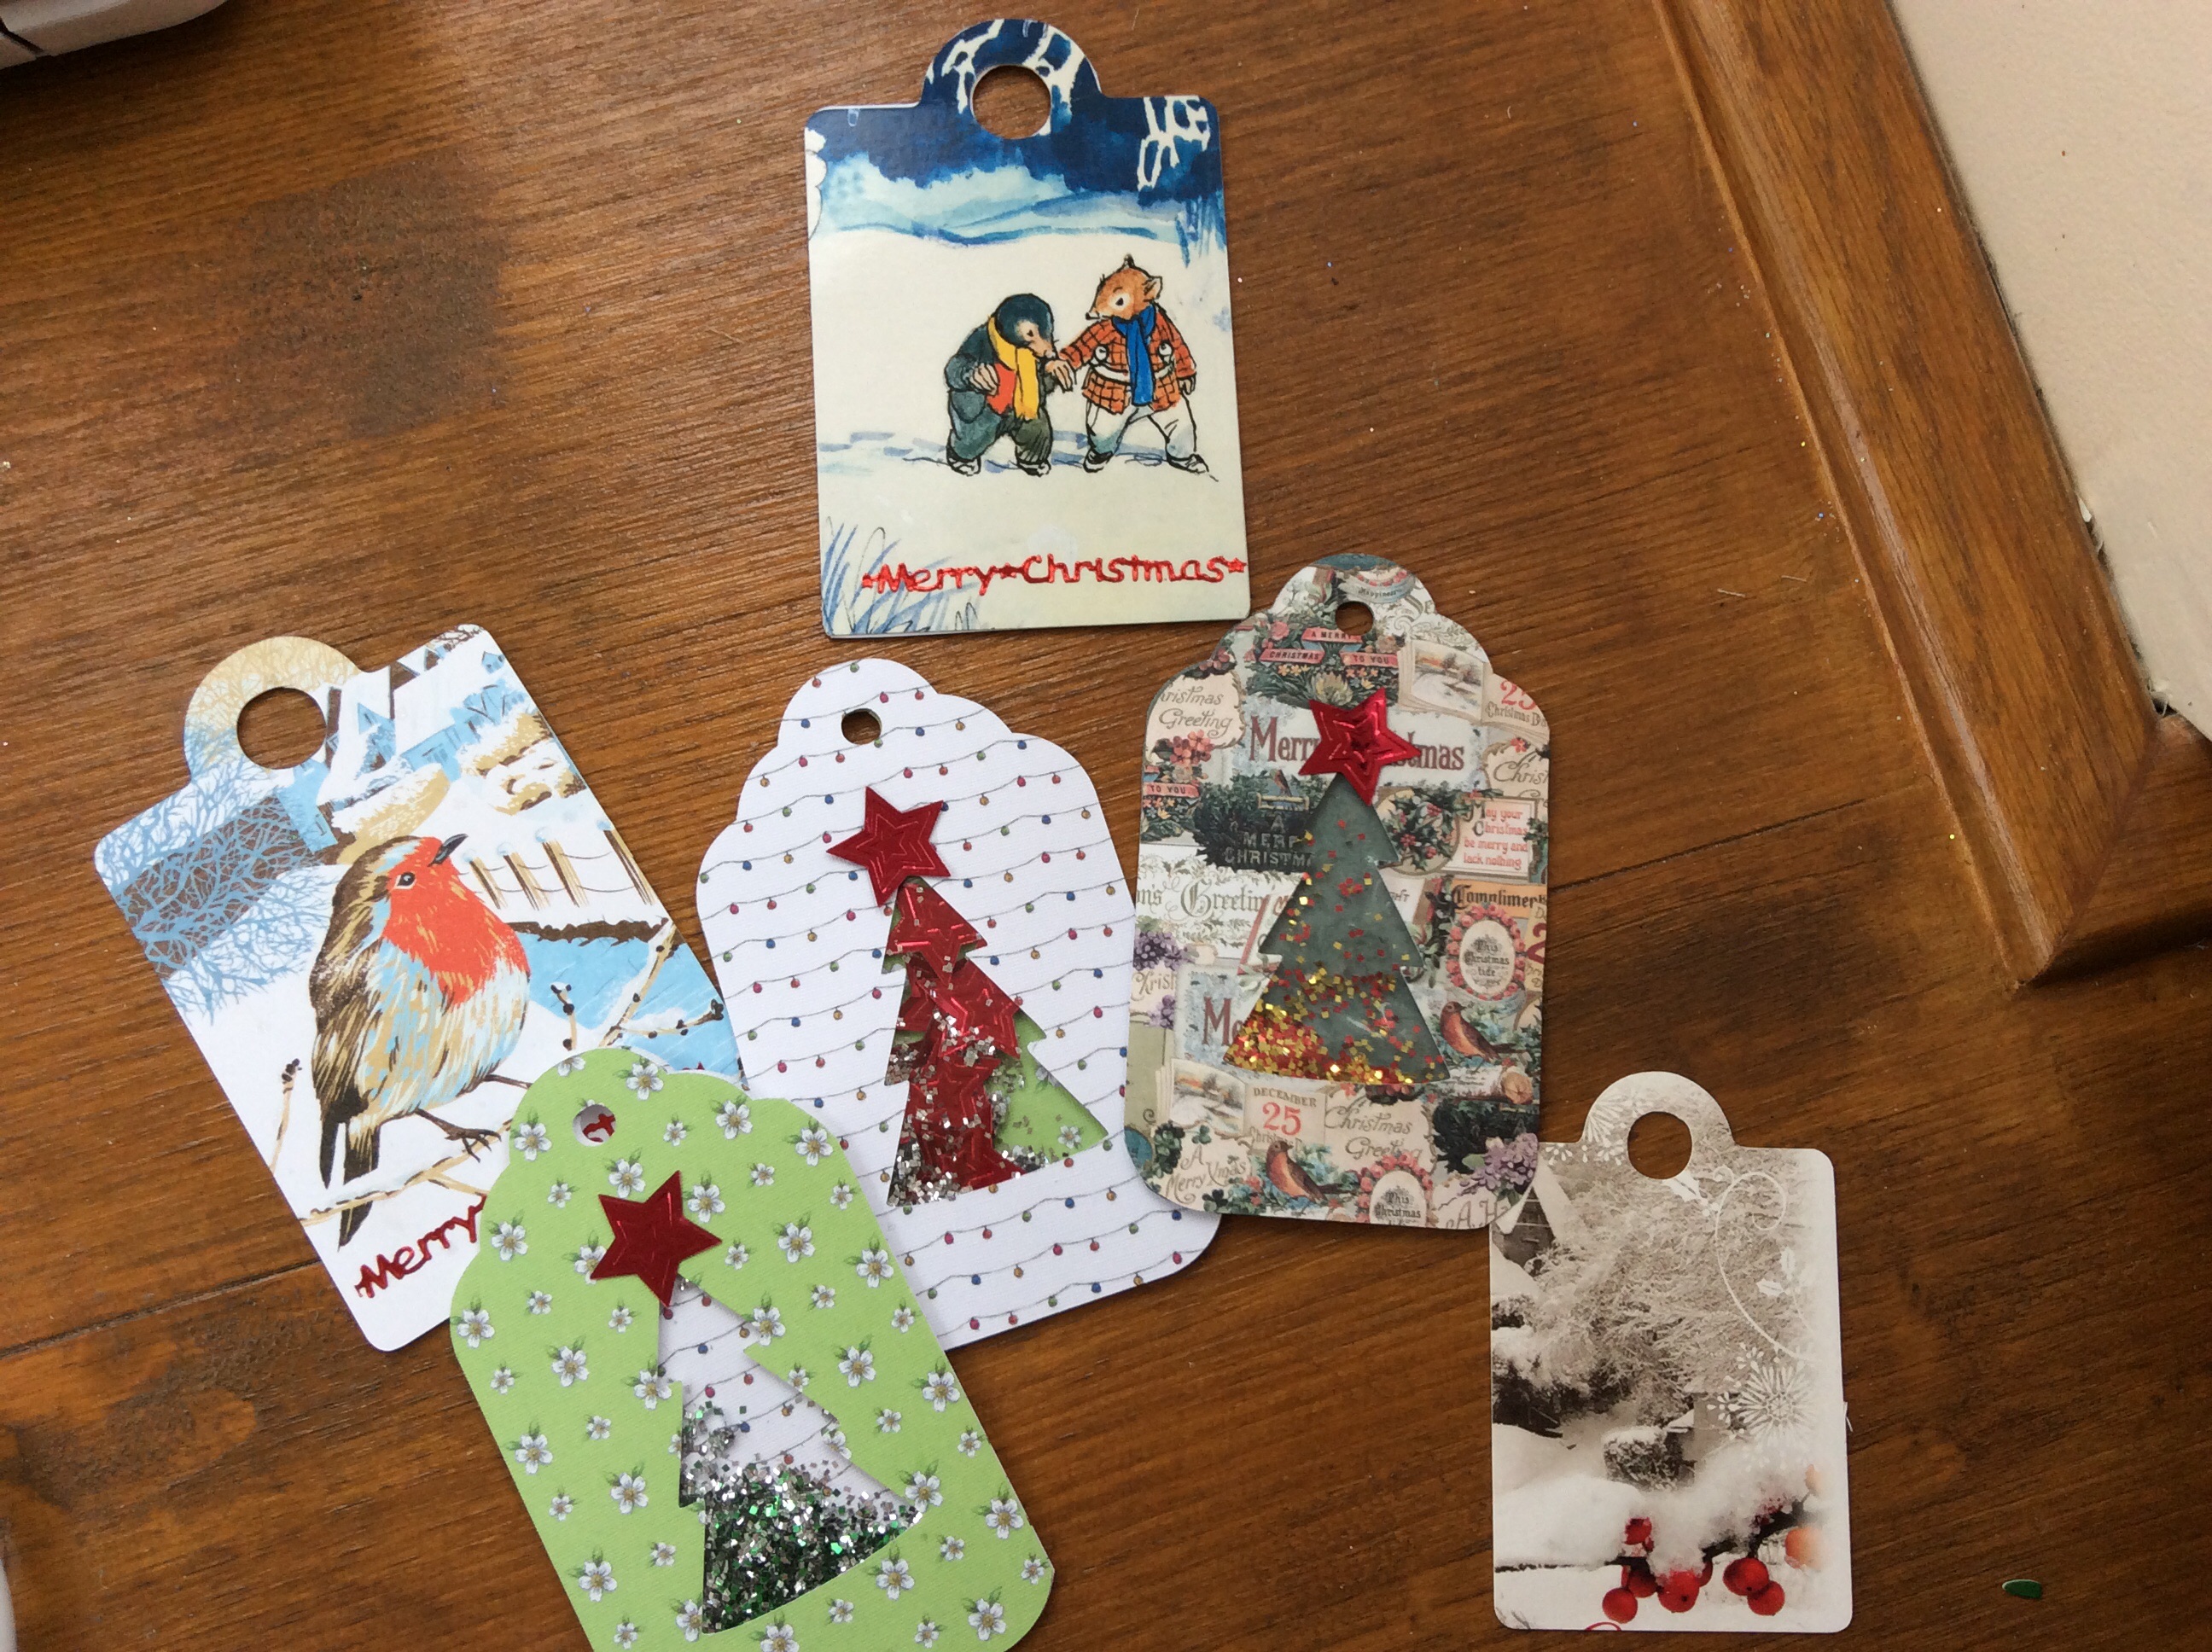
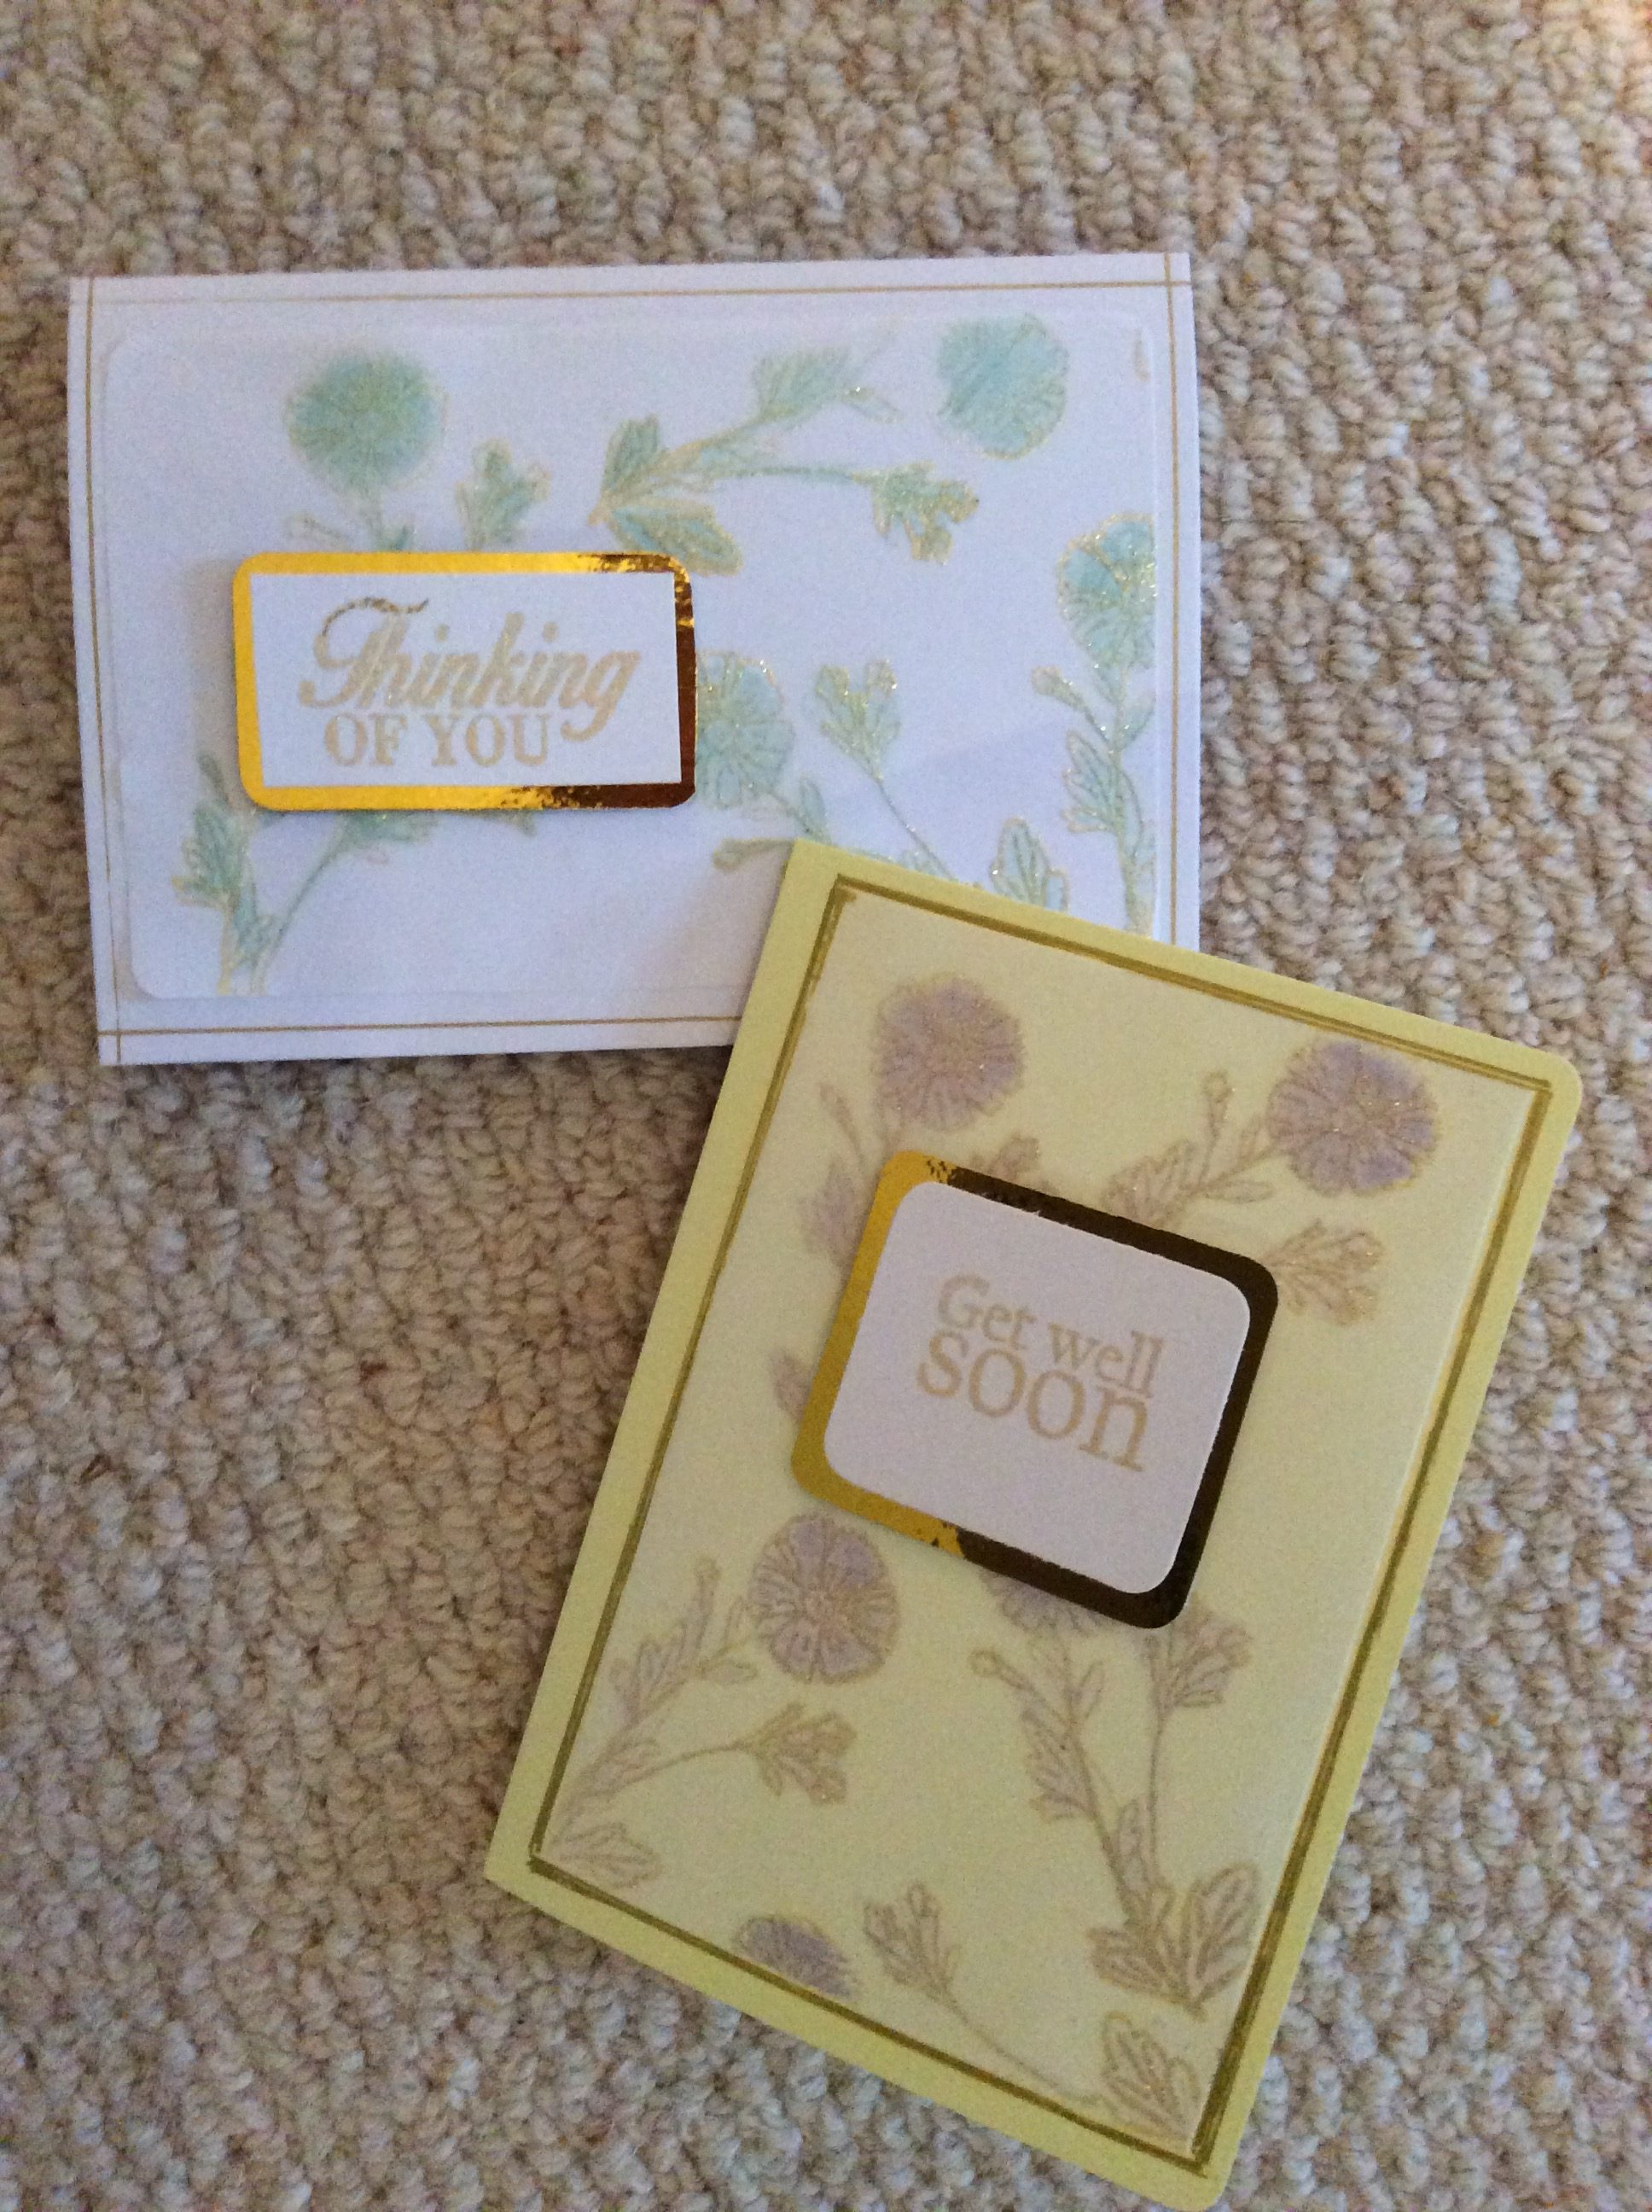
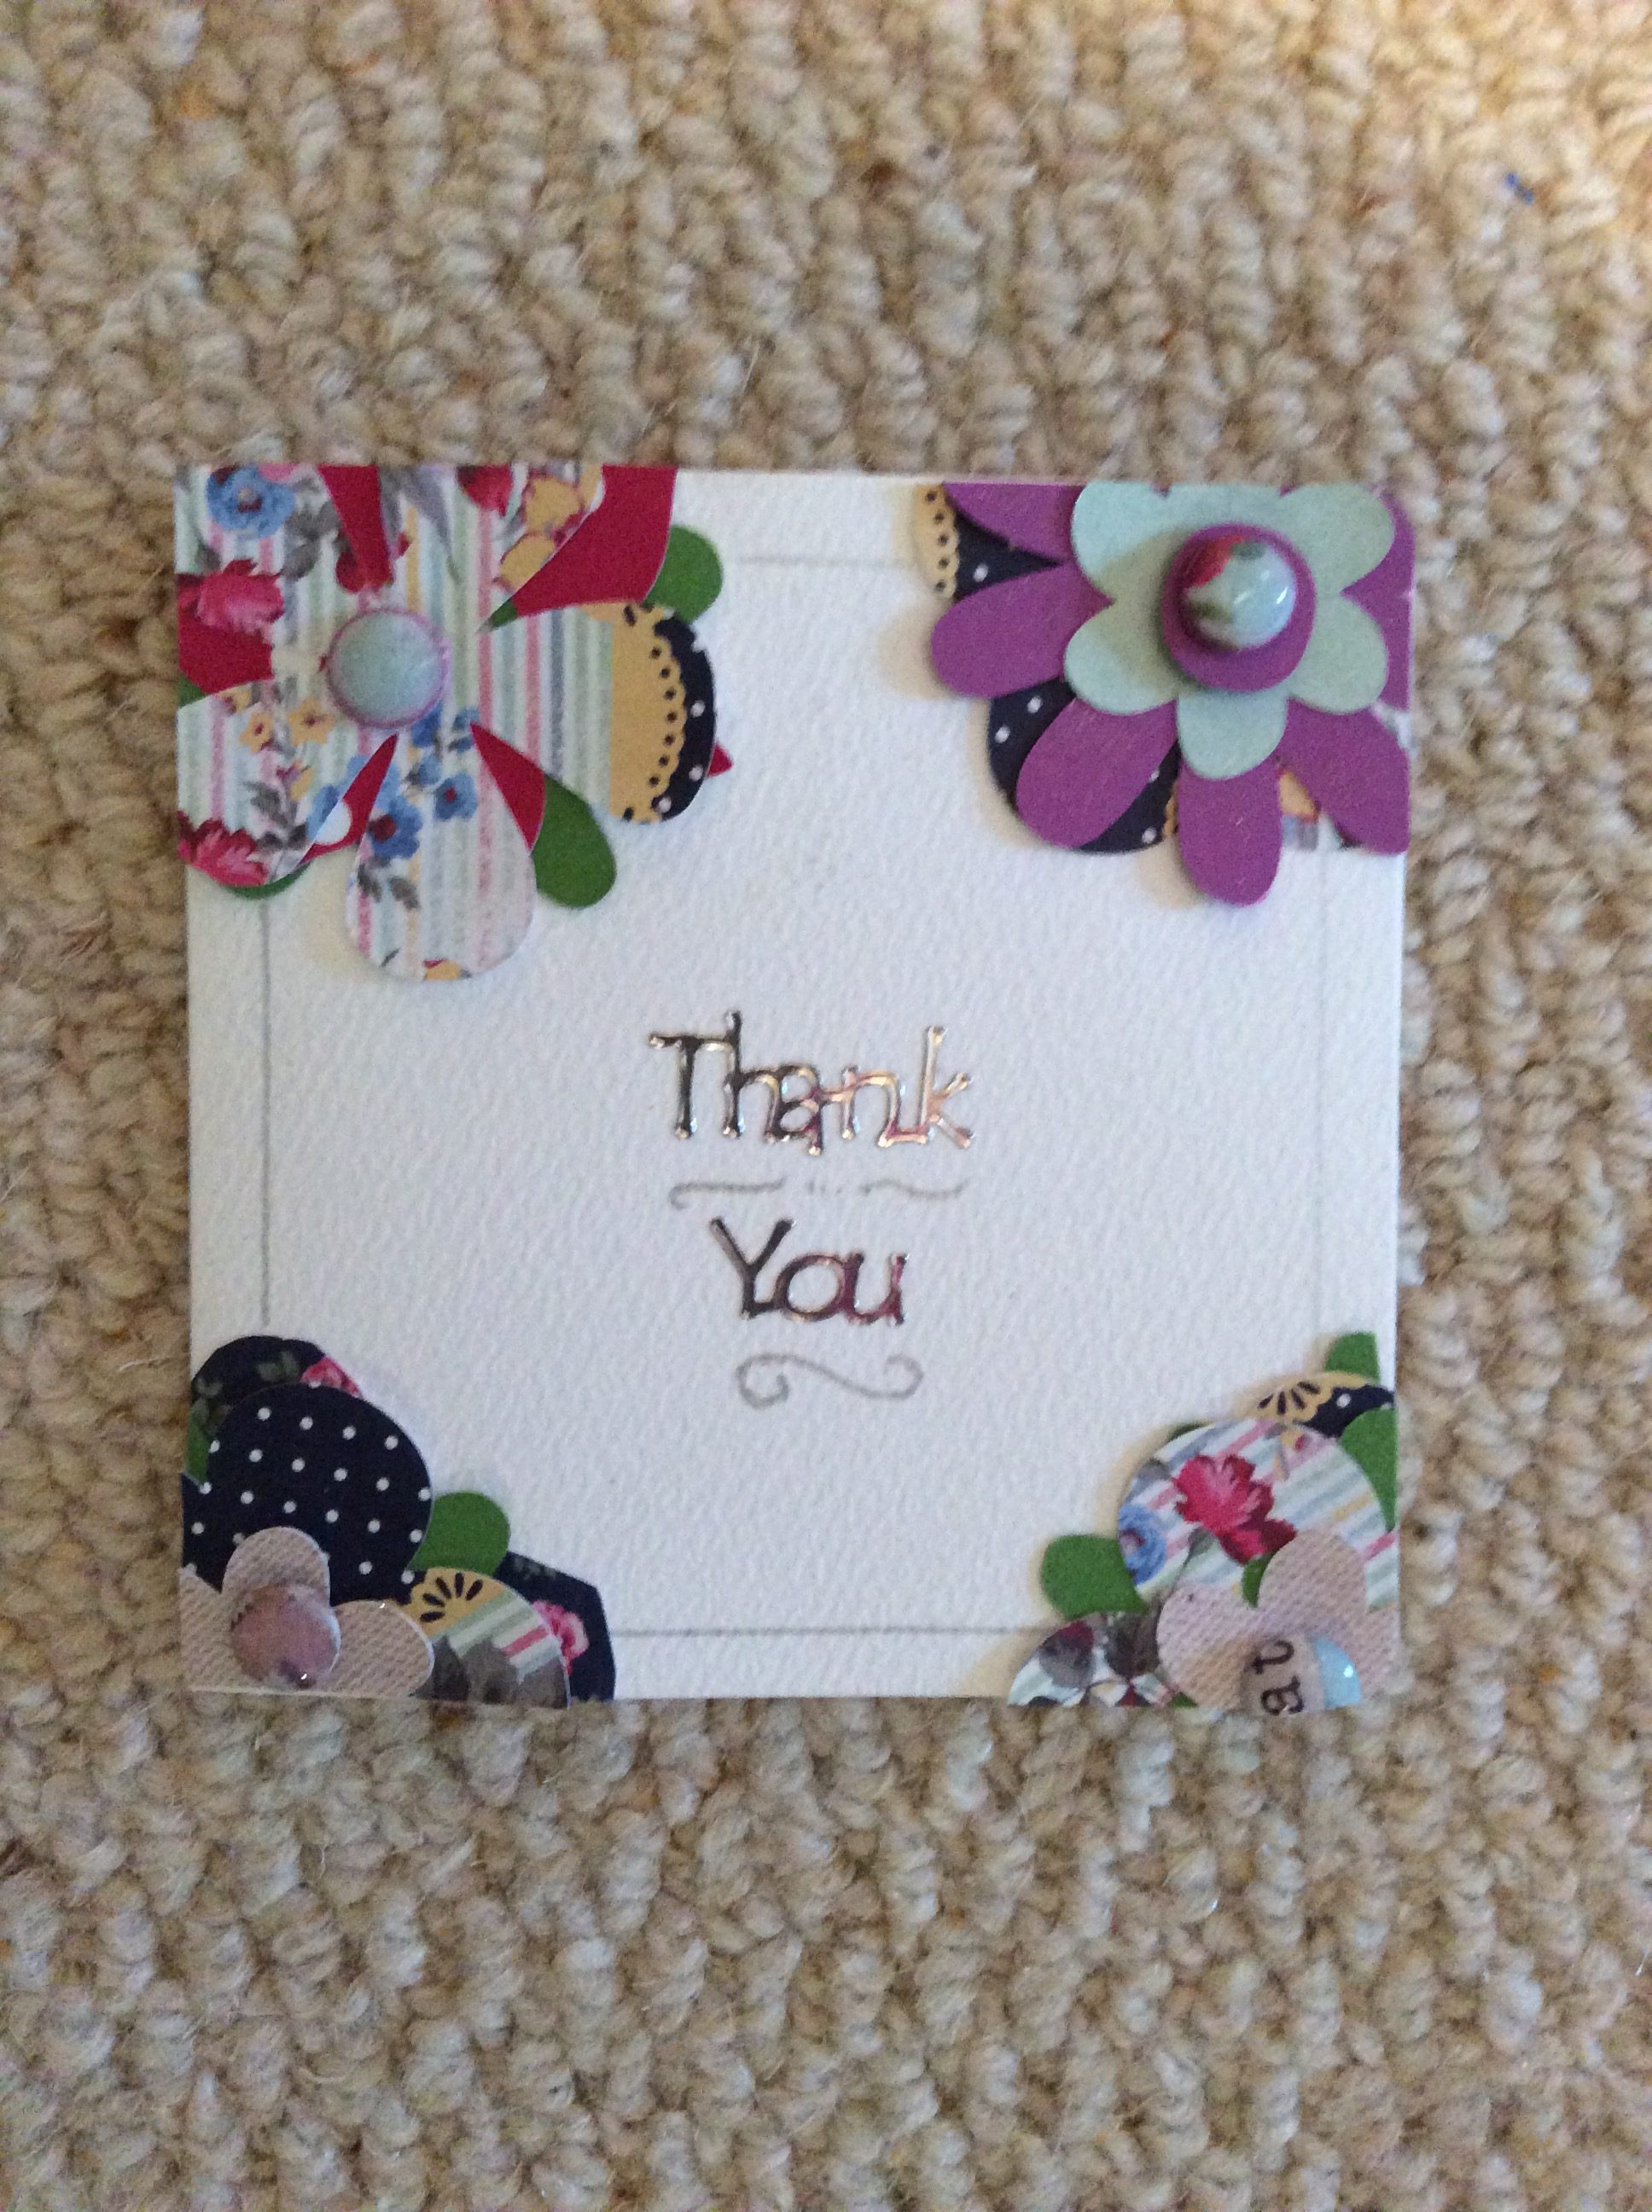
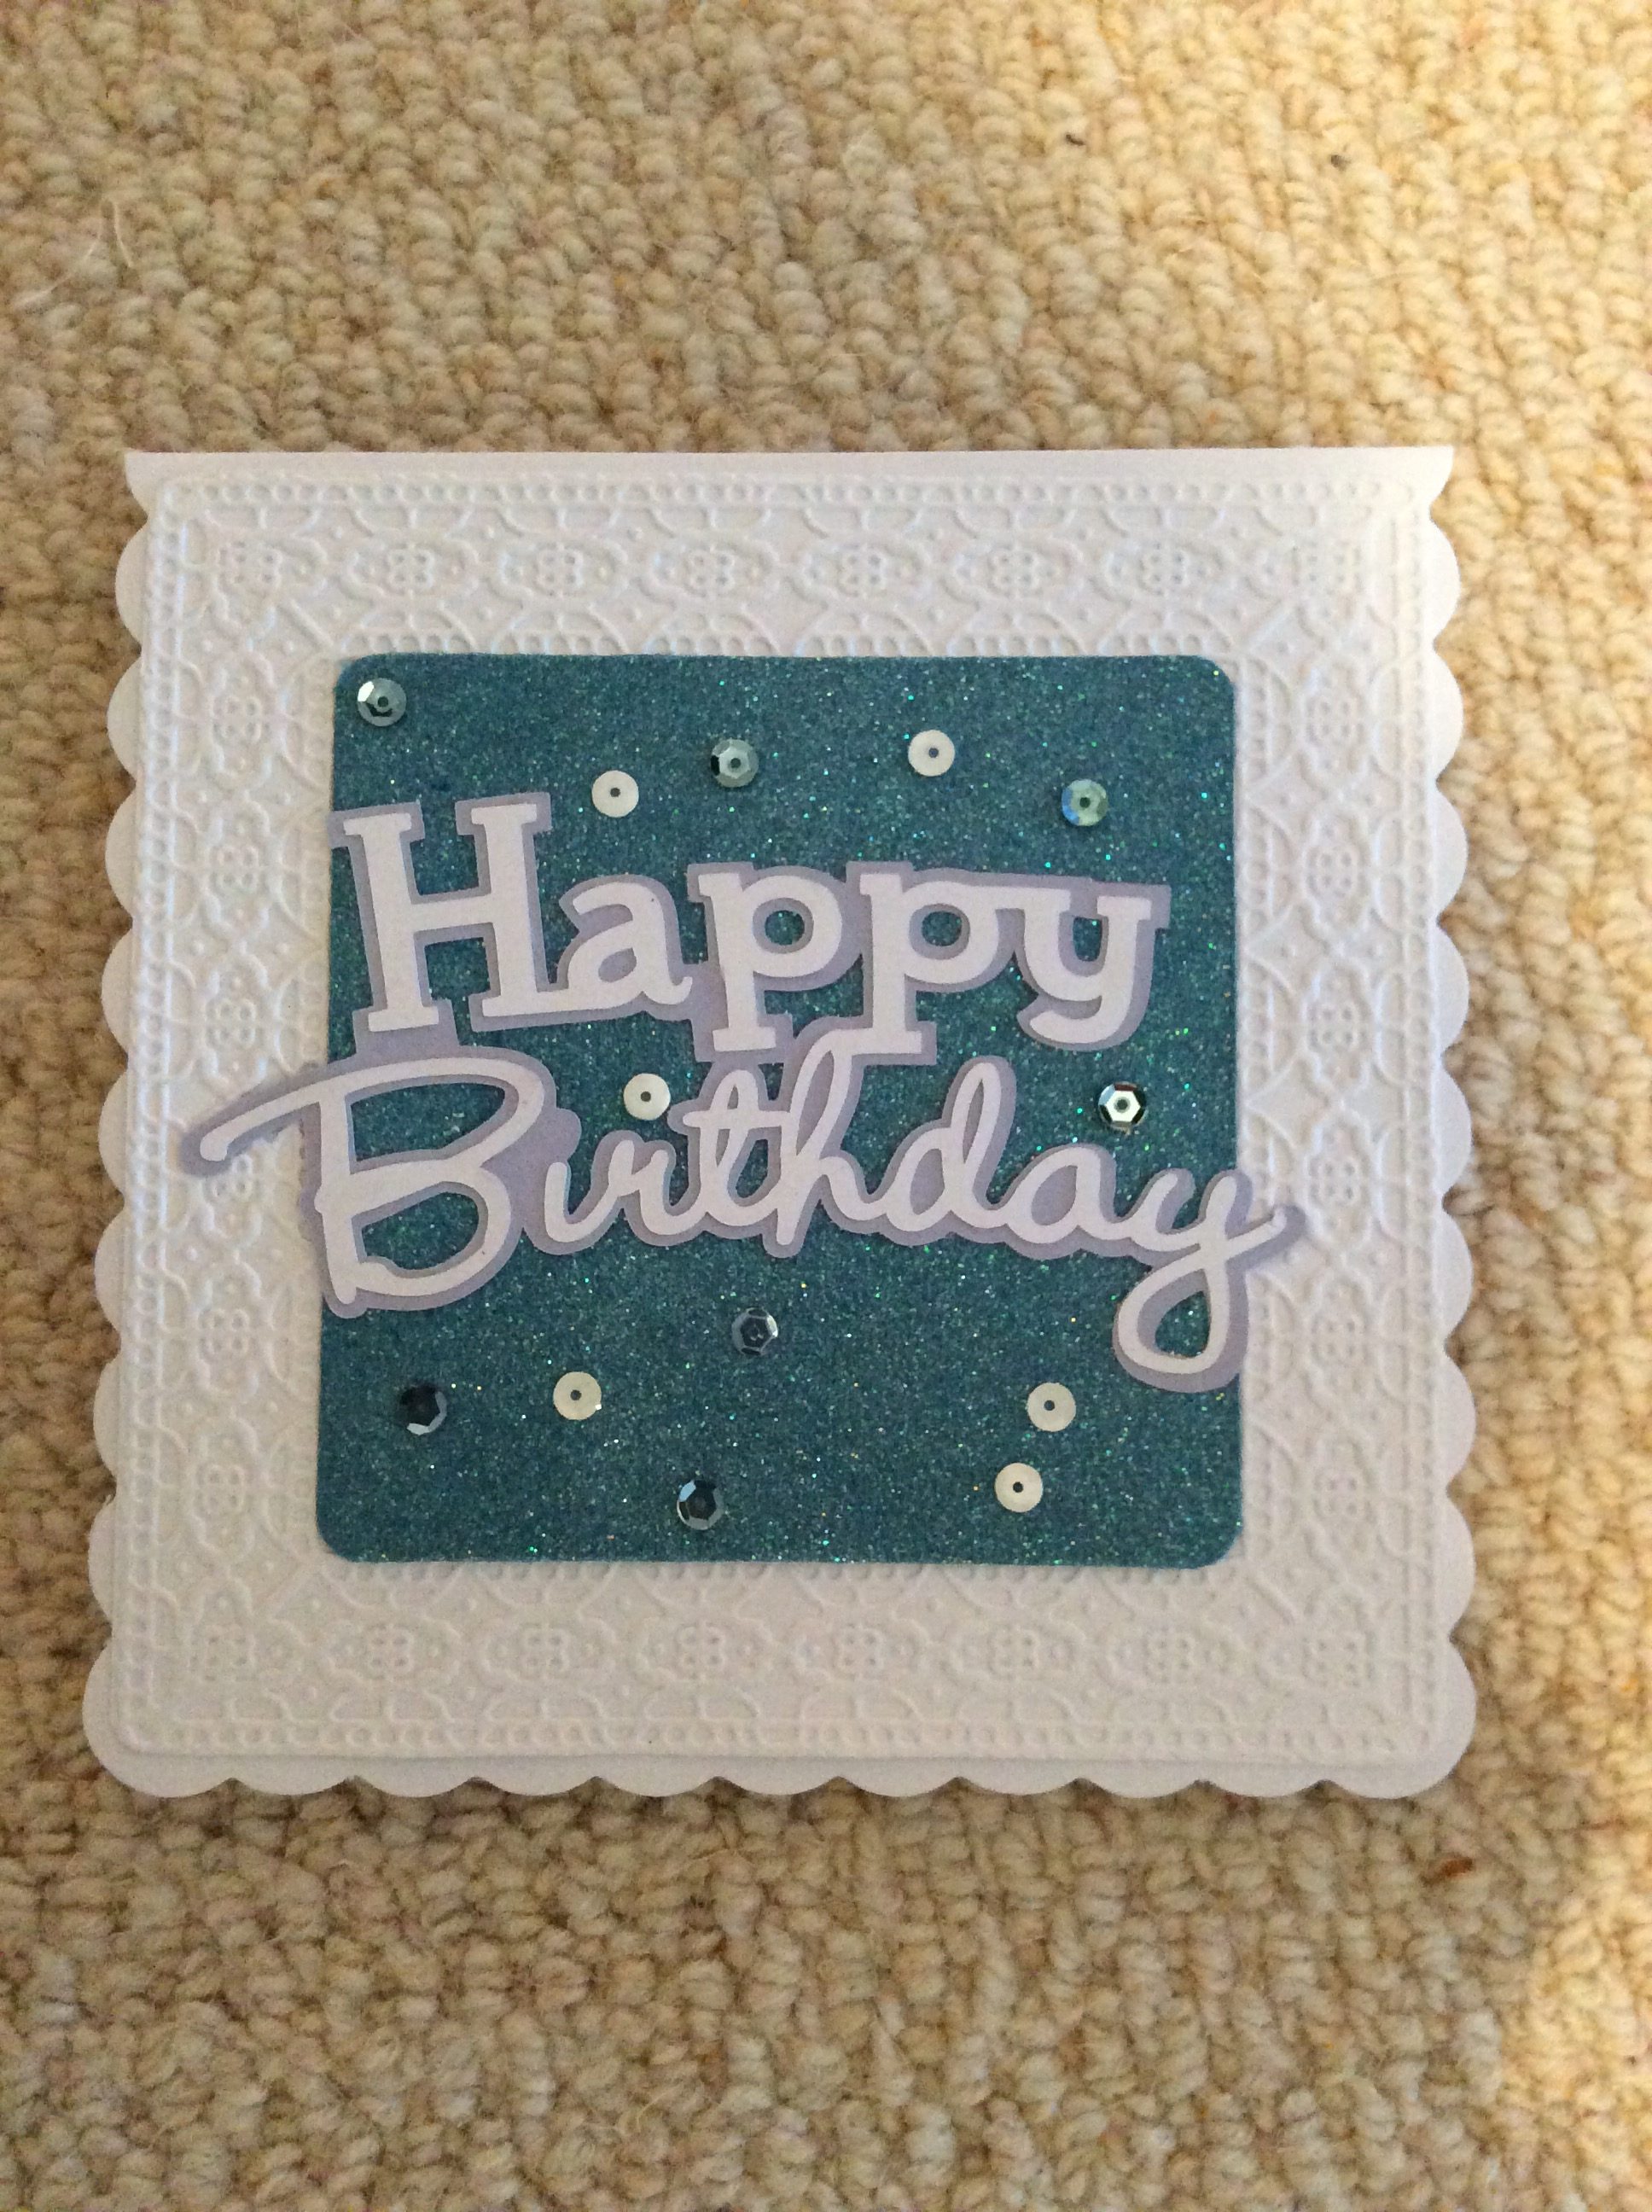
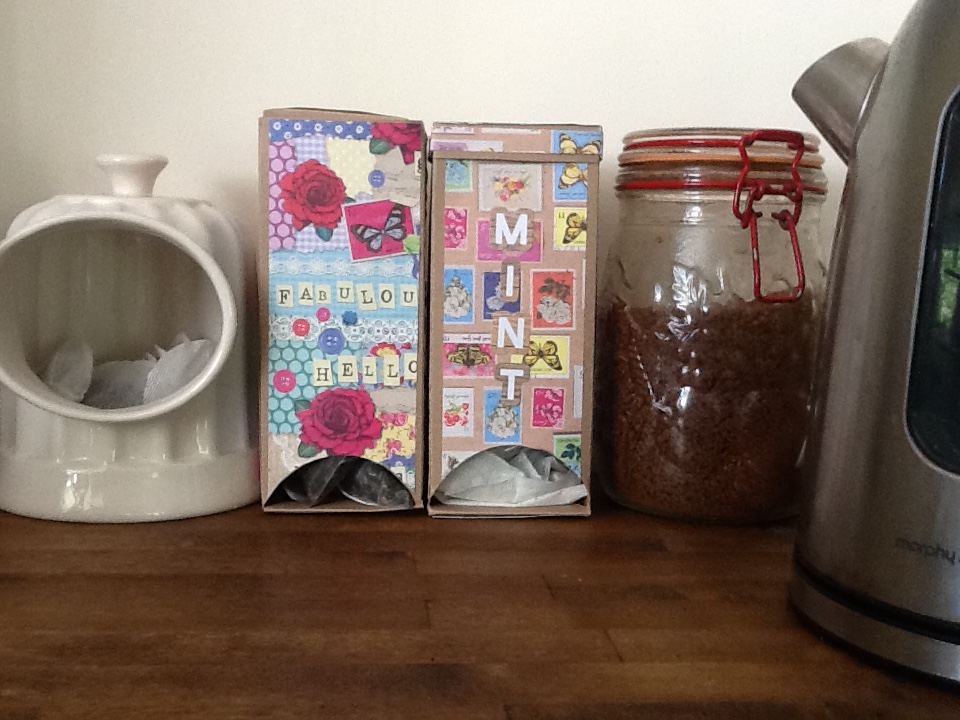
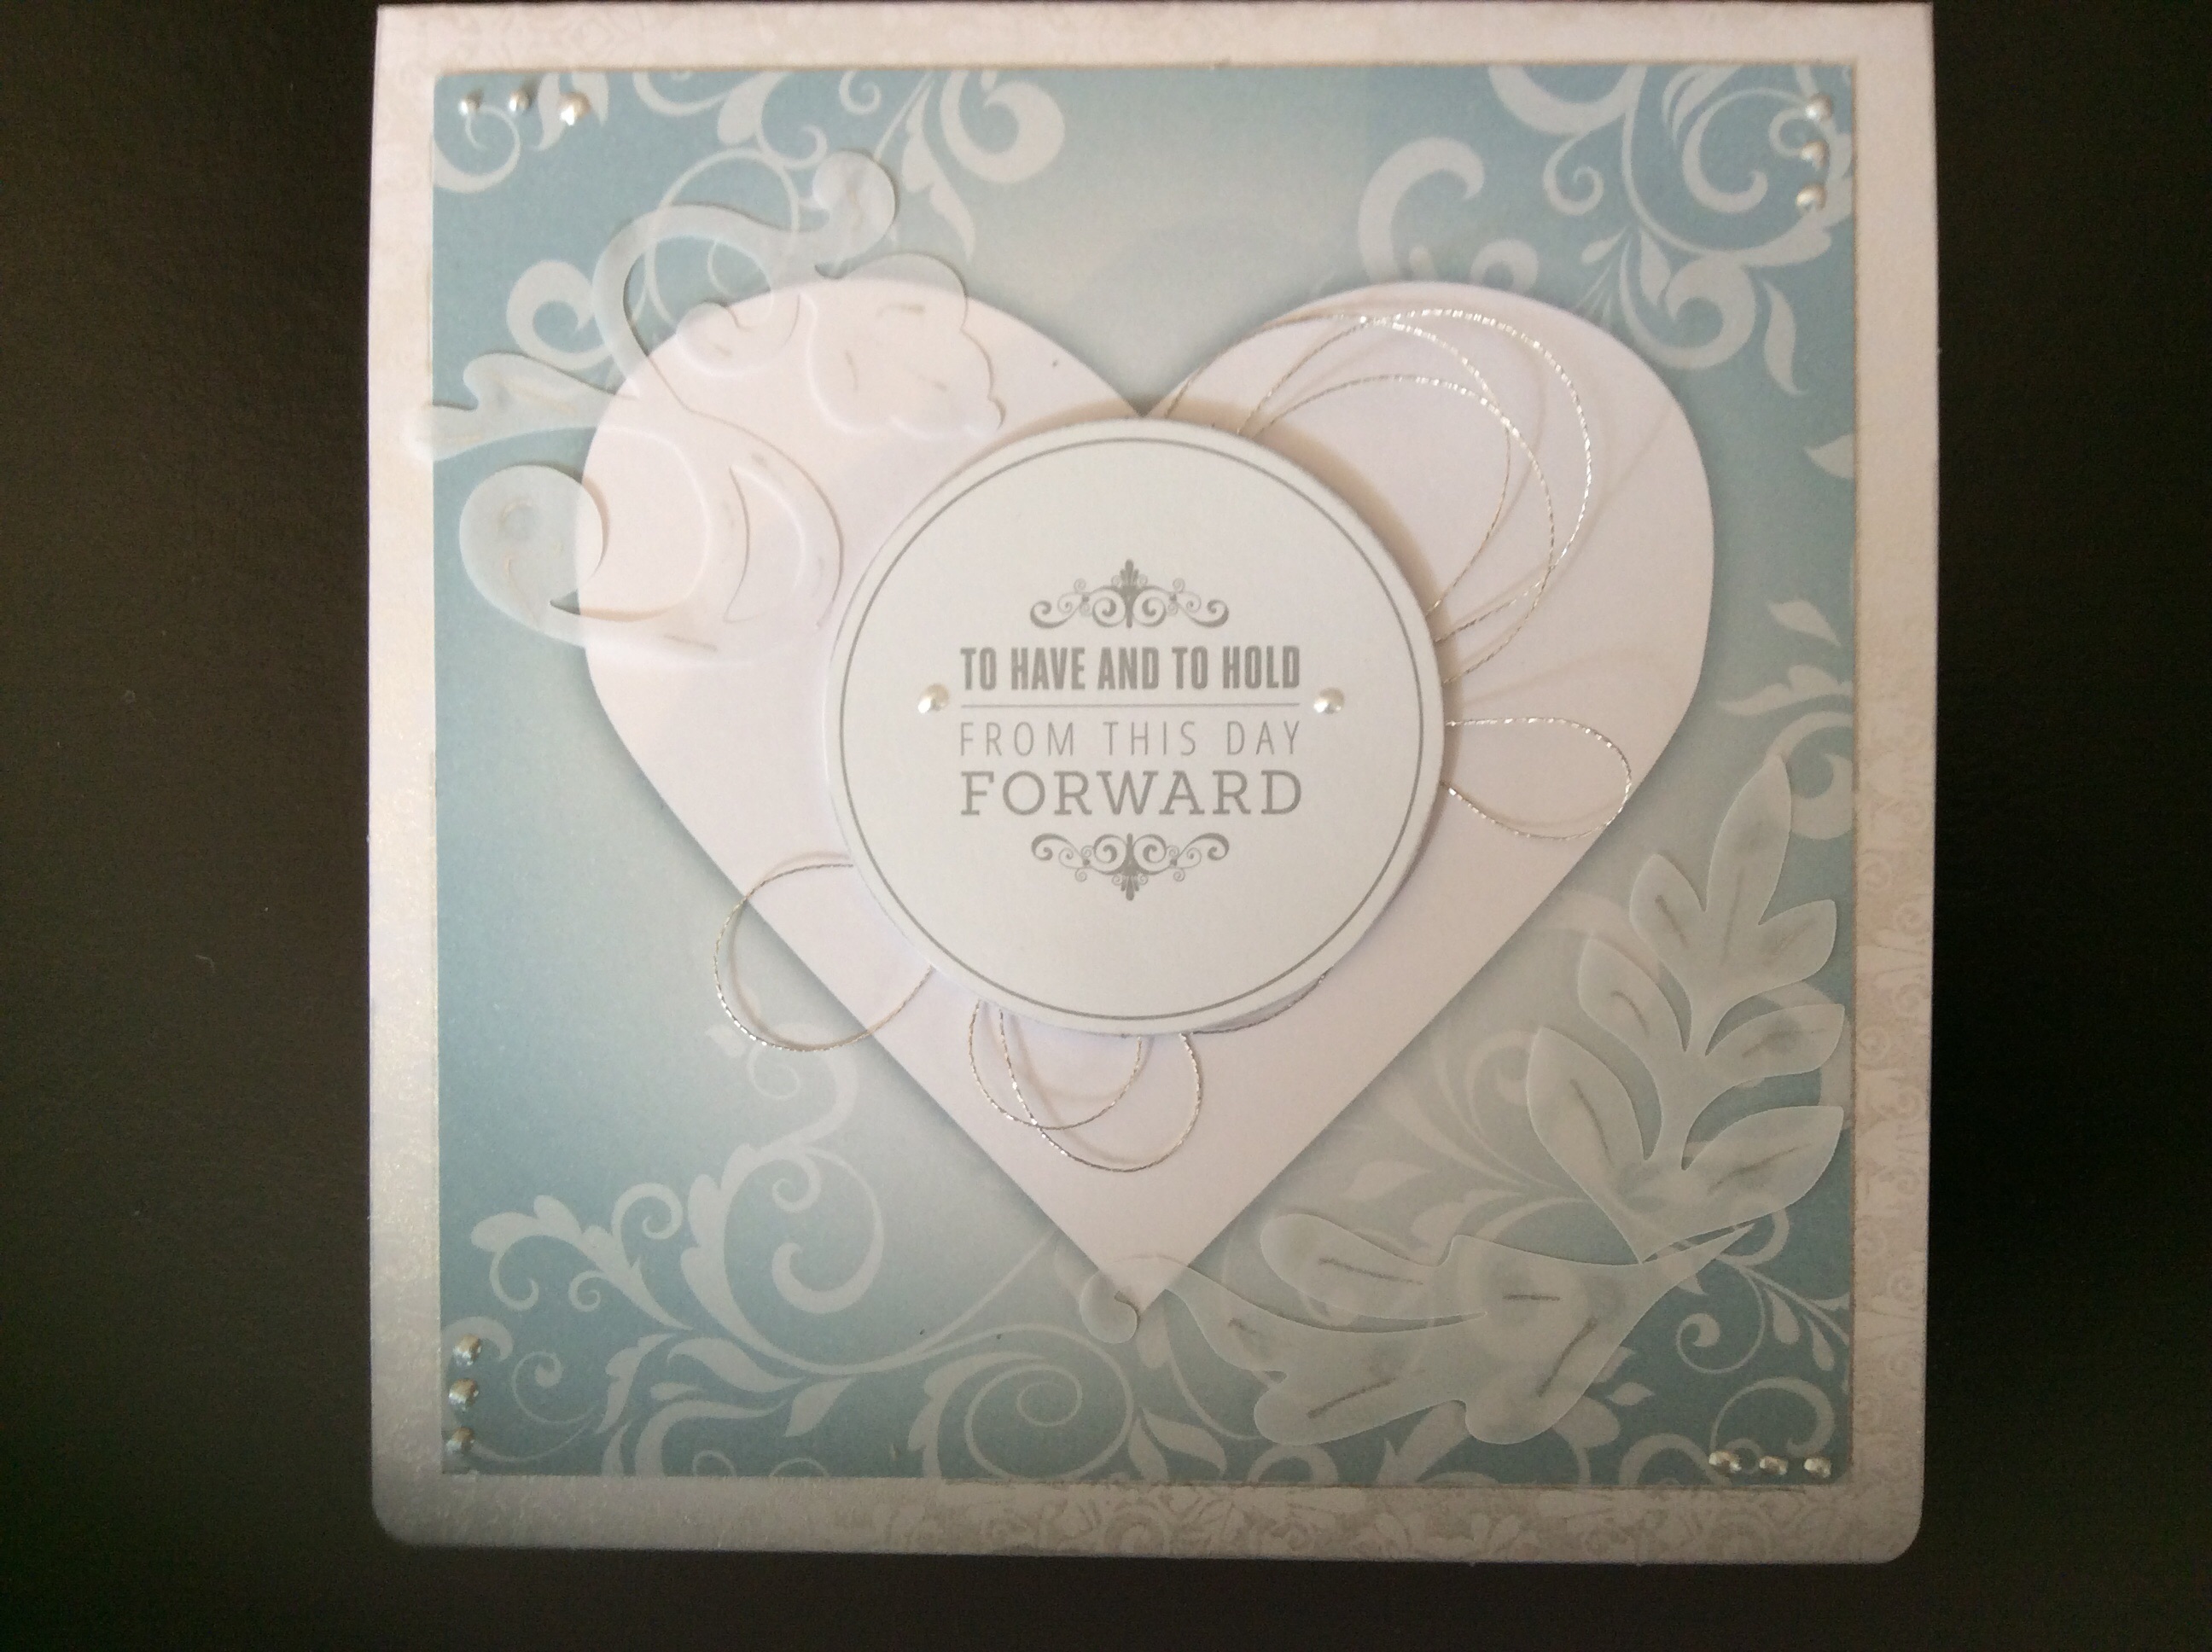
I wanted to present some of my mountain of hand made cards so I made gift bags using a roll of wallpaper (I buy 50p remnant rolls of the more ornate papers when I see them). This is sturdier and more pliable than paper or card.

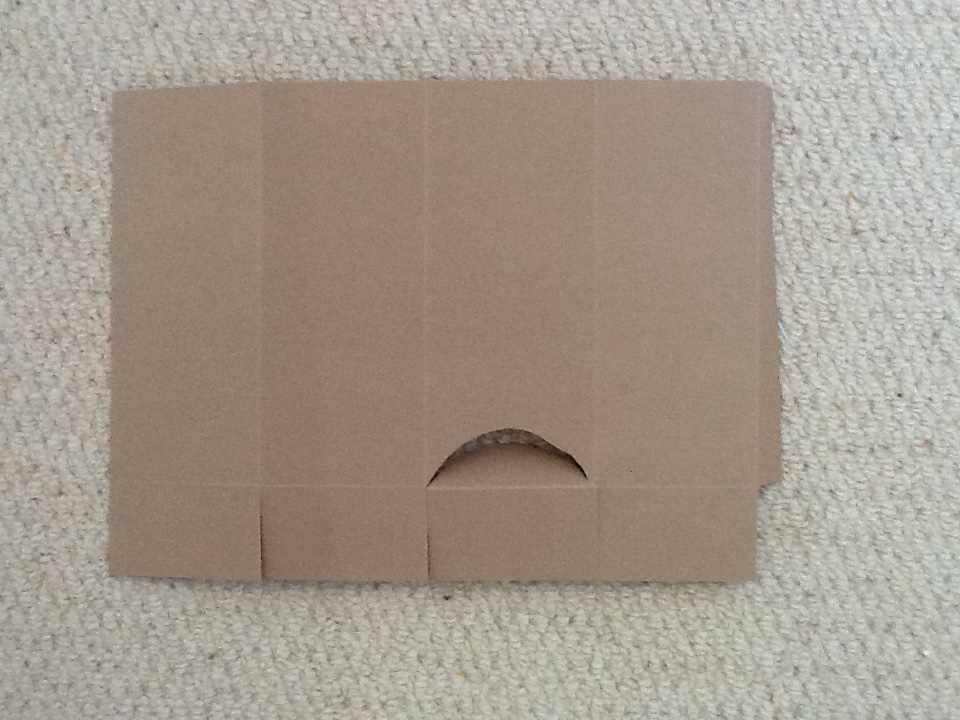
method: cut a rectangle of paper about 34cm wide by 20 high ie just bigger than A4, this will hold 8 ish A6 cards and envelopes

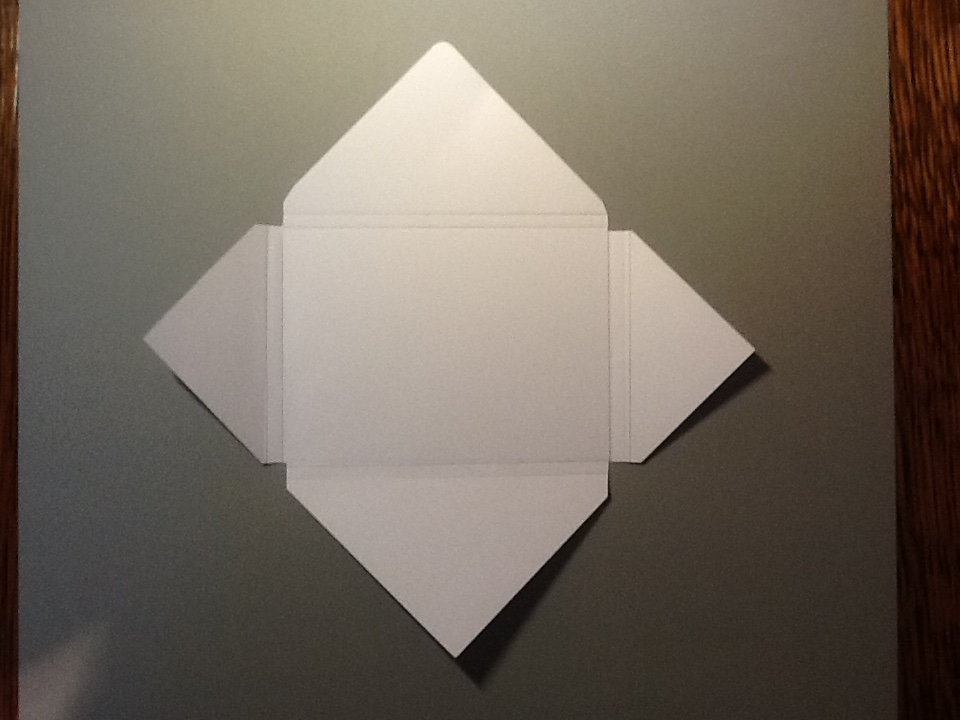
fold about 3 cm down and towards you to make a cuff with the reverse of the paper showing, then score down over the cuff at 3 cm, 16 cm, 19 cm, 32 cm  – all the way to the bottom

then fold under about all the way across about 3 cm from the bottom to make your base

cut up the score lines from the bottom to that last across score line to make the bottom flaps and cut out the tiny rectangle bottom right

fold the score lines to form the bag shape

stick double sided tape on the right hand down strip and bottom flaps to fix bag

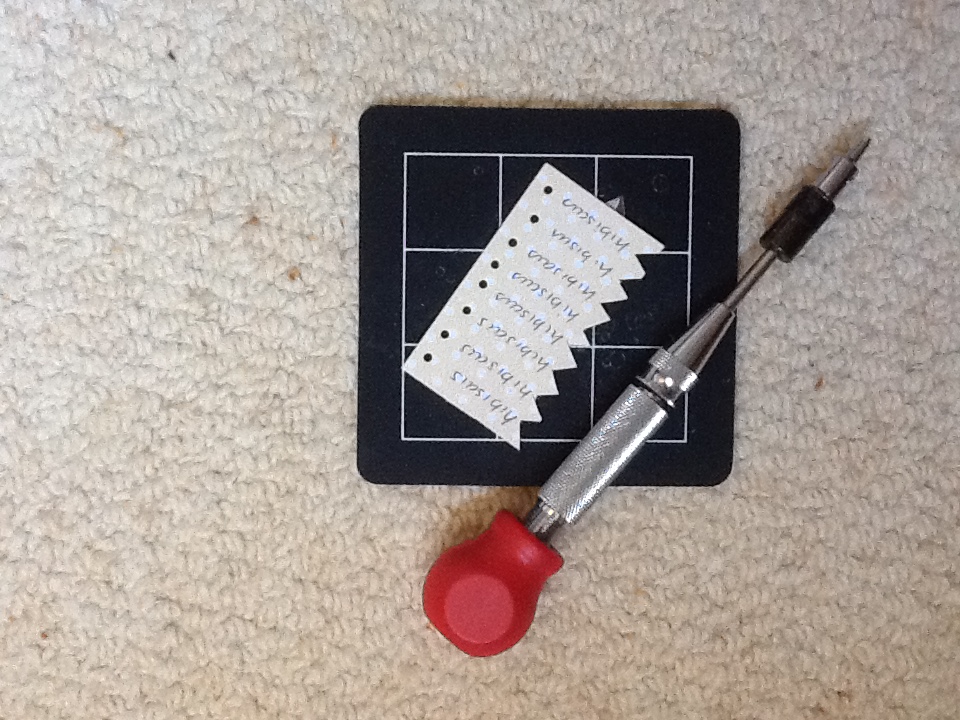
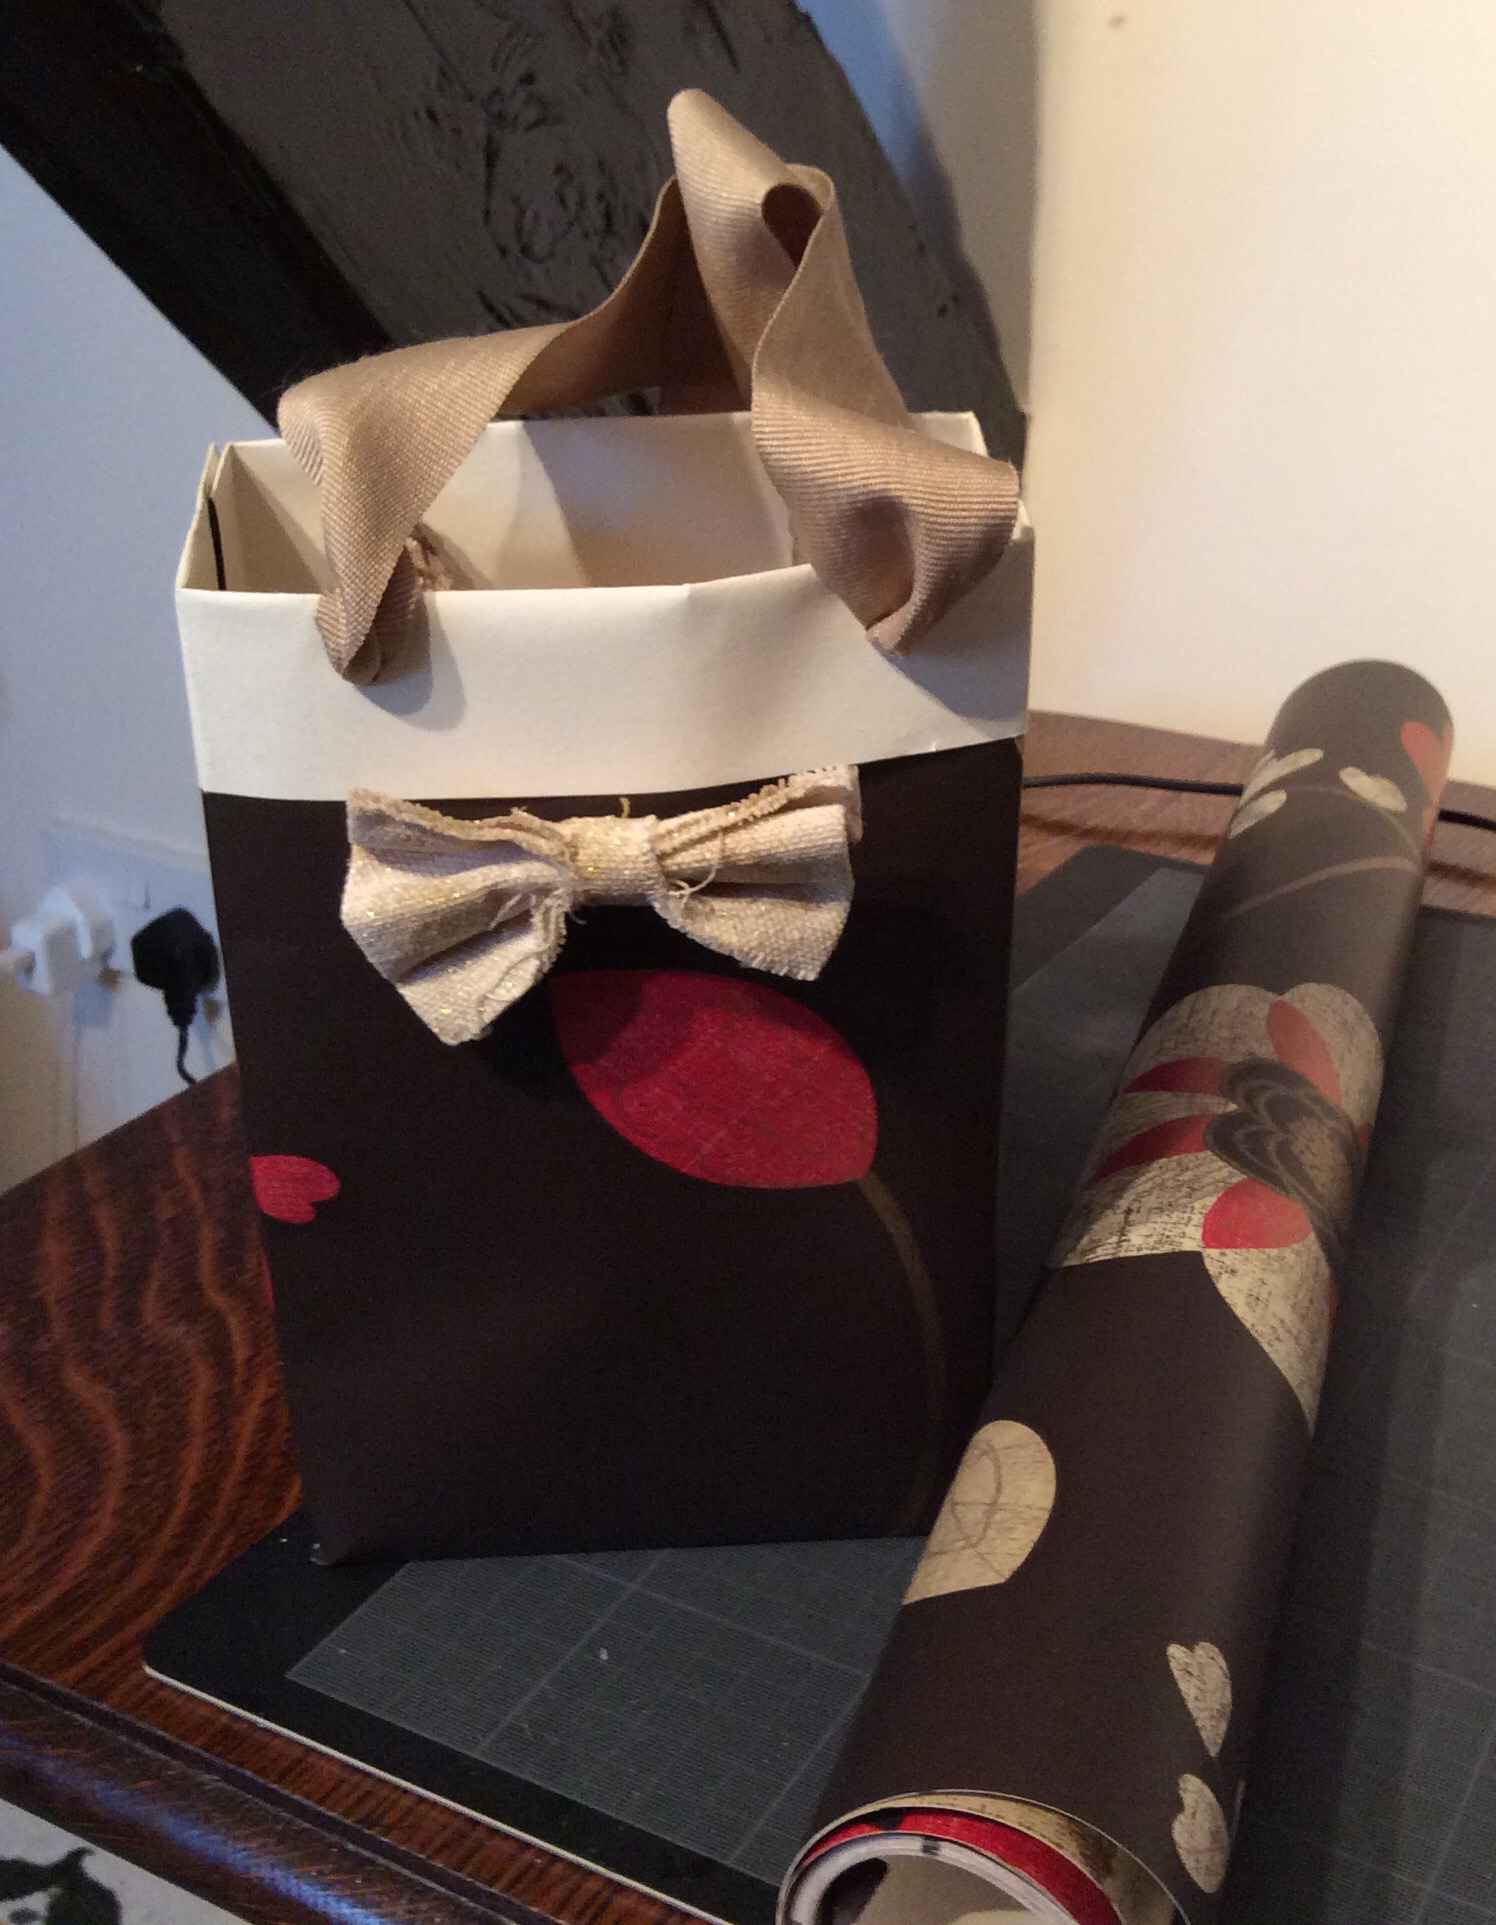
punch matching pairs of holes in the cuff front and back, I used an office hole punch which fit inside the bag neatly. Thread ribbon or cord through the holes and tie knots inside the bag to fasten

if needed cut a piece of card to fit inside the bottom to reinforce the base, wallpaper seems strong enough for a light package though

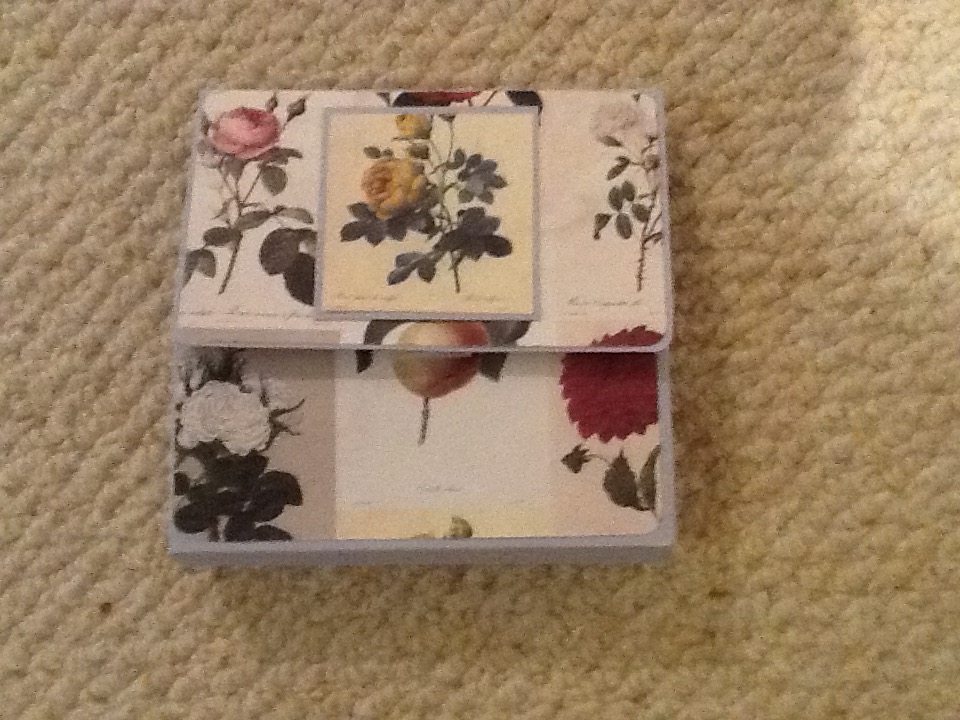
You can pinch the side panels to give the impression of a side gusset and embellish or label as well..


Wall hanging note pads

img_0206

A craftwork cards Leisure kit contained the greyboard apron shaped cut outs so I have covered them with paper and die cuts from the kit, made pockets as pen holders and attached post it note pads with red liner tape

on one I took part of a memo block and covered it in paper to make a note pad

to finish I stuck ribbon scraps to make the handles and found some mini pegs to clip on the sides as receipt holders

little Mothering Sunday gifts, done!

Little bag of tags

img_0598 img_0599

Scraps of card were cut into label shapes with the scan n cut then decorated with die cuts from the enormous , seemingly endless,  Natures Gallery Docrafts bundle. I stamped ‘to’ and ‘from’ and tied twine in place then made a mini folder pocket to hold them in.

I then got in the mood with old Christmas cards cut the same way and a shaker card version too. This required a bit of organization to put the same weight of card through the scan n cut at the same pass but really effective.

image

Scrap buster card makes

img_0188I have a new year resolution not to buy until the stash is reduced… plus a friend donates a pile of orphan envelopes and ribbon so I start making one off cards.  I have tried to use new techniques, such as heat embossing on vellum – which is beautiful – and take the embellishments a step further as with the sequins stuck on glitter card

img_0189img_0187


snowflake charm earrings in an envelobox

img_0563A project to present simple earrings made from snowflake charms in a cute little envelobox.img_0562


materials- bag of snowflake charms (Amazon 50 mixed charms), jump rings, earring wires, square of patterned paper, glue , tissue paper and raffia

equipment – jewellry pliers, crafters companion ultimate pro or score board

method – make the earrings by opening the jump rings (twist don’t pull) and thread on the charm and ear wire before closing the ring again

To make the envelobox take a square of patterned paper and score it across each corner in parallel lines as shown, cut out the intersection. To save the calculations follow the Crafters’ Companion template. Optional round corner and stick the envelope closed.

img_0560 img_0561

I wrapped the earrings in tissue to given the envelobox some bulk and then tied it with raffia.

Video here;


With thanks

imageWhether it is to say  a big thanks or a little one I like to make simple, happy cards and have a few ready for a variety of recipients

I found theses pennant sentiments printed on the back of a ‘pay per box’ carton when tidying my paper stash and couldn’t bear to waste anything, so four quick cards were created by fussy cutting around the pennants and using saved embellishments, craft card bases and docrafts backing papers.

I have glued white paper inserts inside to make the message easier to write and see.

Christmas pennant wreath

img_0175

A hoop ( I used the inner of a 9 inch plastic embroidery hoop), six and a half sheets of paper from the Papermania ‘At Christmas’ pack, a trimmer and scissors, paper glue and hot glue, 24 inches of cord to hang the finished article, some embellishments and it is done. Takes an hour of so with trimming and snipping.

Trim the paper into 1.5 inch strips the length of the page so you end up with 30 strips. fold each strip in half around the frame with the ends matching and glue firmly all the way from end to the hoop. when dry cut fish tails in each strip.

Tie the cord in a loop and hot glue it to form a hanger and line for a central message,

Cut strips of paper (1 inch x 4 inches) and fold and stick the same way to make mini pennants to bear a message or pictures in the centre. I stuck on letters to make ‘merry’.

Embellish with ornaments of your choice,

So easy but I made a  video tutorial …

First steps to Christmas

image

Smart and simple card thanks to scan n cut

three of the library baubles cut from a paper set :(docrafts)  stuck on a mat – same paper set- with foam squares and the strings of gold thread tied on then stuck behind with tape runner as the mat was taped to the card blank

no sentiment, no insert but classy card blank

6 down, 94 to go

Tea bag holder

image
the jumble of teas was a mess so a set of boxes to tidy them up was needed

i ordered some fill your own tea bags to sort the loose leaf teas and made and labelled the tags with paper scraps.

image

For the holder

1 sheet  craft card plus 11cm square craft card

2 sheets 8×8 inch scrapbook paper, I used Bohemian dreams from craftwork cards

scalpel, glue and roll of red liner tape

lay the sheet landscape in front of you and score at 7, 14, 21 and 28 cm down then 4 cm across. Cut out the tiddly corner and cut up the bottoms as shown to create the base flaps. Place the tape roll on one of the panels at the bottom crease and scalpel inside it to create the opening

image

on the square card score around at 2 cm and cut one side of each of the corners as shown. I find it tidier to cut a tiny wedge out of these snips to make folding neater.

image


tape the boxes with red liner to keep them secure, tape the half moon flap to the base for extra stability and cover the outside panels with paper that is just a bit smaller  to create a mat effect

image

Wedding card

image

I have seen YouTube demos where metallic thread is twizzled to make an embellishment so a wedding card seems a good place to try it.

lots of tape required to sandwich loops of thread between card and topper.

while embellishing it seemed sensible to add vellum flourishes, pearl drops and silver pen strokes too.