Paper roses, paper roses … oh how real?

I have an ear worm of that song and a vision of marie osmond singing it. Never mind that though,  I am happy with the paper flowers produced in this crafting session.

The flowers look quite different depending on paper used and the container/ vase displayed in. The blue themed group are my favourites but the patterned paper flowers aren’t trying to be real and look cute.

I was determined to use up some of my craftwork cards paper stash and I set the scan n cut to work. But you could cut a similar set for each flower quite easily by hand.

5EE86A4F-36D1-4858-8438-E67BB9842876Tips

soften the paper fibres by rolling each petal around a barbecue stick or rubbing it against a bone folder

I used hot glue to form each petal layer into a cup shape but tacky glue works as well – albeit making assembly a little slower

I made a hole with my pokey tool in the centre of each glued cup then impaled a set of petals with an I-pin, a long sewing pin would work as well. Then I glued the single petals, including the rolled one, over the pin head. Some flowers have some Candi ( a small circle of paper that came with the paper pads from craftwork cards) at their centres. These were fixed with foam pads and hid the pin very well.

I stuck the pins directly into oasis in the bucket style containers and for the vase bound the pin against a length of barbecue stick. I used washi tape to bind, florist tape would have been better.

Some leaf shapes filled in the gaps in the arrangements, I needed far more flowers than I thought I would to fill the containers. Next time I will distress the leaves with ink to make them look softer.


10 cards to reduce the stockpile- a bit

I must i must decrease the stockpile and here are 10 cards to make a start

i have already used the craftwork cards antiqued set and accessories quite a bit but these are very generous kits

Three cards on craft card blanks . 

two use tags from the kit and one layered die cuts . I die cut the sentiment twice to make a drop shadow

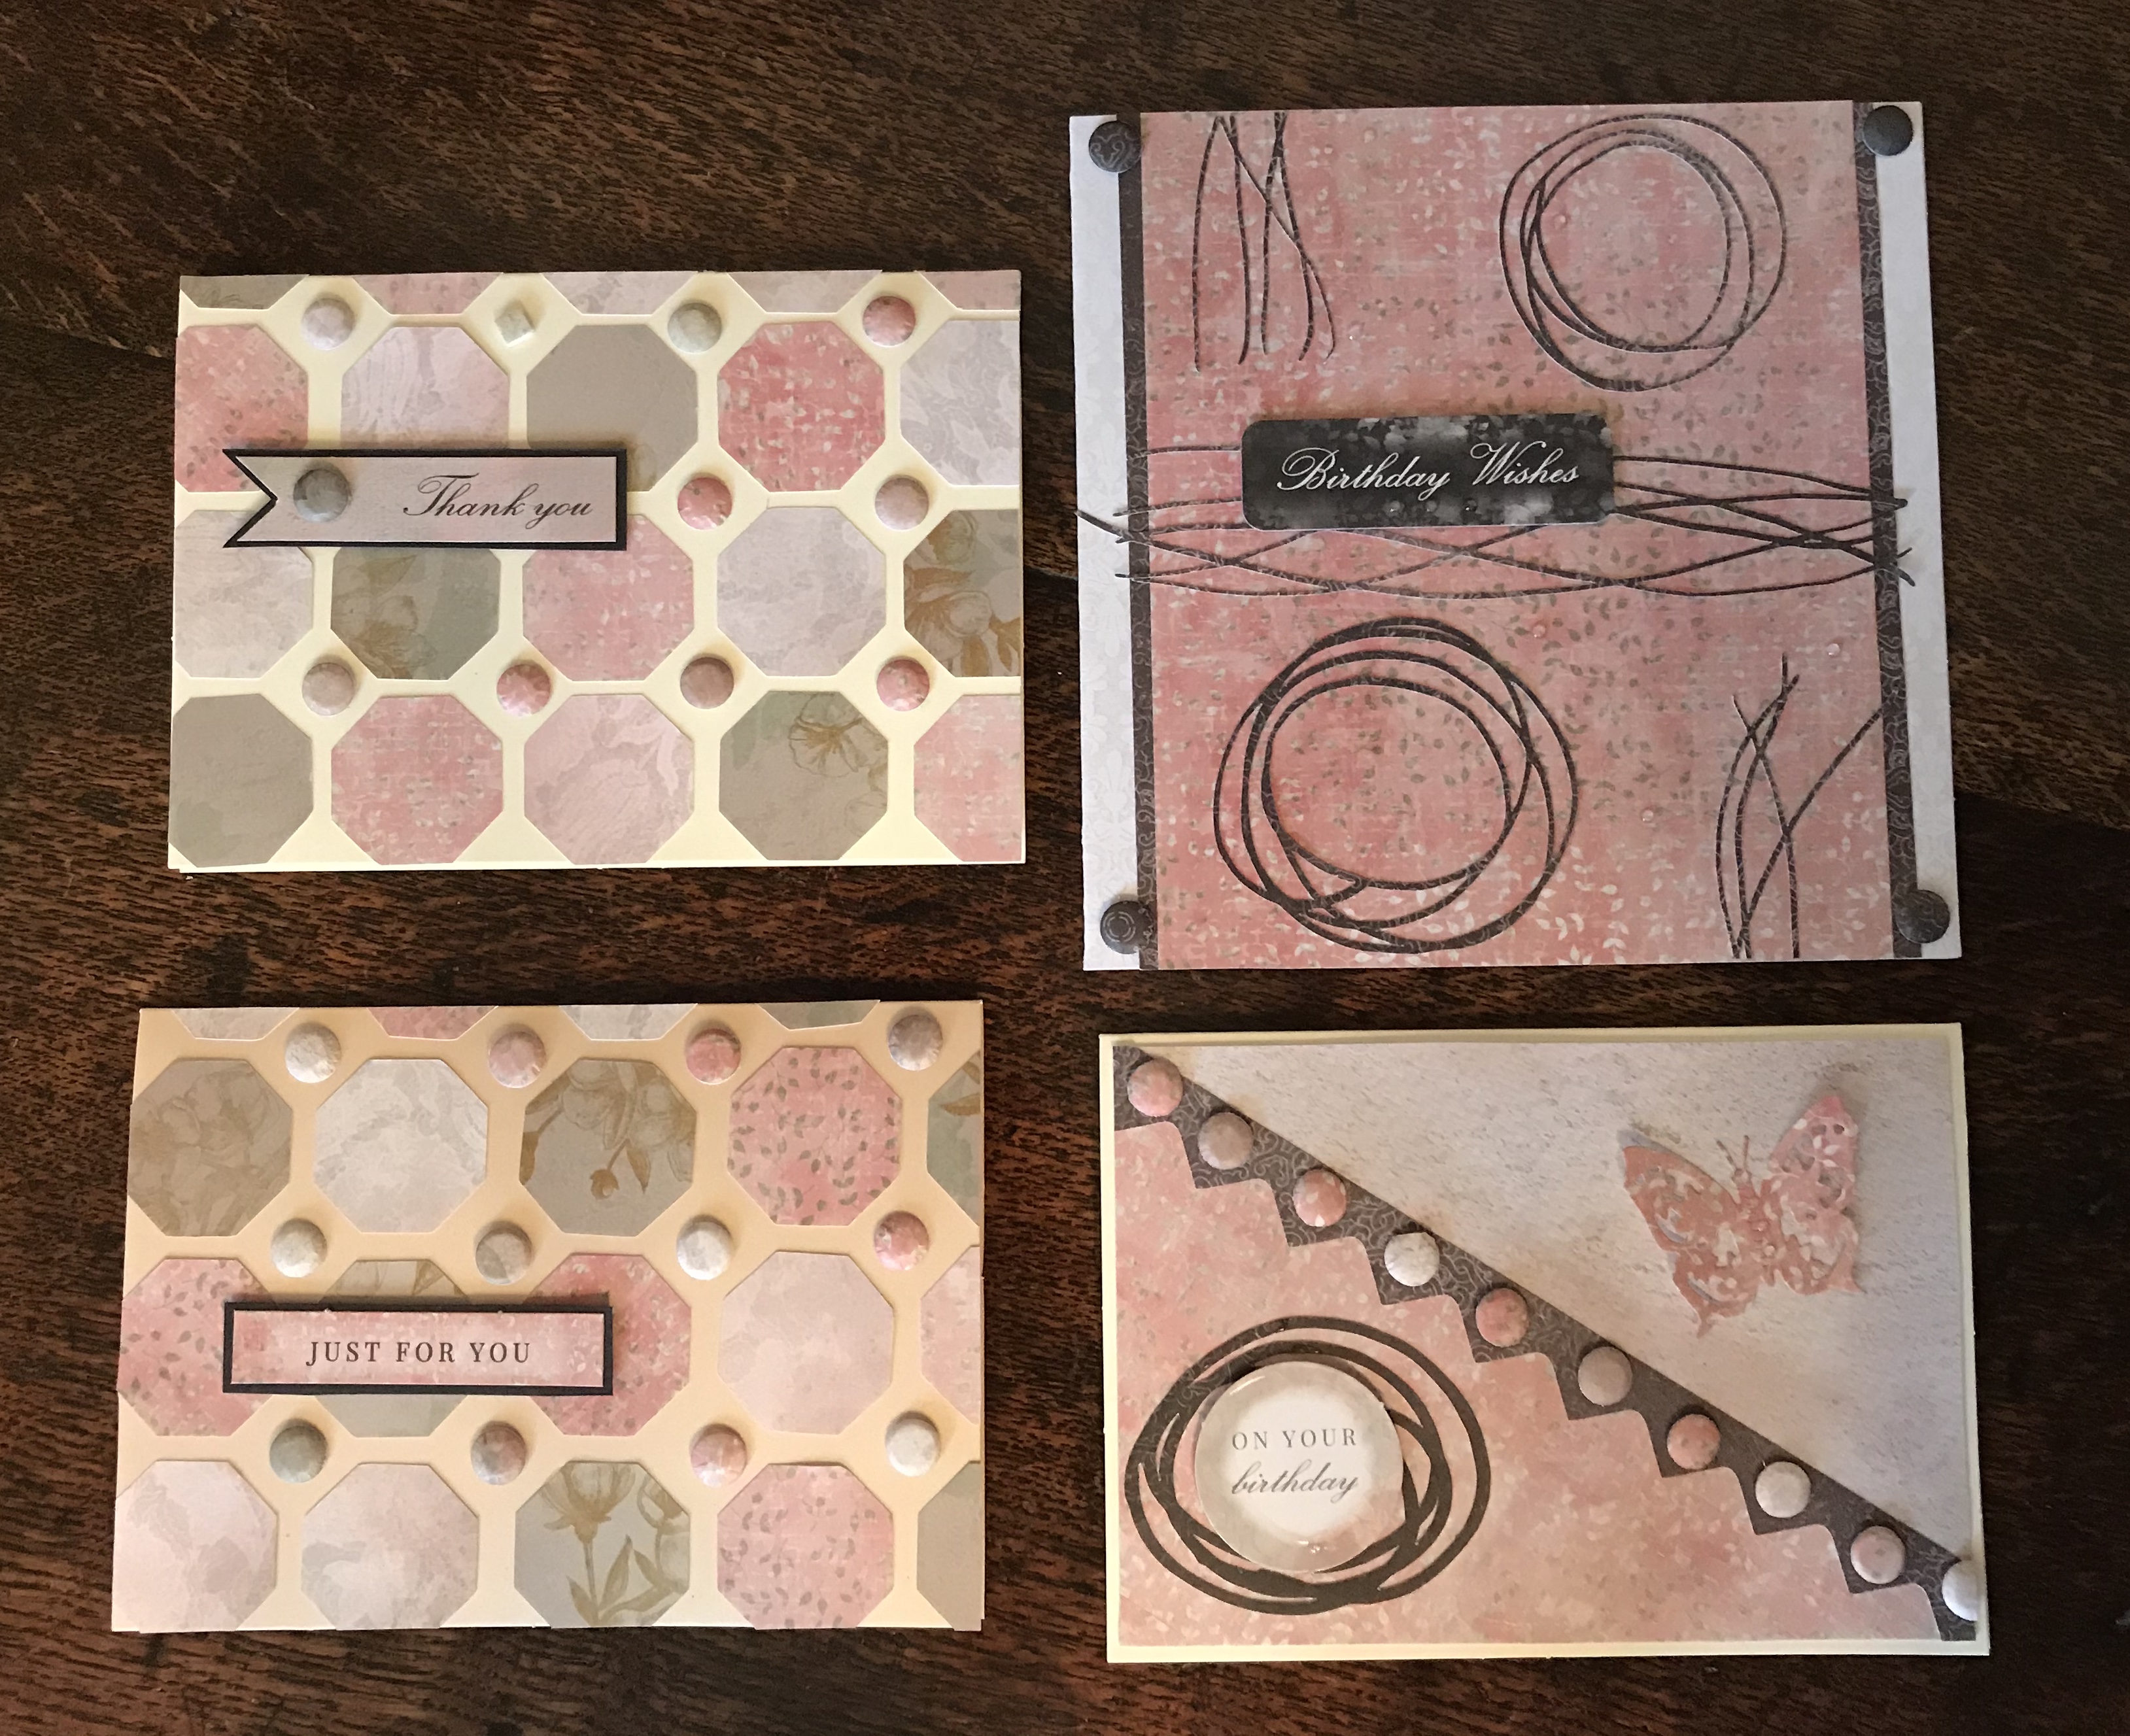
Scan n cut put to use here here with the octagon layout and a free svg of some doodles for contrast

tip for next time, octagons don’t tessellate or mosaic togetherlike hexagons would, but here studding with the Candi worked out fine

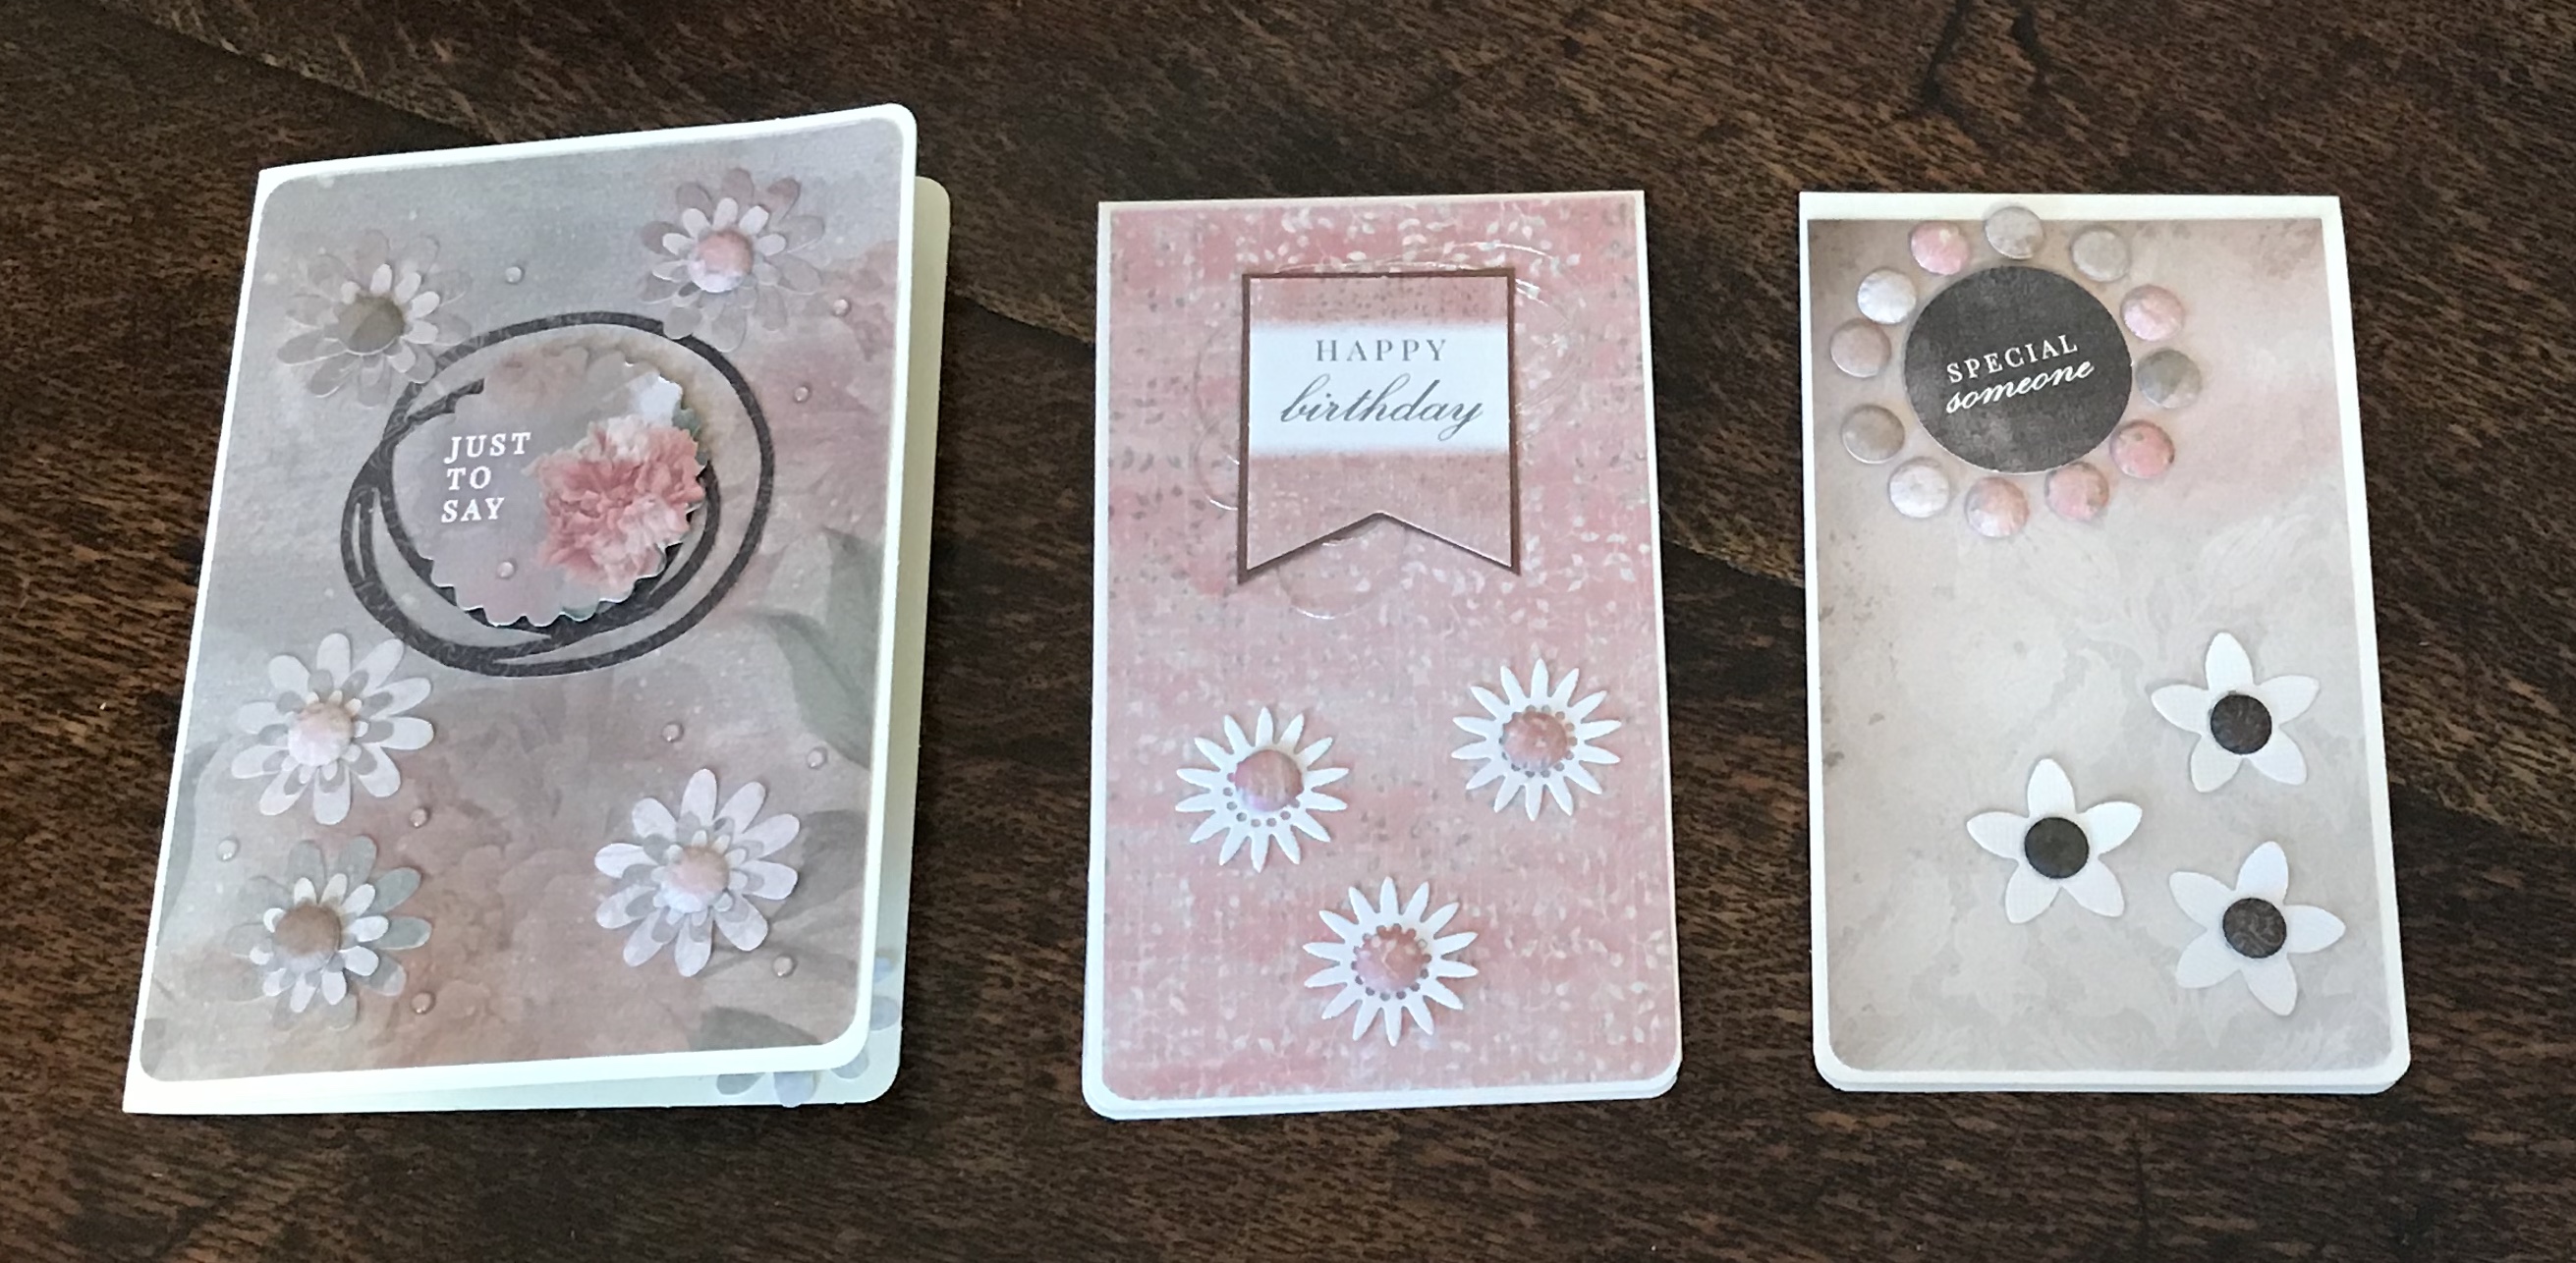
And using up my die cut flowers …

ten simple cards done in one afternoon but there are still 21 untouched pages of paper in the kit. So much paper left to play with.

Heat transfer vinyl

Much easier than I expected

I bought the vinyl from Tunnel  Vision and downloaded the visual from lovesvg.com before adding the personalised text on the ScanNCut. I then flipped the virtual visual to give a mirror image and put the vinyl shiny side (ie carrier side) down on the cutting mat before cutting with blade 4 and pressure 1.

the excess vinyl was peeled off the carrier and the remainder (the vinyl I wanted) placed dull side down on the T-shirt (peacocks) and ironed to fix it.  Once cooled the carrier sheet peels off leaving just the image in place.

now, what else can I cover in vinyl?


Clean and simple Christmas cards


I love making clean and simple cards, these use scraps from the seemingly everlasting Docrafts Folk Christmas kit.

I am trying to use it up before I let myself buy anymore paper but there is still lots still to work with.

I used an image from my scan n cut inbuilt library to cut 11 trees, each cut 2 cm high and mounted on small foam pads, so easy – 10 for the front and one for the insert.

I reckon this would work as well with a punch maybe in star or holly shapes if you didn’t have trees …

Here is a quick video on how to diy an insert for a basic card blank. Let me know what you think of my video efforts …

Wine glass tags

I ve made sets of wine glass tags today, using up Christmas paper and ribbon scraps. Feels good to have some mini gifts made ready.

I cut bauble shapes 65mm wide on the scan n cut and welded a central circle 17mm in the middle to create the gap for the stem.

To fit the tag around the Stem, I cut a slash from edge to centre (by hand as it was quicker than going to the software to set it up) and threaded scraps of ribbon through the bauble tops.

I added stickles to some of the less decorative papers but for a disposable mini gift, they really weren’t necessary.

In some sets I added napkin holders, (from scan n cut canvas projects , just a strip of paper with angled slashes at either end to loop round a serviette) with Christmas elements added to make a little Christmas buffet kit.

Presented in vellum envelopes, these would make a great craft fair goody. How much would one charge for a dozen tags in a set though? though

Personalised cushion

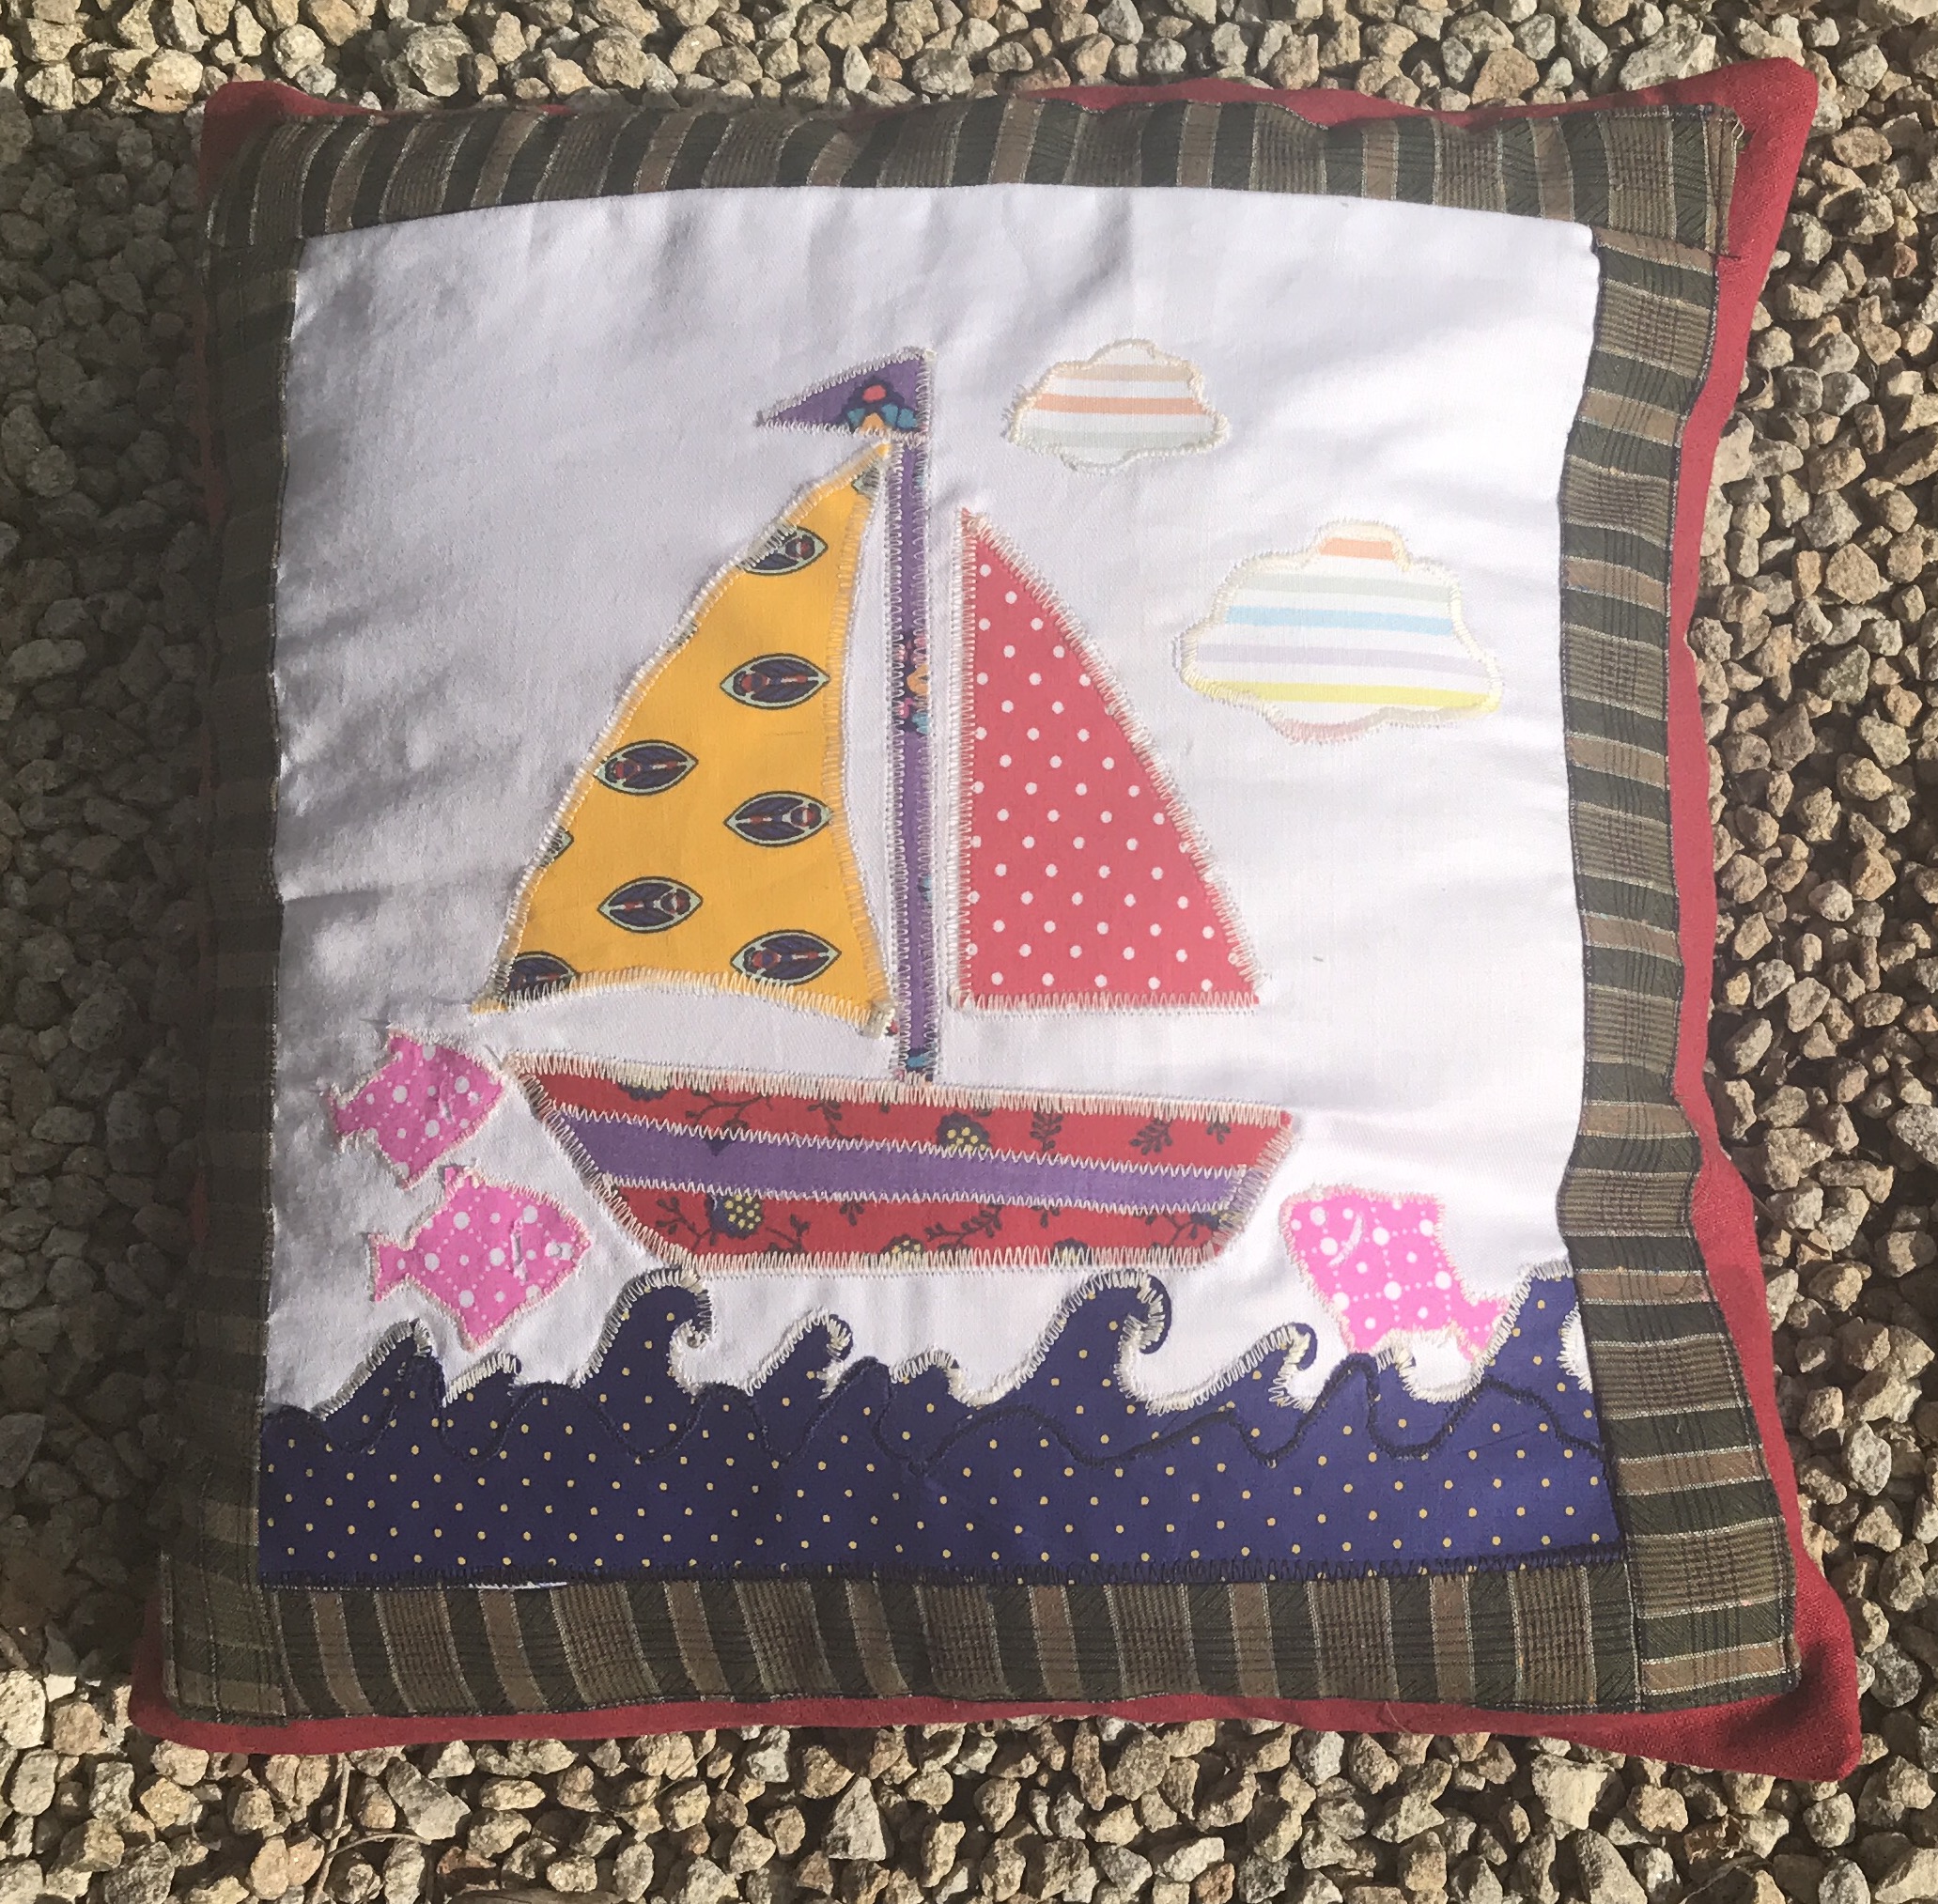
A unique creation made for a particular person!

aiming for a 15″ cushion I cut 3 x 16″ rectangles of red base material, one for my front and two for the back panel

For the decoration I filled a 12″ white fabric panel with heat and bond backed fabric shapes (cut on scan n cut from basic shapes library) and ironed them in place when I was happy with the layout. I then satin stitched around each shape to complete the panel.

I cut four strips of 2″ wide brown fabric – aiming for a wood frame effect and sewed them around the panel then ironed under the raw edge and stitched the whole onto my red front rectangle

to make up the cushion I folded 2″ under and under again on each of the back panels and top stitched the turned hem in place. I put the finished front piece face up and laid the back panels outside down on top so that the hems created overlapped in the centre. With lots of pins to keep everything square, I then sewed a half inch seam around all four sides.

turn inside out, press, job done!

Up cycle peg bag

scan n cut to decorate my tablecloth to peg bag project

the old oilcloth tablecloth has been taking up space in my fabric pile and all I can think of using it for is peg bags, any ideas?

I used a smallish plastic hanger ( note to self remember to keep hangers when next buying stuff in m&s as stash now depleted) and traced around the width of the hanger on the reverse of my oilcloth. I gave myself a half inch seam allowance and some wriggle room as the oilcloth doesn’t stretch.

The fabric length was cut at one and a half times the planned length of the bag (this gave me the back and folded up to make the bottom of the bag front.  When this piece was cut I folded it in half lengthwise to check it was symmetrical

To get the top front of the bag a separate piece of fabric was cur to match the width and shape of the back piece but length to just more than half of the planned bag size.

I planned the cutting  so the cut pieces finished on the bias bound edge of my tablecloth. This saved a hemming step. (That is why the right edge of my front does a little bend in the picture, I thought it would look stylish, actually it just looks wobbly).

The two pieces were stitched wrong sides together leaving a small gap to put the hanger through. I then Turned them  right sides out and creases were finger smoothed out (even a cool iron melted a prototype).

I cut shapes from external use vinyl on the scan n cut to decorate (and cover the iron damage on my prototype) and trust the project will enjoy a good second life somewhere


No sew appliqué

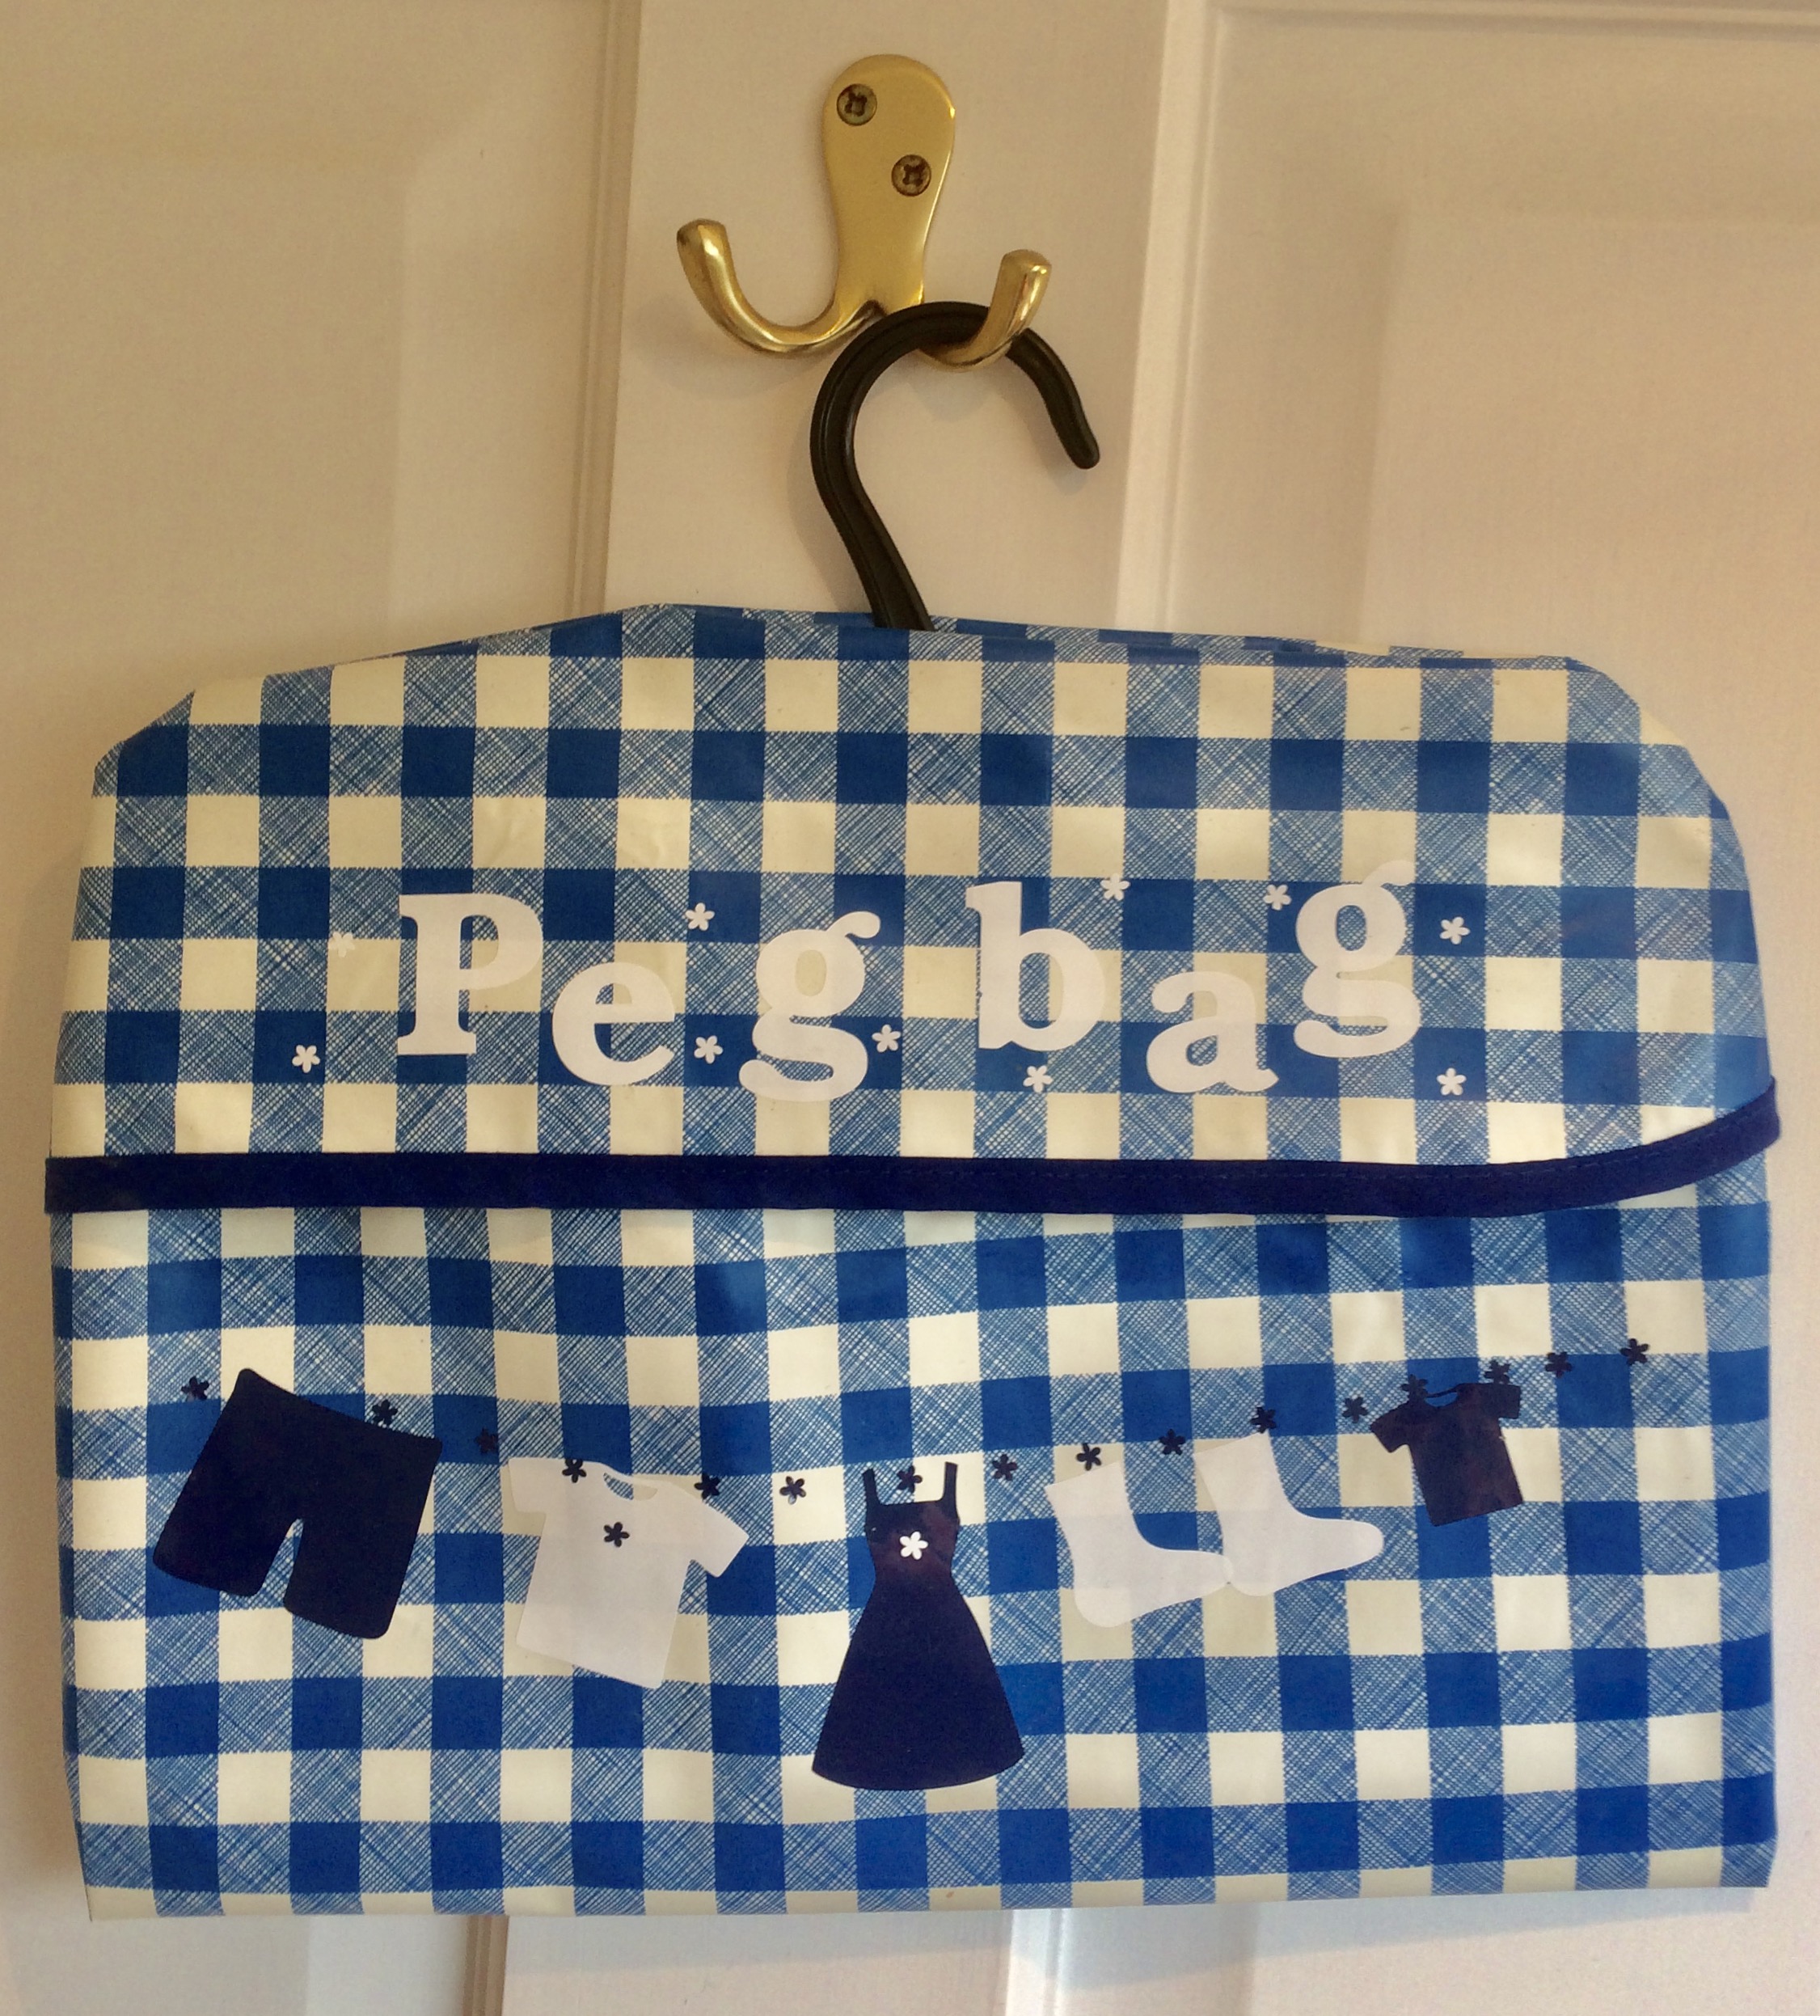
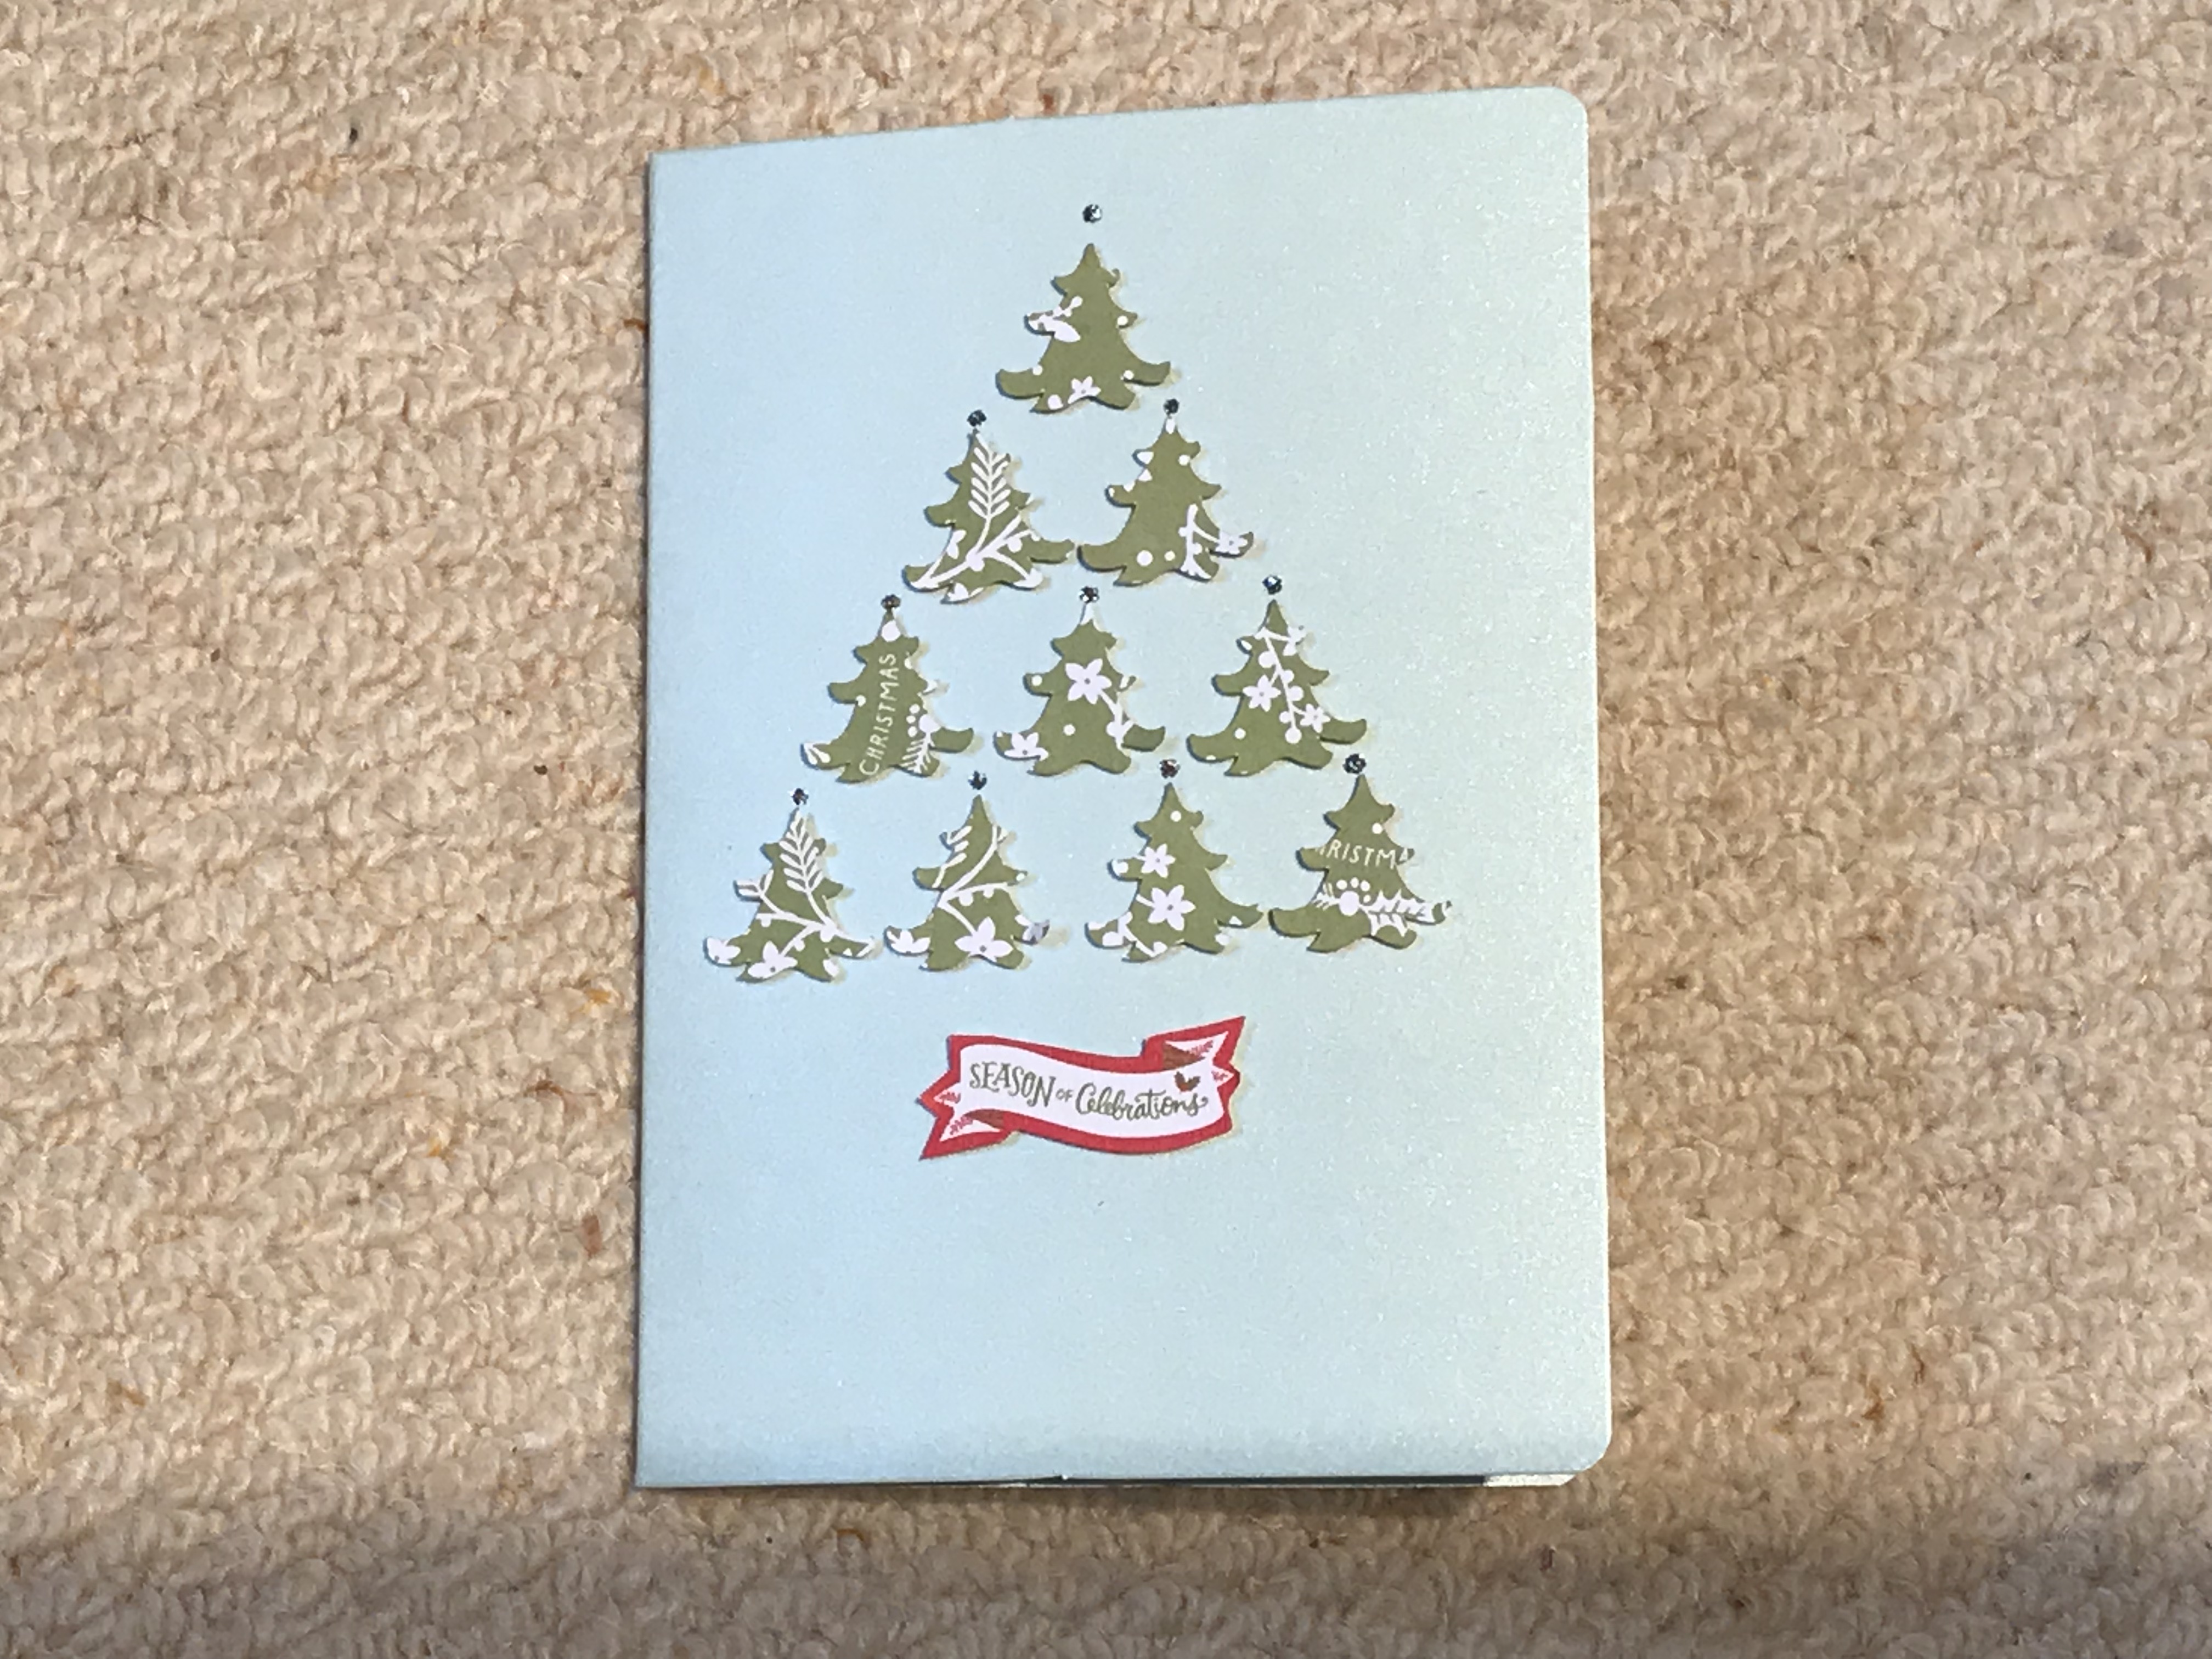
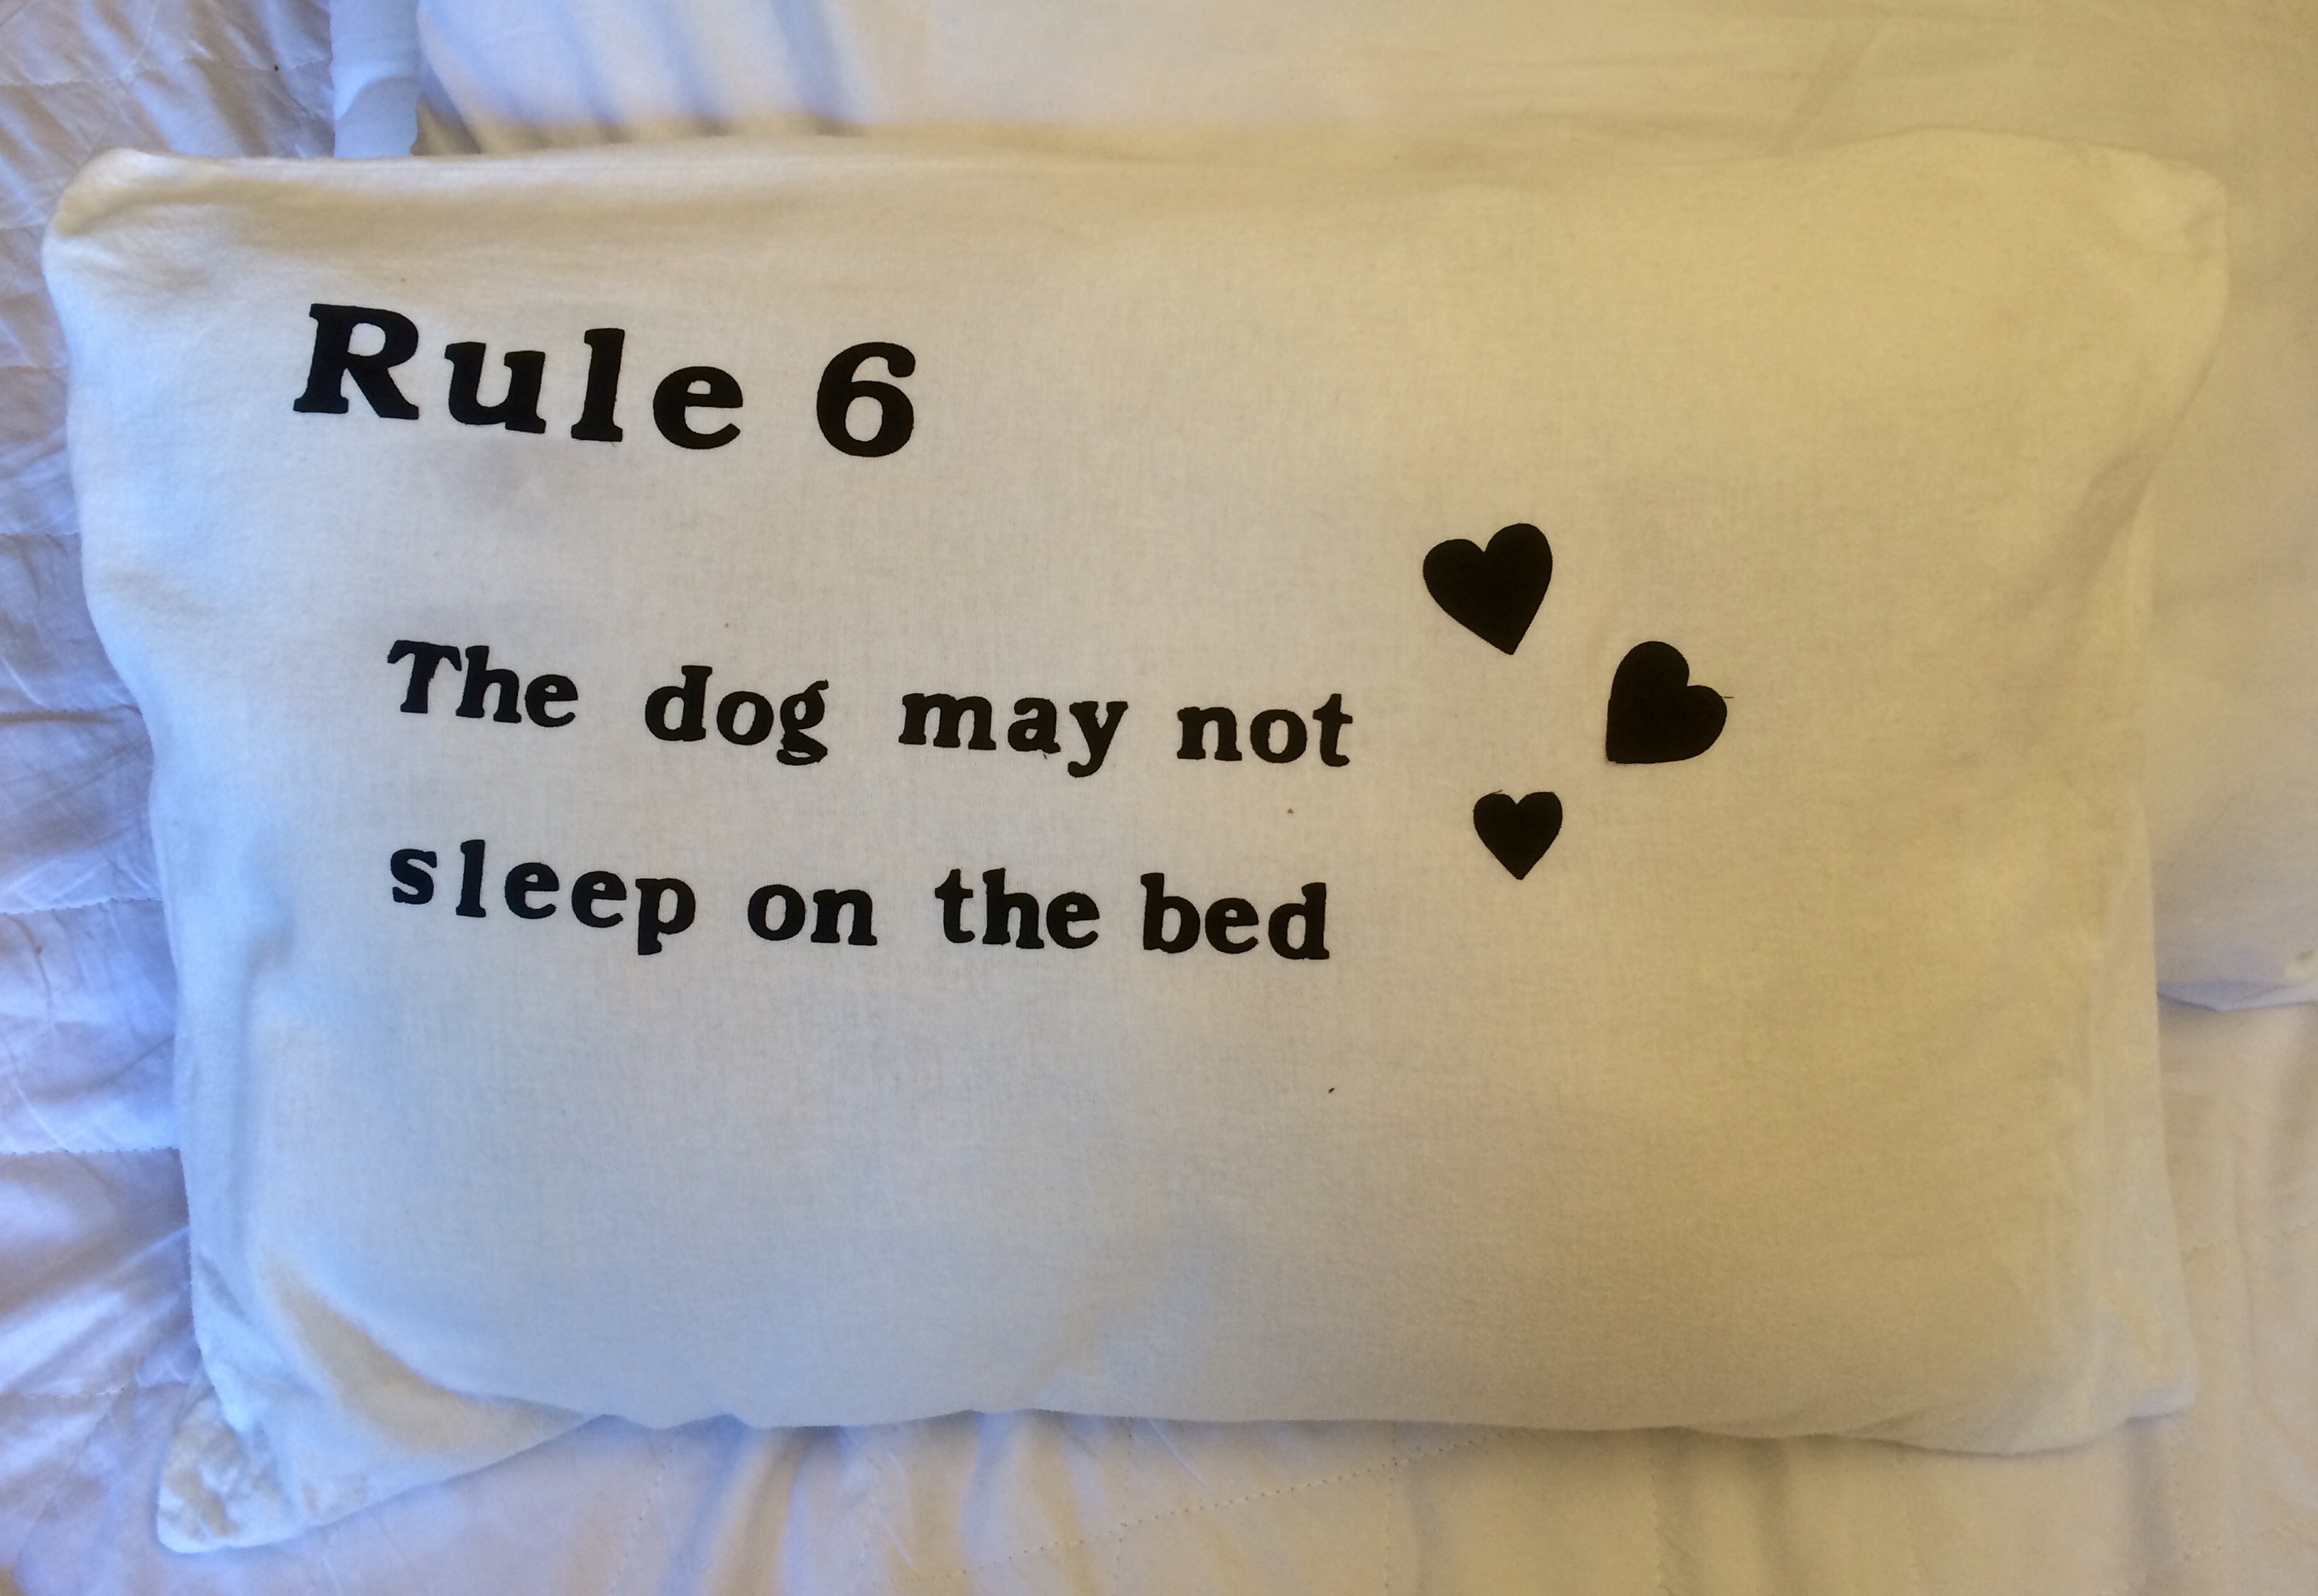
scan n cut with heat and bond made this a doddle

this old pillow sis in the dog basket I made some while back. It needs an upgrade and I wanted to practice my scan n cut fabric cutting technique in it. The pillow and case are standard ones recycled to the dog bed so a bit of no sew appliqué does the upgrade and helps me practise for other projects.

simple instructions

iron heat and bond onto a piece of lightweight cotton. Mine was about 10″ by 6″ , I chose plain black because of the type style bit white on a patterned pillowcase  would work as well

peel off the paper backing and press on the scan n cut mat, set blade to 4, pressure and speed to  4 , let the machine cut out the design then peel fabric from the sheet

position the design on the ironed pillowcase, I used a ruler to line the letters up – I forgot I have some transfer tape to try out

when in desired position, cover with a cloth and hot iron to seal in place

Cutting fabric on the scan n cut

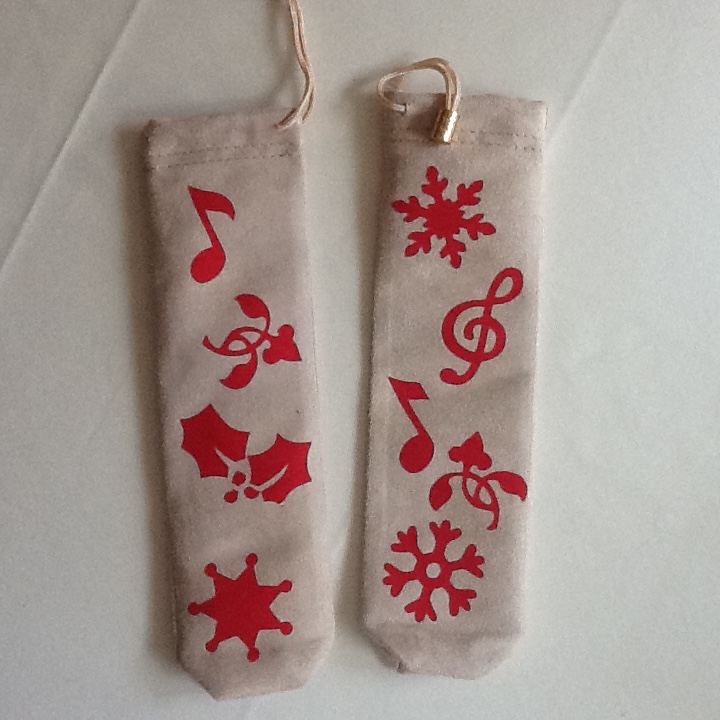
I have struggled to get the settings right, but may finally have sorted fabric cutting on  the scan n cut
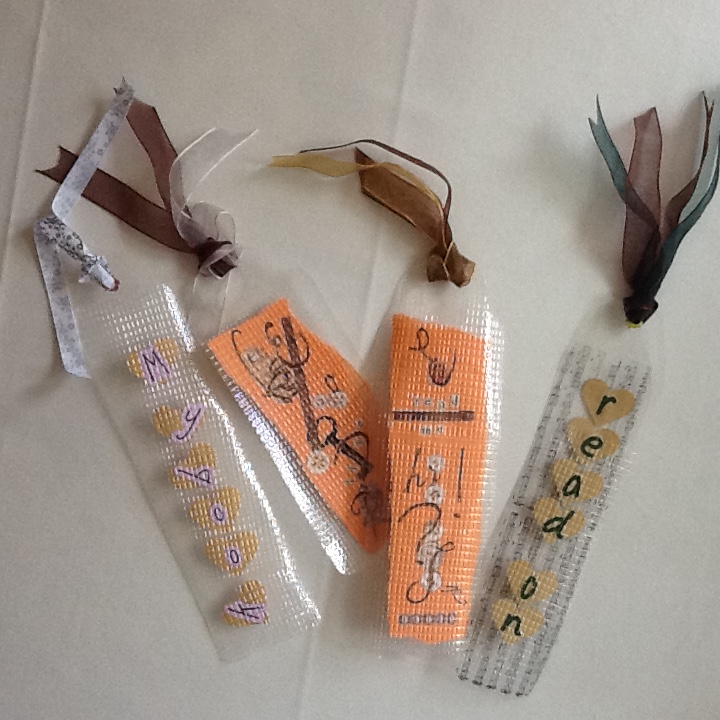
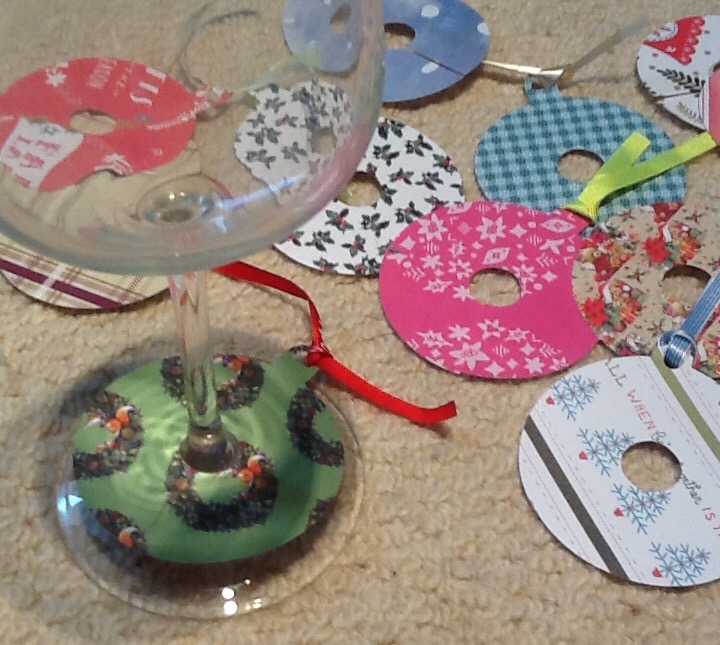
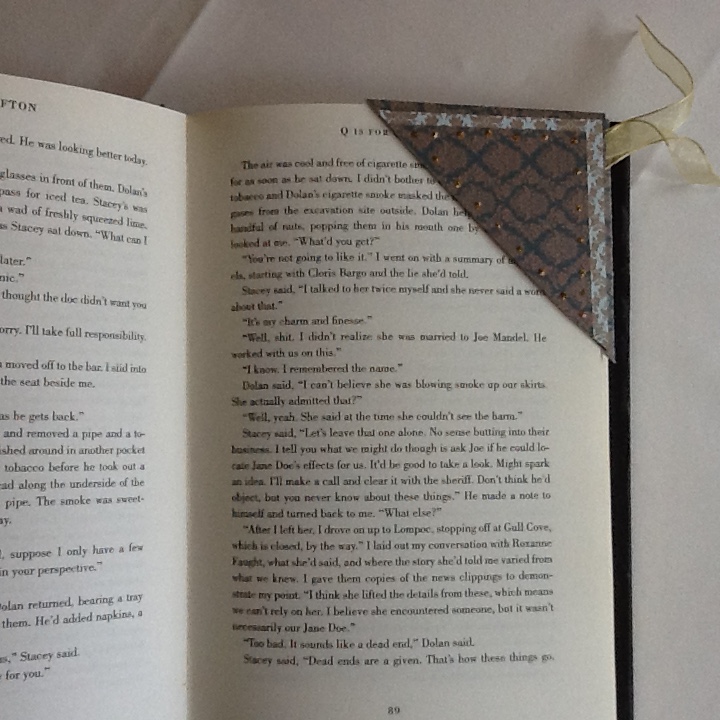
cut speed four, blade four, pressure four on light cotton that has had heat n bond or bondaweb fused on the back and the paper peeled off i.e. stuck wrong side down directly on the mat

the fabric peeled easily off from the mat and was just ironed on to the suedette drawstring bag: hot iron- no steam and with an ironing cloth for protection

so here I have decorated some glasses bags in a festive style so they can be given another life as gift bags later this year


Bookmark bonanza

Bookmarks galore…

using up my pile of peel offs (well making a dent in it), I laminated some words and cut out tag shapes with the scan n cut, then embossed to give the laminate texture and hide the air bubbles.

I stamped on one with stazon ink but didn’t much like the effect. And then I tore some thin coloured paper in strips and collaged more peel offs on both sides of the paper before laminating.

and I got a chance to try my new crop-a-dile to set some of my eyelets stash too – what a canny crafter I am today!

I also made a corner bookmark which is another great way to use up a patterned paper hoard. That is simply a 13cm square scored diagonally, corner to corner, to make four triangles. One of the triangles is then cut out and the the resulting three triangles folded and glued to make the corner. I matted up extra layers to add stability and sandwiched in some ribbon.

and to those who think bookmarks are a thing of the past, I refer you to Stephen Fry’s quote that bookmarks are as much threatened by the Kindle as stairs are by escalators.