Co ordinated gift bag and tag, so simple

I bought a bundle of brown food bags from the catering supplies shop for Christmas and duly stuck on panels and greetings in red, green and gold. But eighteen months on I still have plenty left, so have decorated a few simply ready to pop gifts in.

I used a stencil panel which fitted the bag front perfectly so used all the patterns rather than re aligning one of them.

I dabbed some distress ink- evergreen bough- on to a craft sheet and rubbed the ink through the stencil with a piece of cheap bathroom ‘sponge’. The back was also stencilled the same way.

The gift card and flower were cut from craft card with the scan n cut, the same distress ink rubbed on the edges of the flower and stamped on the tag. The message is ‘a gift for you’ stamped repeatedly on the diagonal, so it can be used for many occasions.

Distress ink or sepia browns work brilliantly on craft and for more masculine versions I am using rosettes rather than flowers.

Inside is a sheet of tissue paper ready to wrap a goody from the present drawer. Even so this will store almost flat until needed.

Drawing with scan n cut (save money on stamps)

I want my handmade cards to be personalized and usually light-hearted so stamping a message isn’t the answer for those special cards. The scan n cut draw function with the universal pen holder means my gold gel pen can deliver a professional greeting, even direct on to this kanban linen look note card.

To add dimension I used the cat die from the crafts beautiful free gift this month and foam mounted it .

confession, although the card looked fab, clean and classy without, I had to add scan n cut ric rac border of gold top and bottom to hide a glue splodge

I also used the draw function to write ‘thanks’ inside.  By keeping all the elements to gold this card looks understated and grown up. Love it

.

PS a dog version might be contemplated if I can work out the greeting !

Quick photo stands


Want to display some photographs or cards but don’t have any frames spare? Head for the recycling box and use old cardboard for a quick fix.

I covered my card with pretty paper before cutting. I used my scan n cut to get a neat shape but scissors would work.

I then creased the shape against  a ruler to get the fold

adapt for your photos but aim For a width much wider than the photo so, once the support is creased, the photo can lean backwards rather than be too upright


Scan n cut snowflake garland/paper bunting

img_0185
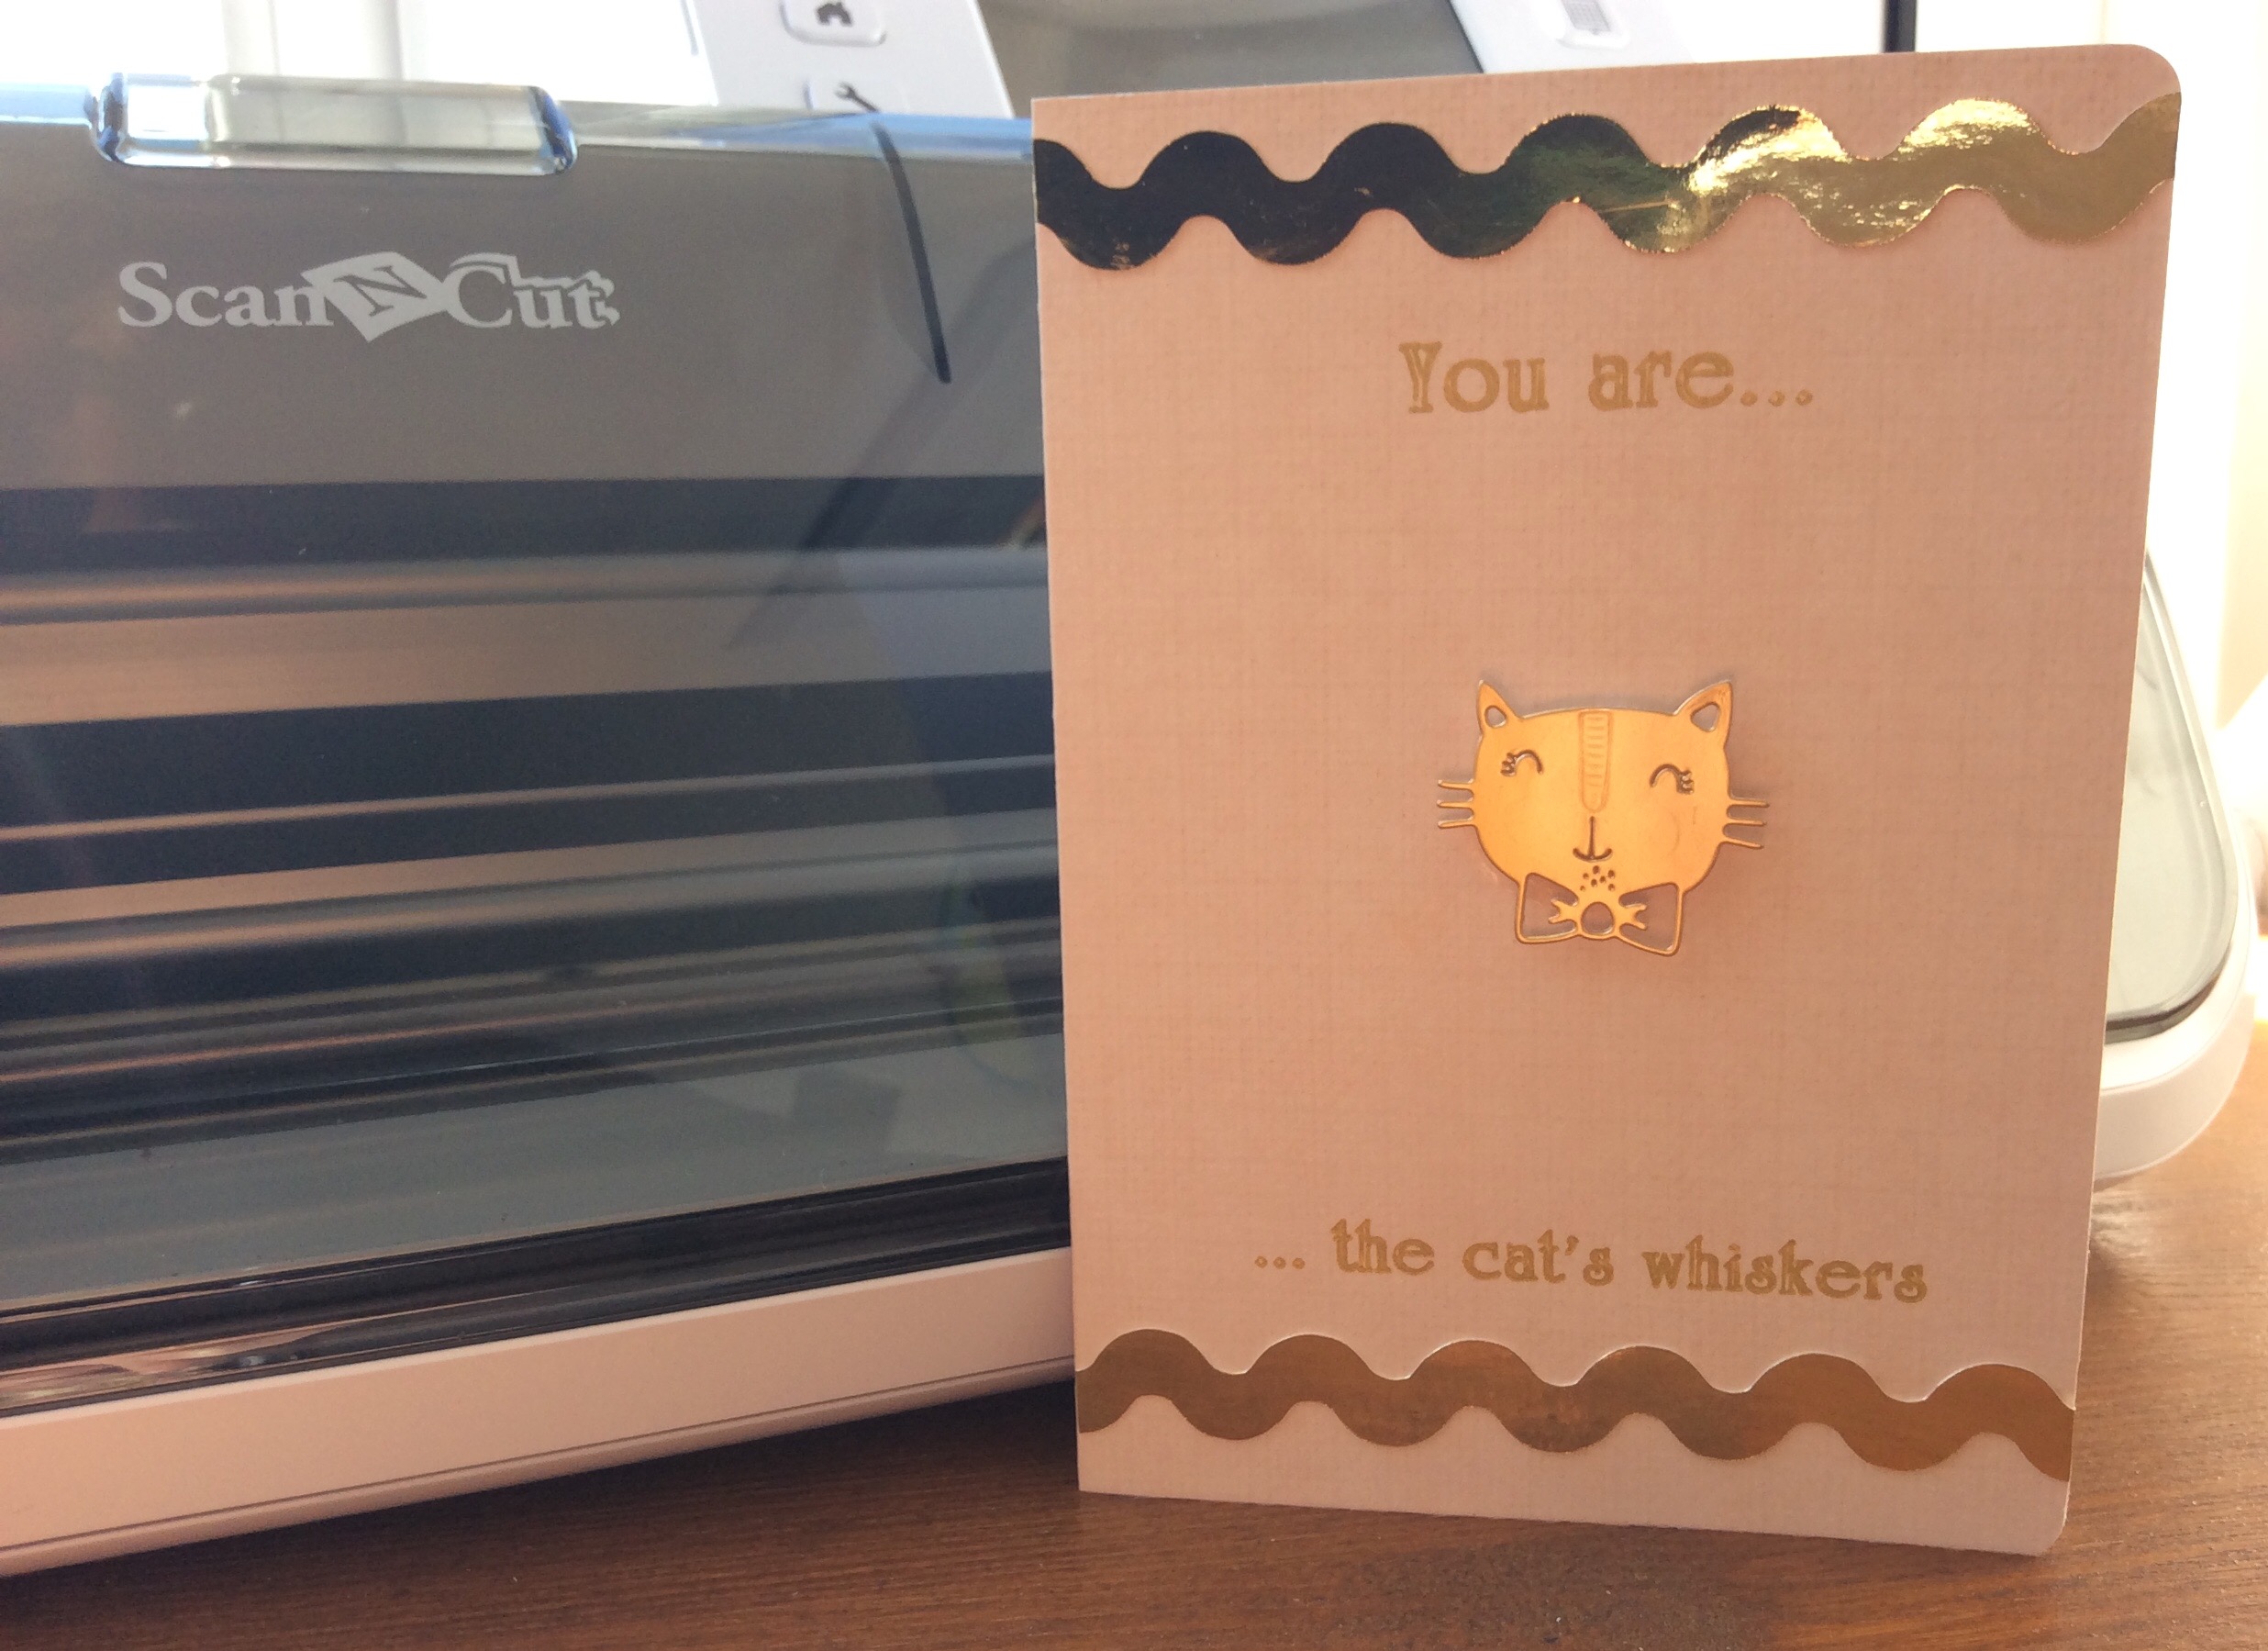
I followed a scan n cut you tube idea to create some home made decor this year. A modern version of paper chains!

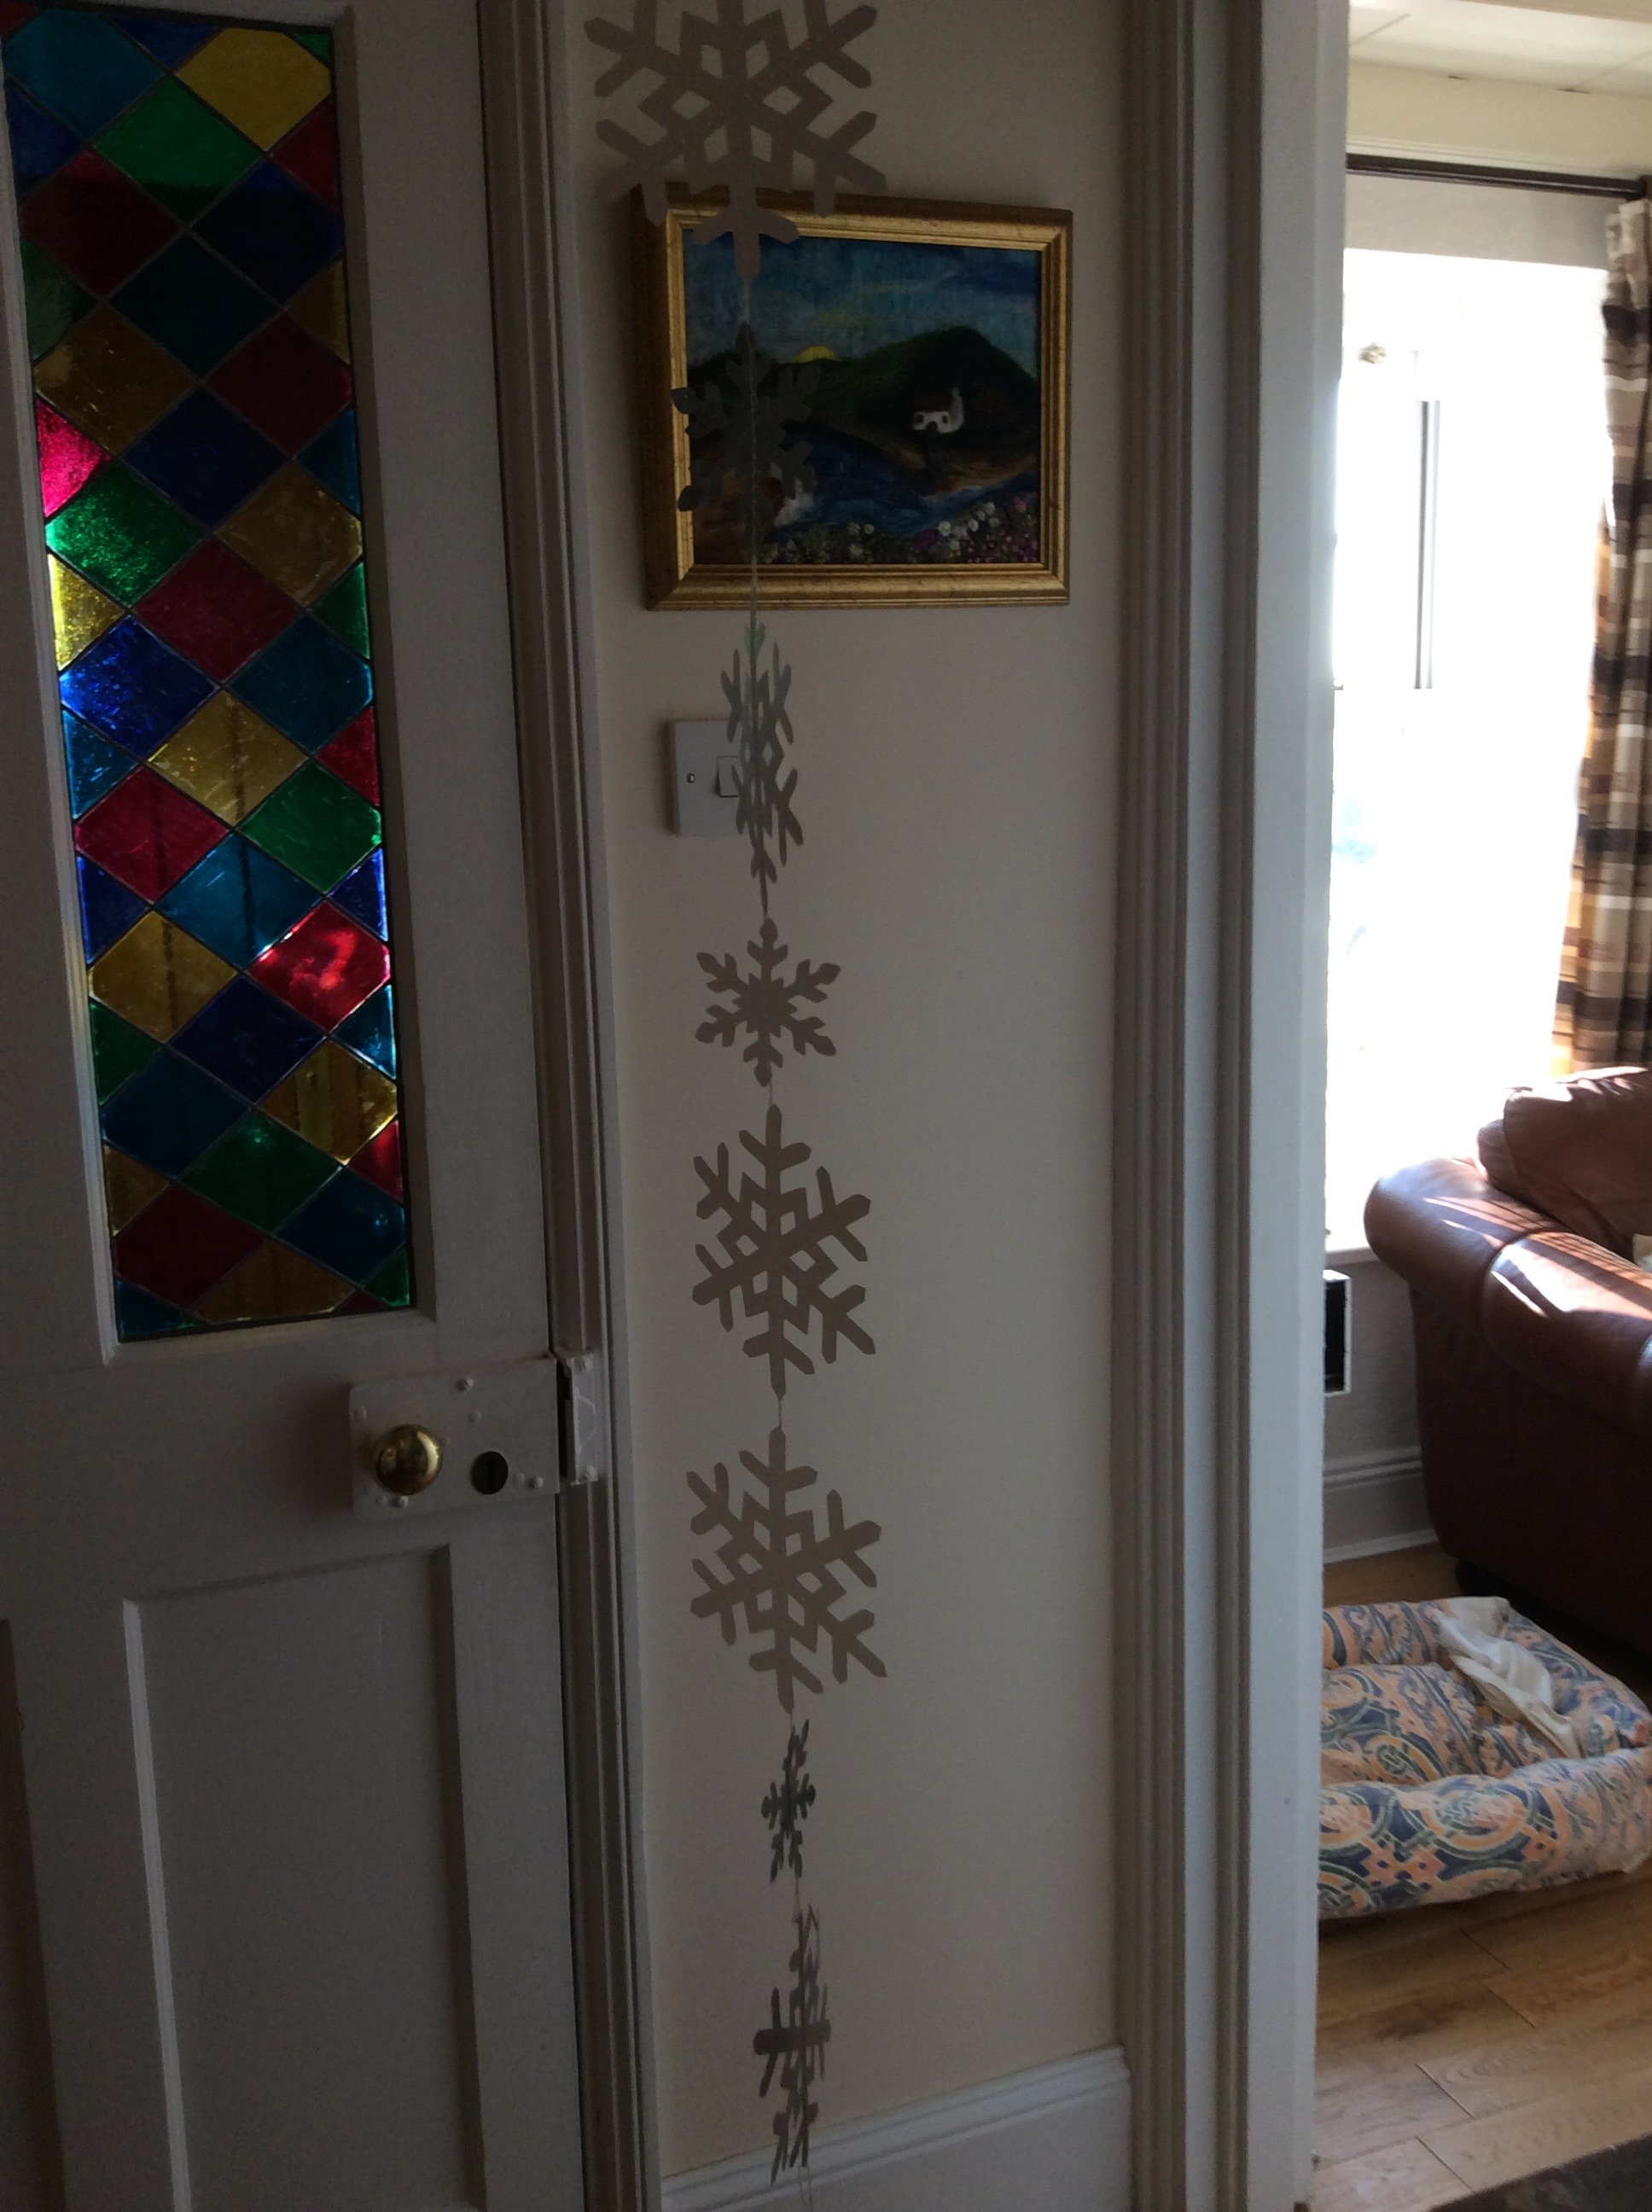
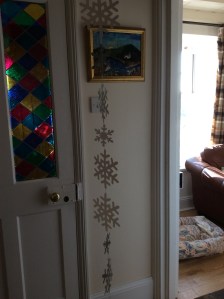
For a Christmas themed garland you will need to cut out an assortment of paper snowflakes in different sizes.  I used a selection of papers and wish I had chosen doubled sided stuff as the garland twists a little in use.

if you don’t have a cutting machine folding the paper and hand cutting is an option if you have the time (or child labour!)

at the sewing machine pull a long tail of thread through then sew a long straight stitch through the centre of the first flake. (I used a white thread as most of the papers were pale or had white in but a contrast thread in a decorative stitch might be fun).

Be brave, go straight off the end of the flake and sew a few stitches in the gap before you put the next snowflake through. This creates a chain for your garland. You can overlap a few flakes or stitch a small one on top of a larger one as well.

Continue for the length you wish and leave a long tail of thread at the end for tying.

Easy to recreate for Valentines, Spring, Easter, Birthday, Halloween or Anniversary versions  …

Tip: remember that paper will blunt your machine needle
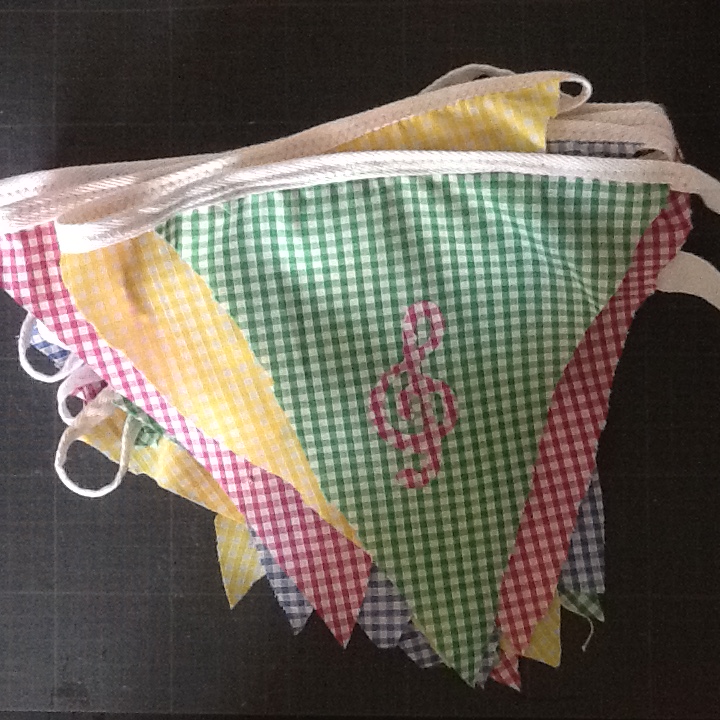
Little bag of tags

img_0598 img_0599

Scraps of card were cut into label shapes with the scan n cut then decorated with die cuts from the enormous , seemingly endless,  Natures Gallery Docrafts bundle. I stamped ‘to’ and ‘from’ and tied twine in place then made a mini folder pocket to hold them in.

I then got in the mood with old Christmas cards cut the same way and a shaker card version too. This required a bit of organization to put the same weight of card through the scan n cut at the same pass but really effective.

image

First steps to Christmas

image

Smart and simple card thanks to scan n cut

three of the library baubles cut from a paper set :(docrafts)  stuck on a mat – same paper set- with foam squares and the strings of gold thread tied on then stuck behind with tape runner as the mat was taped to the card blank

no sentiment, no insert but classy card blank

6 down, 94 to go