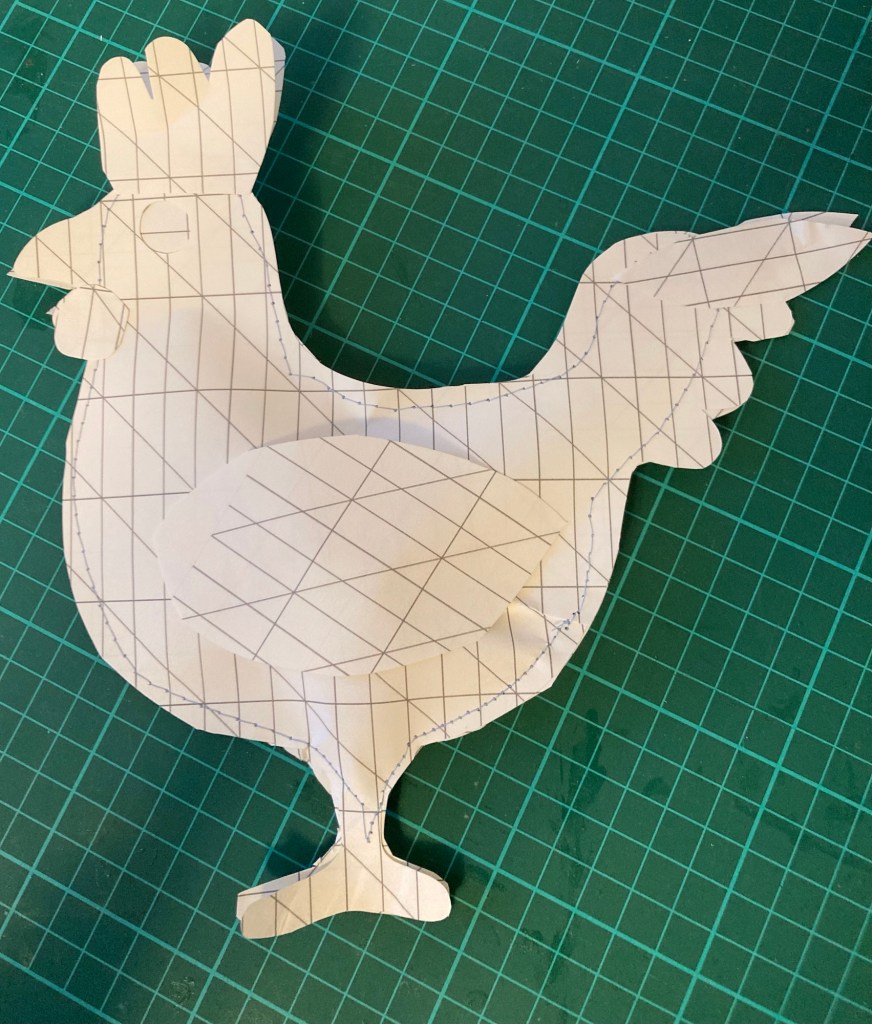
In this case it was the chicken.
A pair of paper cut outs (calligraphy paper aplenty in my drawer) were sewn to sandwich a crème egg inside. Ready for little Easter gifts and tucked away so we don’t inadvertently nibble them.
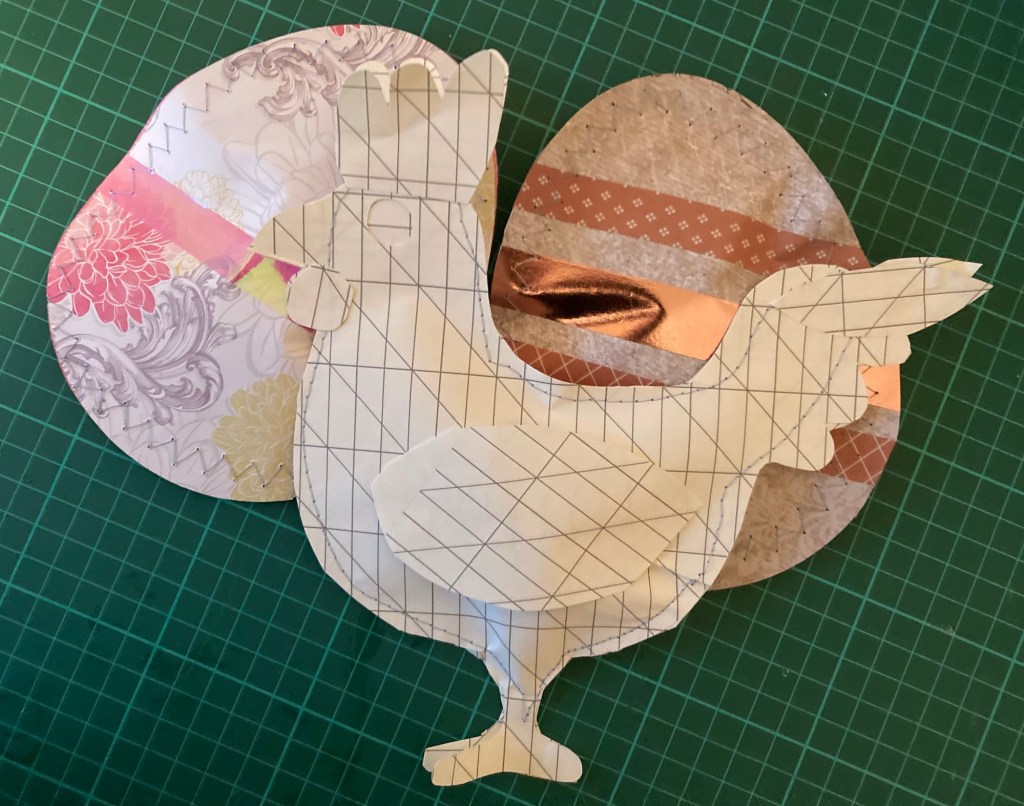
Then a few eggs were made using up magazine papers and washi tape (will I never use it up?) again sewn shut and packed away for Easter.
The basic shapes were cut from my scan and cut to the maximum size of my papers. I can see this working with other stock shapes for single sweet treats throughout the year – hearts, cars, stockings …
Must remember to keep the sewing machine needle with my papercraft projects as the paper blunts the needle quickly.
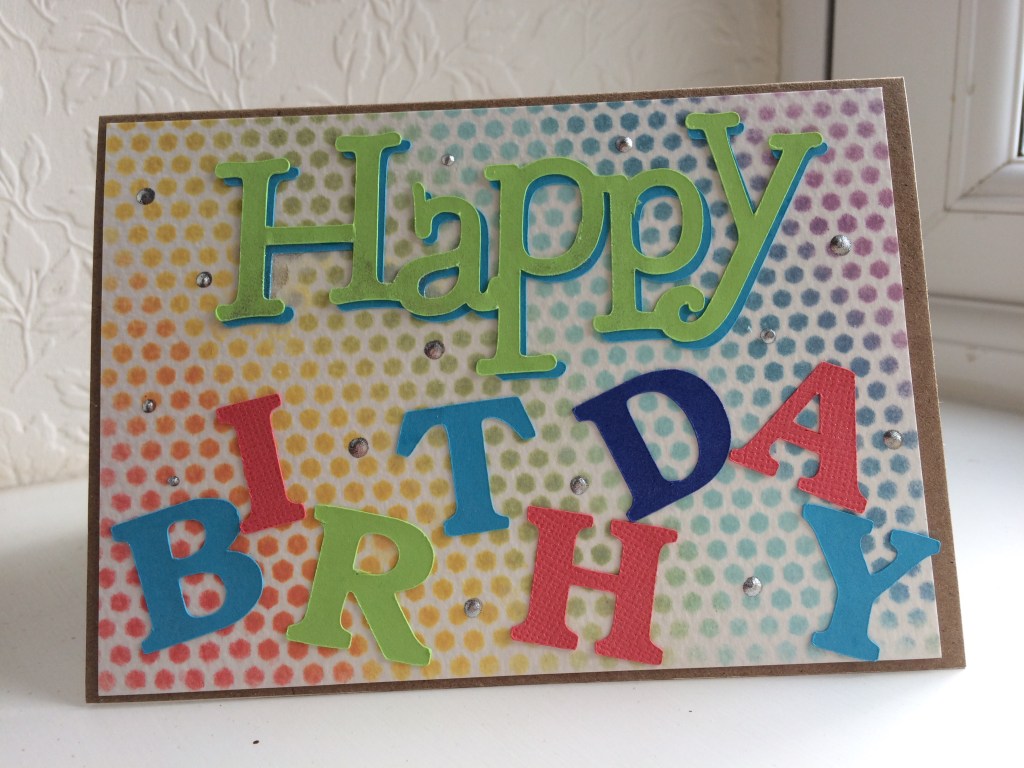

 The invitation was clean and simple in cream and gold , so is the reply.