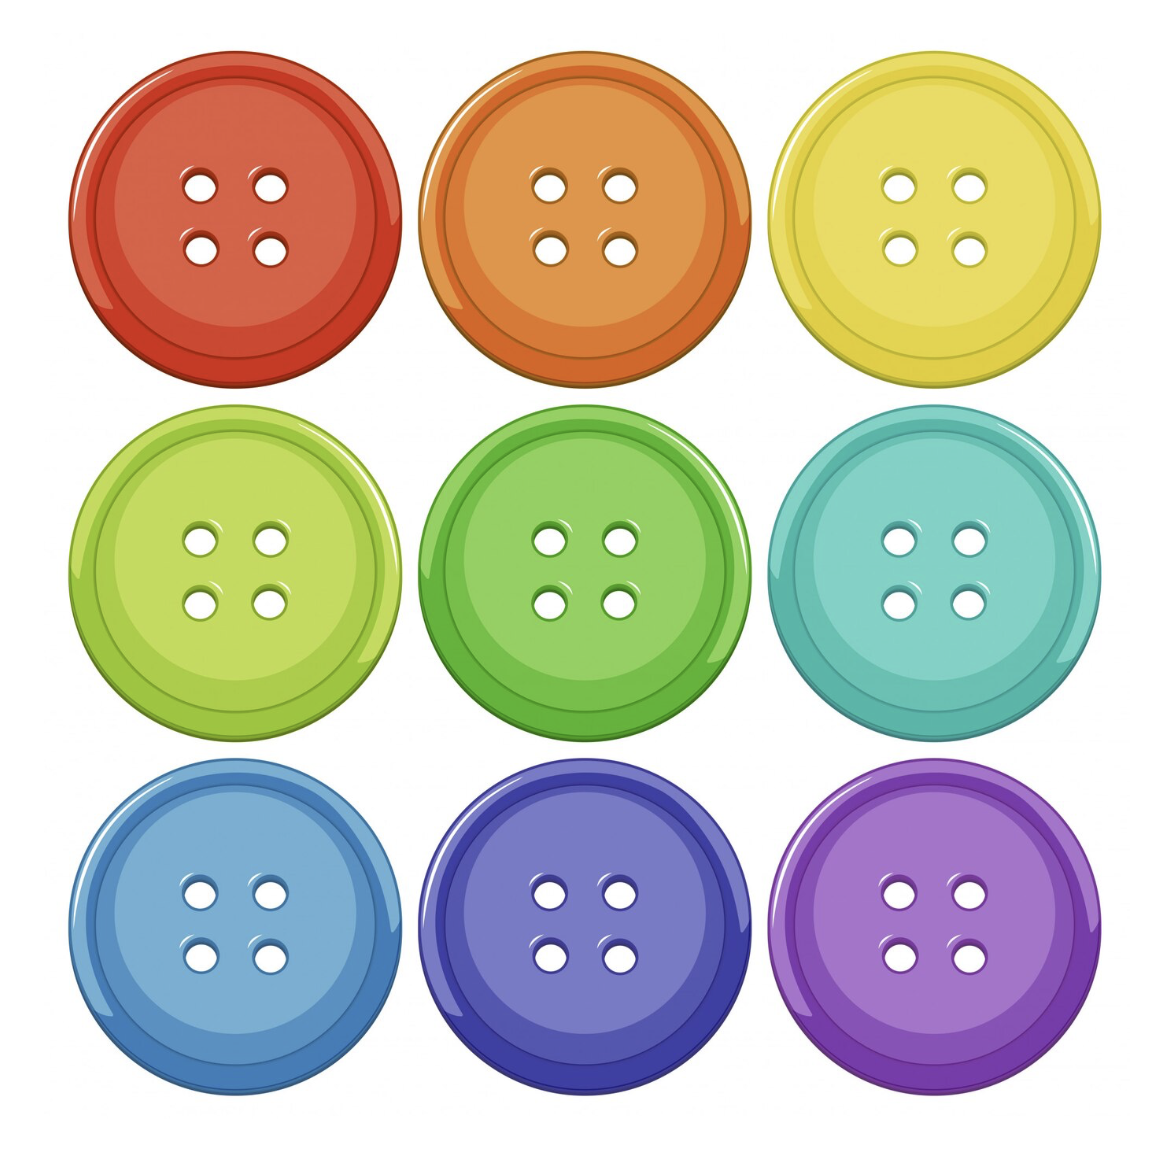
For a quick upgrade of a plain white shirt I raided my button tin and replaced the buttons with a rainbow of buttons. I used the same vibrant thread to make the contrasts look deliberate.
I even included one of the glittery buttons I made with UV resin so a proper use it up project!
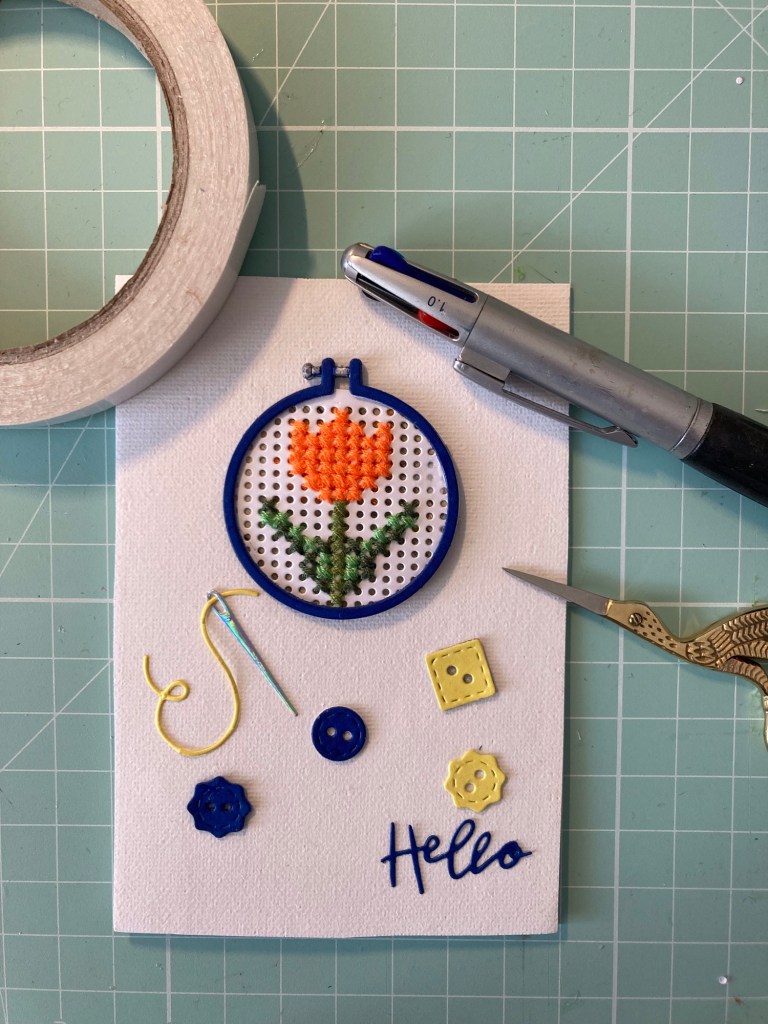
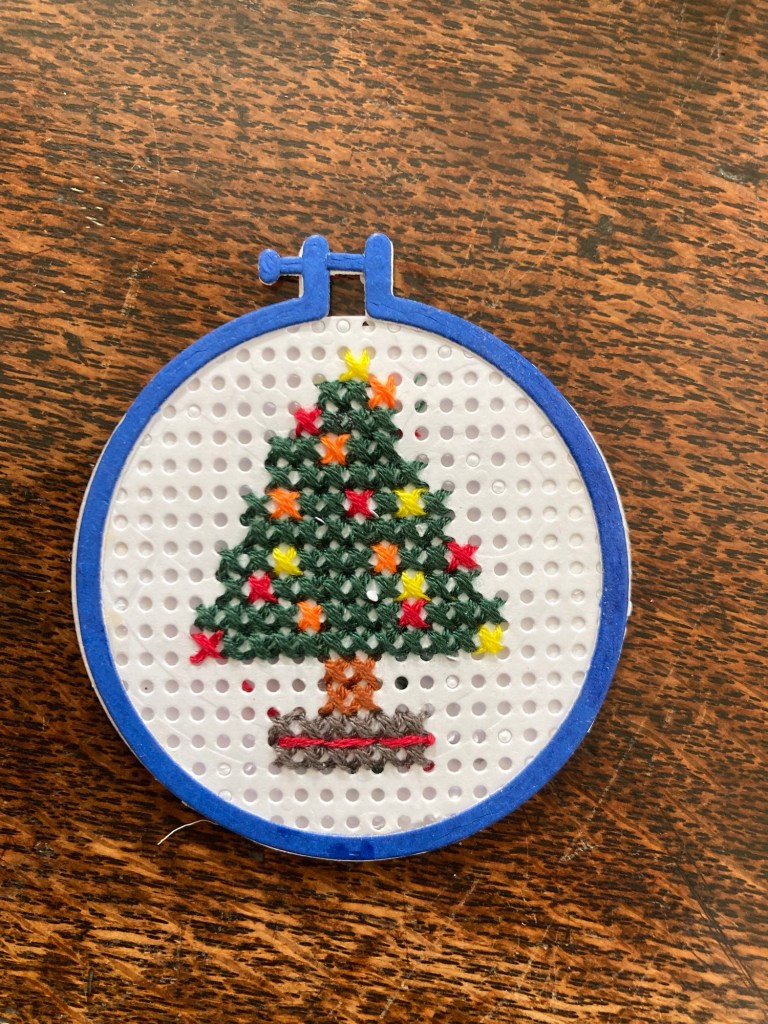
I bought a cheap die set from Globeland on Amazon and have been stitching on paper for the last month.
The set includes a die to make Aida effect punched paper, dies to make different sizes of hoops, buttons and sewing accessories. Well worth the price at about £7.
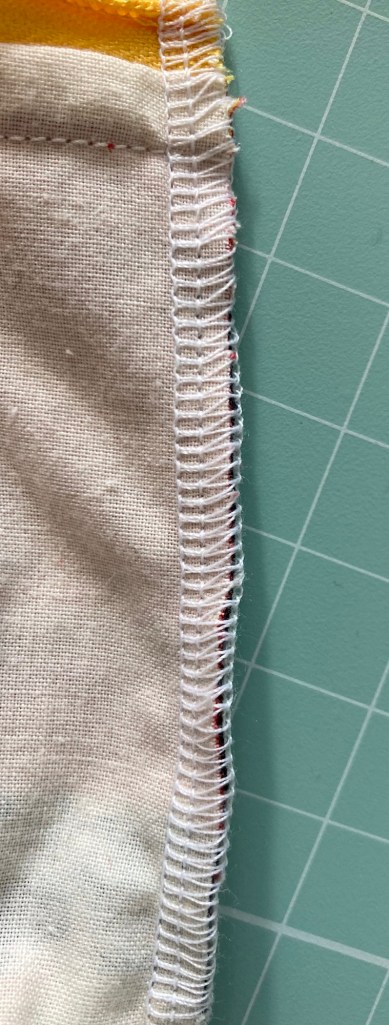
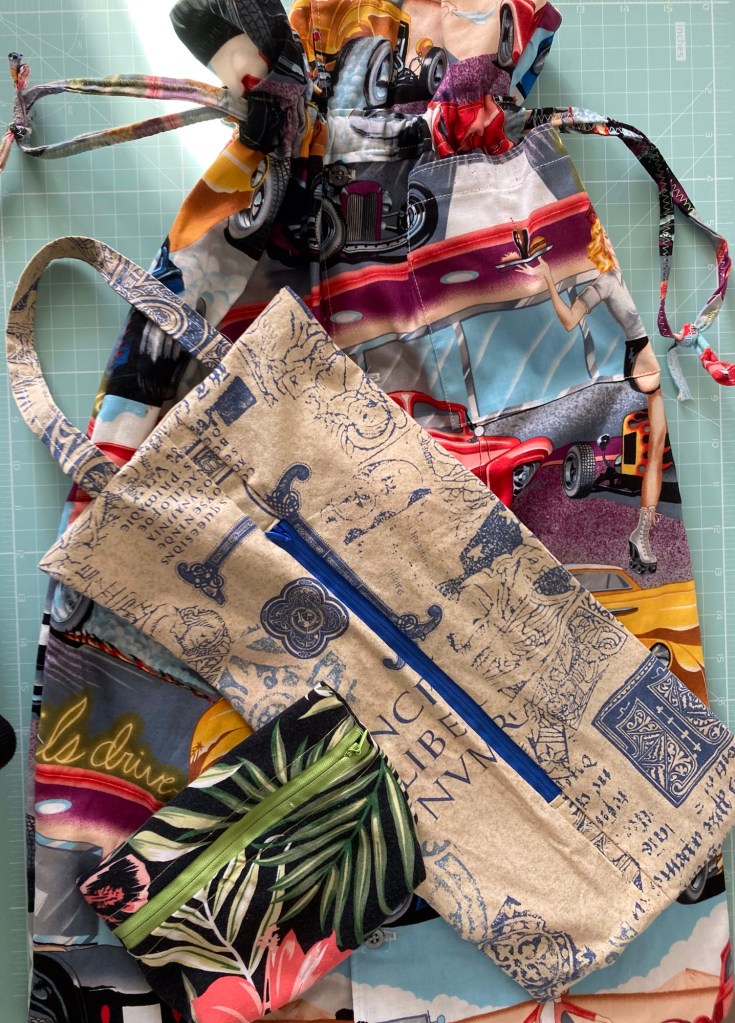
Our library has a ‘fab lab’ where you can play on machines such as 3d printers, sublimation and sewing machines. I decided to see if a serger was something I might find useful.
A one hour session making up assorted bags and pouches was enough to convince me NOT to buy one. Fiddly to thread, scary to use and I can do a mock overlock with my standard machine.
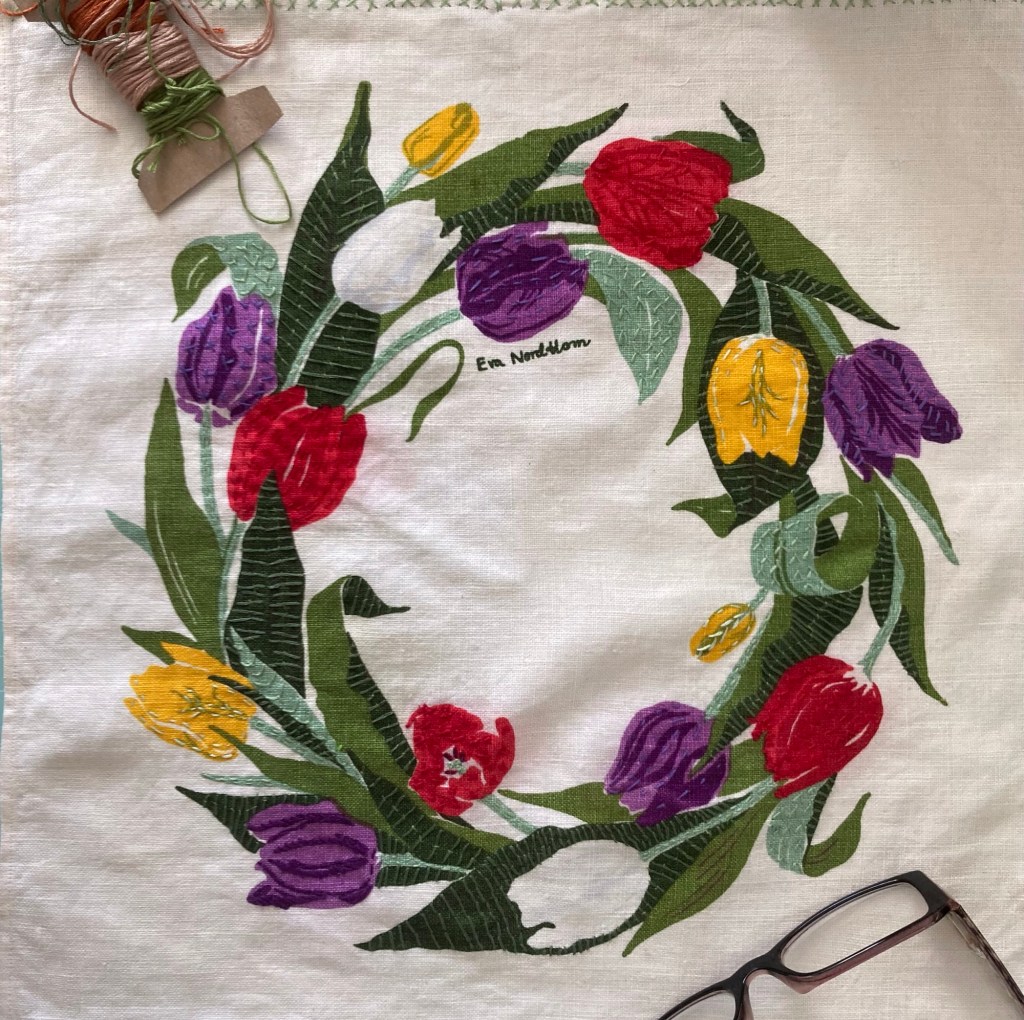
This beautiful Swedish mat had a small stain on it so I stitched (simple straight and cross stitch with embroidery floss) over the printing until the stain ‘disappeared’ and now it is back in use as beautiful as ever.
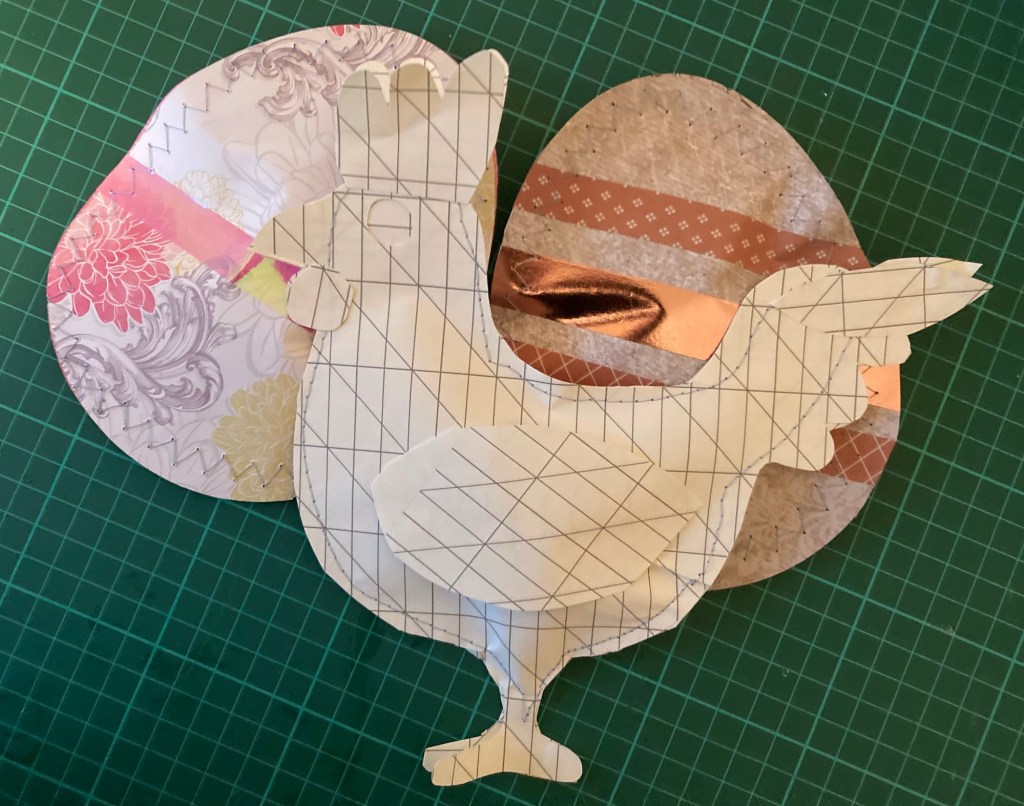
A pair of paper cut outs (calligraphy paper aplenty in my drawer) were sewn to sandwich a crème egg inside. Ready for little Easter gifts and tucked away so we don’t inadvertently nibble them.
Then a few eggs were made using up magazine papers and washi tape (will I never use it up?) again sewn shut and packed away for Easter.
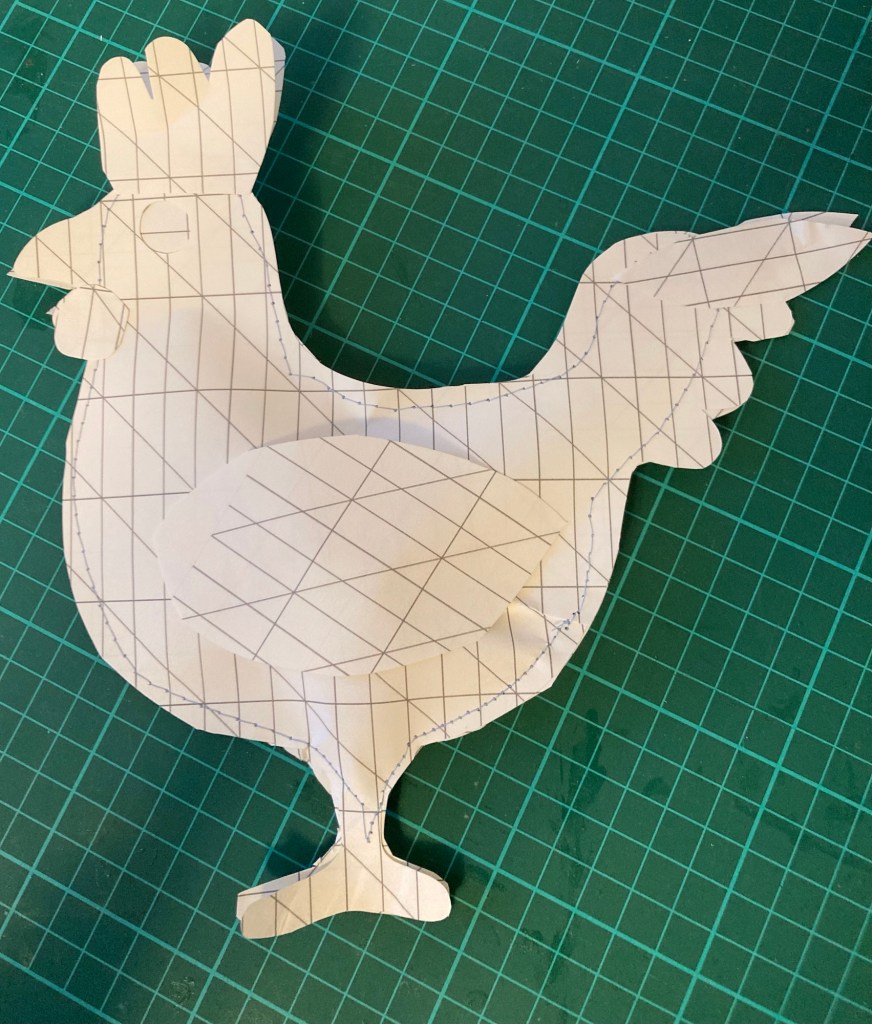
The basic shapes were cut from my scan and cut to the maximum size of my papers. I can see this working with other stock shapes for single sweet treats throughout the year – hearts, cars, stockings …
Must remember to keep the sewing machine needle with my papercraft projects as the paper blunts the needle quickly.
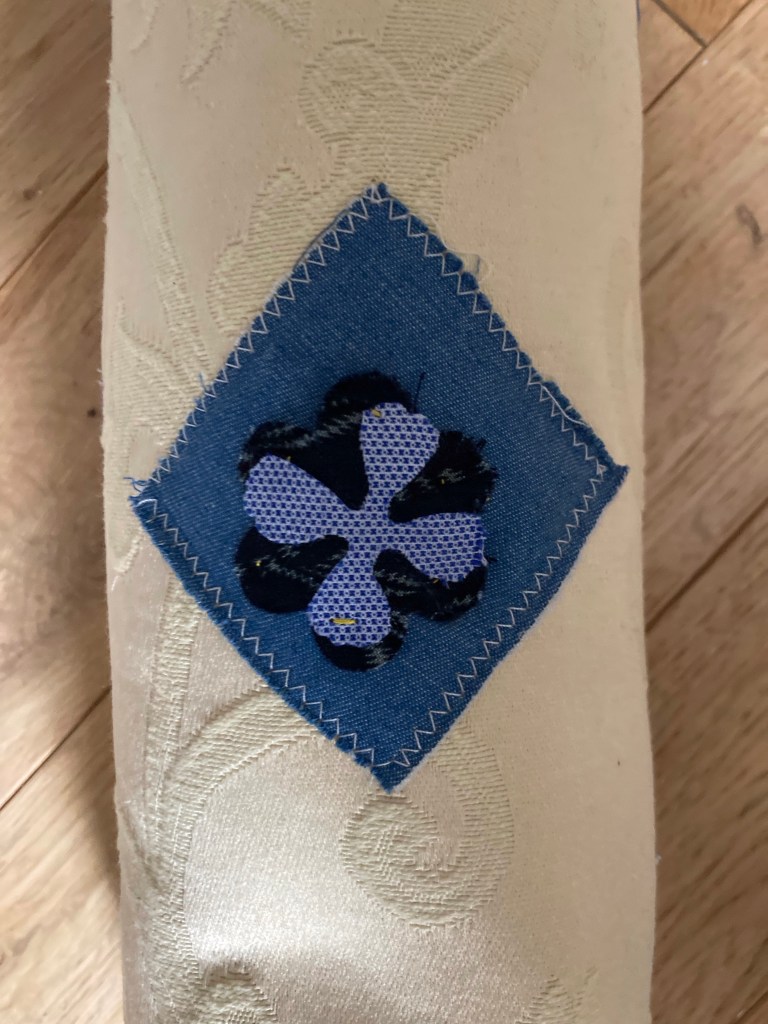
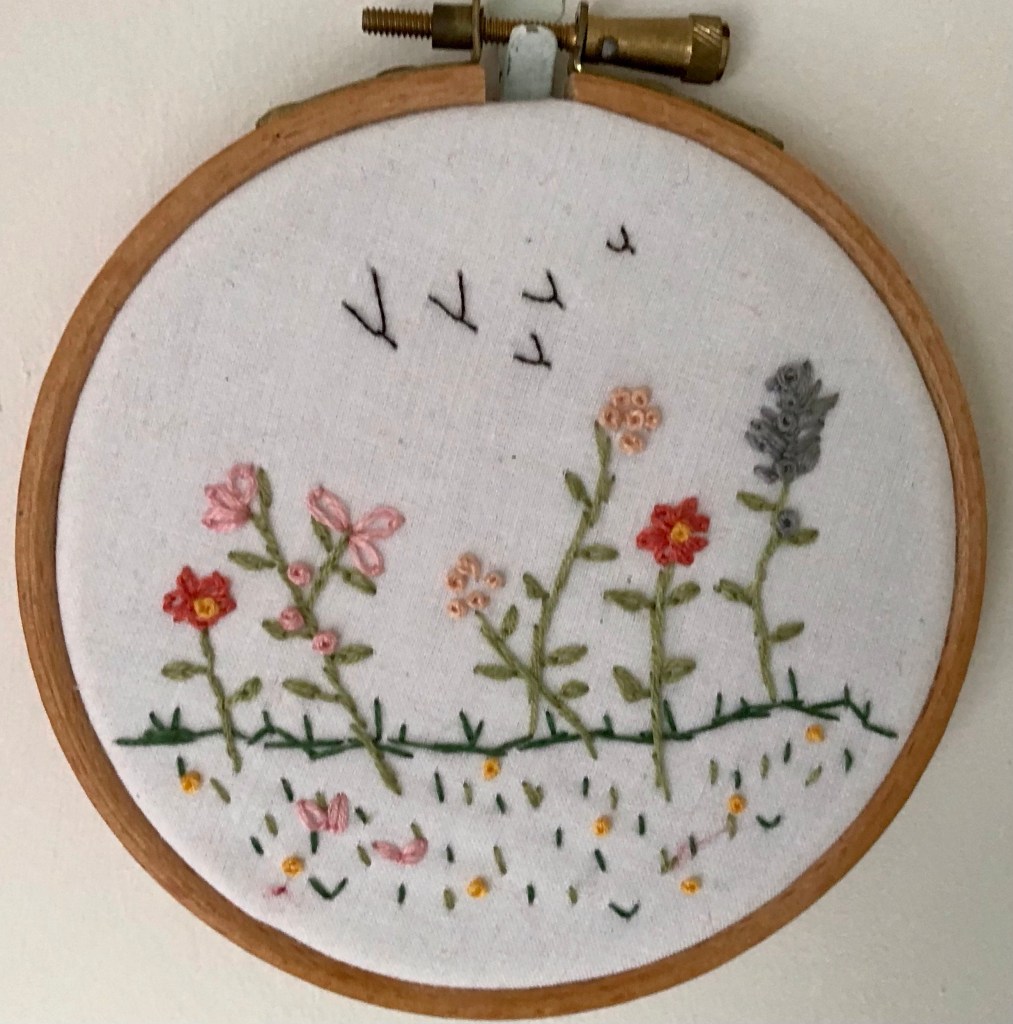
I have gathered all my embroidery and cross stitch supplies together and realised I have a lifetime’s supply. So I was delighted to find inspiration from Mistikomakes on YouTube.
Not only did this give me lots of practice on fly stitch, chain stitch and French knots it inspired me for little makes that are satisfyingly fast to finish.
A quick and straightforward sew converted elderly placemats into storage bags and pots.
I folded a mat in half so that the fringed edges became the top hem then seamed both sides to make a simple bag. Then I boxed the bottom corners to give it structure.
Because these are heavyweight mats the finished article stands up well.
Smaller bags were made by chopping a mat in half and following the same simple sew.
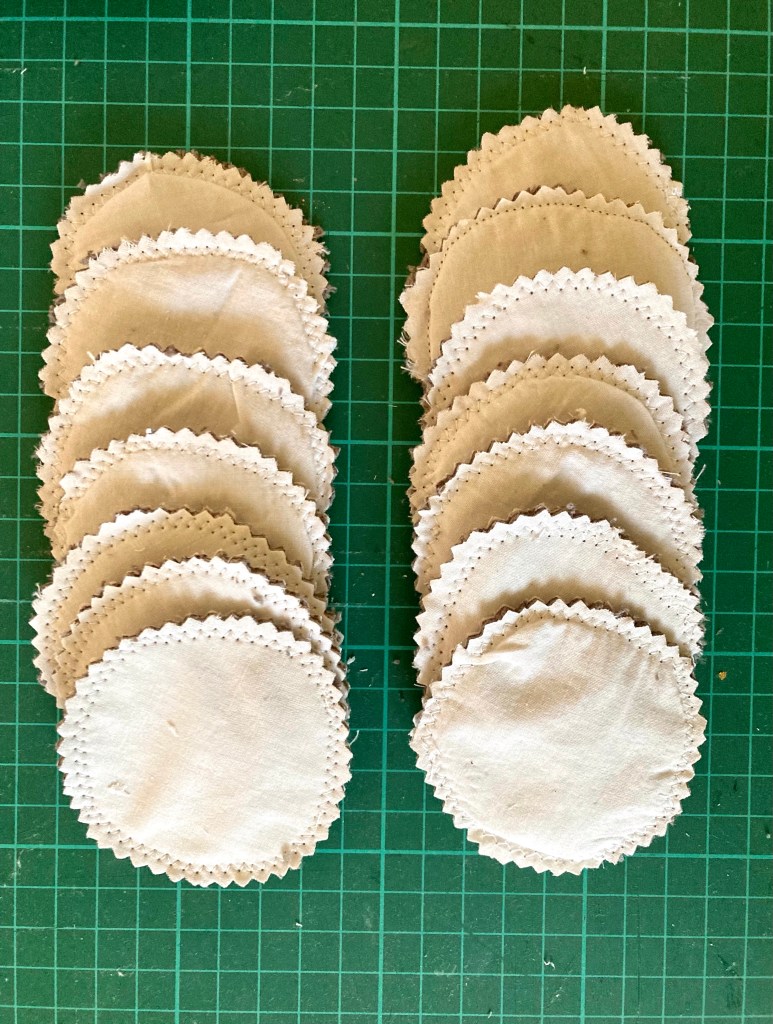
A clear out of surplus hand towels too good to dispose of led to today’s make. Sets of make up remover pads to pair with my diy cleanser.
Sandwich the towel (bindings cut off) between sheets of cotton and pin. Then draw circles using a jar of glass as template. I use a Frixion heat removable pen.
Zig zag around the circles. It doesn’t matter if you go off piste a bit.
Then cut around the lines with pinking shears. Voila.