Wisdom or cliché?

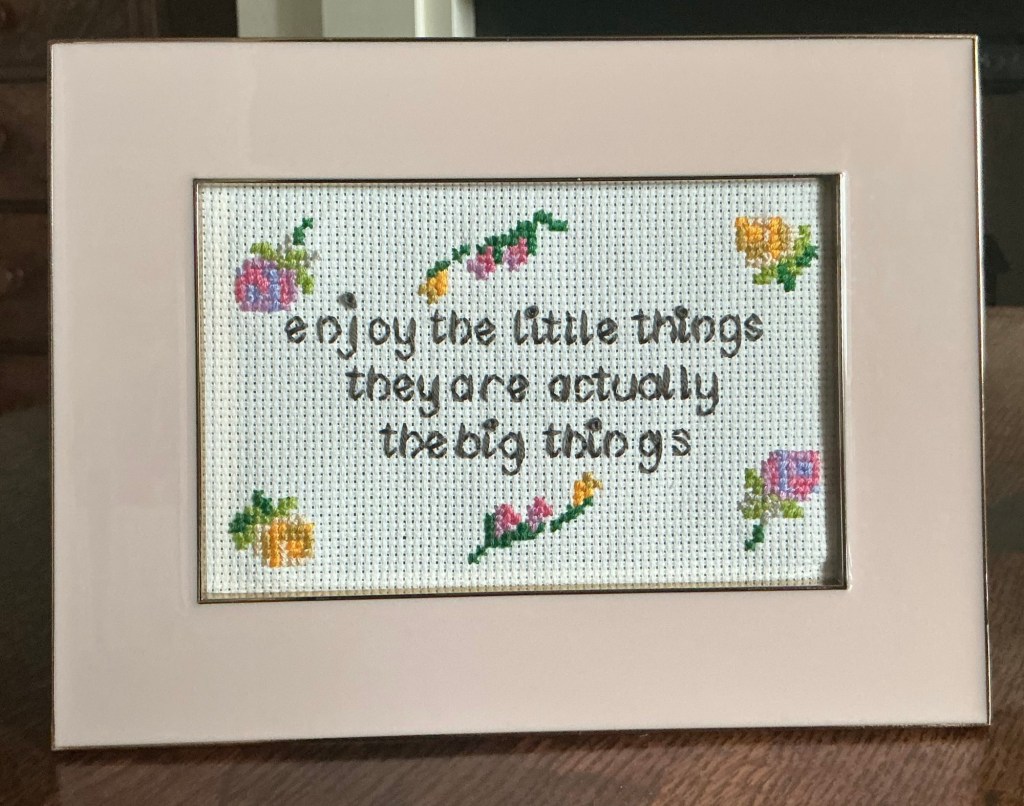
The use it up campaign continues with one of many surplus photo frames used to mount a little cross stitch.

Once the chosen phrase is charted out to get the letters centred I can work out the size of fabric required and then choose a frame big enough so I can add cross stitch decoration.

Essential tools:

Friction heat erasable pens help me centre the lettering and position the stitching.

Graph paper to write out the wording and get the spacing right.

Embroidery frame to keep the fabric straight.

Use it up ideas

I found a whole box of red serviettes in the Christmas decorations box so decided to try and use lots up.

So far, I have wrapped a few items with an outer wrap of snowflake acetate I have a large roll of.

I also made up a set of Father Christmas holders which will be gifted too.

Now need ideas for the last 40 red serviettes!

Celebration cards

I found a pack of brass stencils during a tidy up and decided to mount them on cards rather than put them in the donation pile.

My ‘use it or lose it’ campaign has reduced the boxes of bits a little and reduced the amount I spend on my crafting hobby but at this rate I am going to need decades to declutter significantly!

Harder than it looks

The finished card

Just clear some bits from my desk I thought but it turned into a long session to produce just one card…

The card base was cut to fit a donated envelope. The green backing paper scrap was just about big enough for the die cut frame and square.

The green stems are heat embossed, the ribbon bow donated but needed the (donated) jewels to cover a mark. The buttons (from my jar) needed some thread tying through them then a die cut vellum flower to back them.

So nothing purchased and yes the desk was cleared…

Napkin rings for spring tables

These sweet little napkin rings were quick makes from felt scraps.

The strap is about 7cm long and the central round is about 3 cm diameter.

I fixed mine with Velcro dots but they can be stitched closed or have button holes.

Some had simple die cut shapes stitched on with invisible thread. Some had sequins and some more complicated stitching with embroidery thread. to harmonise them as a set, I straight stitched a circle around each design in a contrast colour.

Some had felt circles backing the thread work so they don’t unravel too quickly but they are delicate and definitely won’t survive red wine spills or washing.

Upcycled, re usable cleanser pads

A clear out of surplus hand towels too good to dispose of led to today’s make. Sets of make up remover pads to pair with my diy cleanser.

Sandwich the towel (bindings cut off) between sheets of cotton and pin. Then draw circles using a jar of glass as template. I use a Frixion heat removable pen.

Zig zag around the circles. It doesn’t matter if you go off piste a bit.

Then cut around the lines with pinking shears. Voila.

Left over to luscious…pineapple

After the pineapple upside down cake…
  • Half a fresh pineapple chopped into 1cm pieces
  • Half an onion finely chopped
  • 3 tablespoons raisins
  • 2 crushed cloves
  • 3 allspice berries crushed
  • 4 tablespoons brown sugar
  • 4 tablespoons red wine vinegar

Throw all the above in a pan, bring to the boil and simmer for about half an hour before storing in the fridge. Goes well with ice cream, roast gammon or jacket potatoes. Sweet and tangy, I love it!

Custom laminated pouches

Need to protect those crucial documents…

No need to buy protective pouches. If you have access to a laminator you will just need two laminating pouches to make your own, custom sized pouch,

Cut one pouch, ie both sheets, to the size of pouch you want. In my case this was a tad bigger than my folded letter (which was weirdly folded when posted out).

Separate the trimmed sheets and flip them so the inside faces out.

Place the trimmed sheets neatly inside the other pouch. Position them centrally as you will trace excess plastic off later. (With smaller projects you will get skilled at reducing wastage).

Laminate the pouch as you would usually. When it emerges, trim around the inner pocket leaving a narrow margin. Cut one short end off to access the inside of your pouch.

I used a hole punch to create a tab but this isn’t necessary. Some people re-laminate the finished pouched to seal the cut edges but I don’t find this necessary.

Diy gift wrap, when a bag isn’t big enough

A roll of white paper, neglected stamps and ink. You could also diy wrapping paper by stencilling, splattering, writing or adding stickers. No need to buy and much more personal.

I assembled the stamps on the biggest acrylic block I own ( not that big but am in a no buy mode) and rotated them irregularly.

I think monochrome looks classier and will also use blue washi tape to secure. A coordinating gift tag to finish!