Just a little tweak to a plain paper bag to try and use some of my washi tapes. Unfortunately it only takes a little snip to cover each side of the bag. Will try and remember for plain paper wrapping in the future.
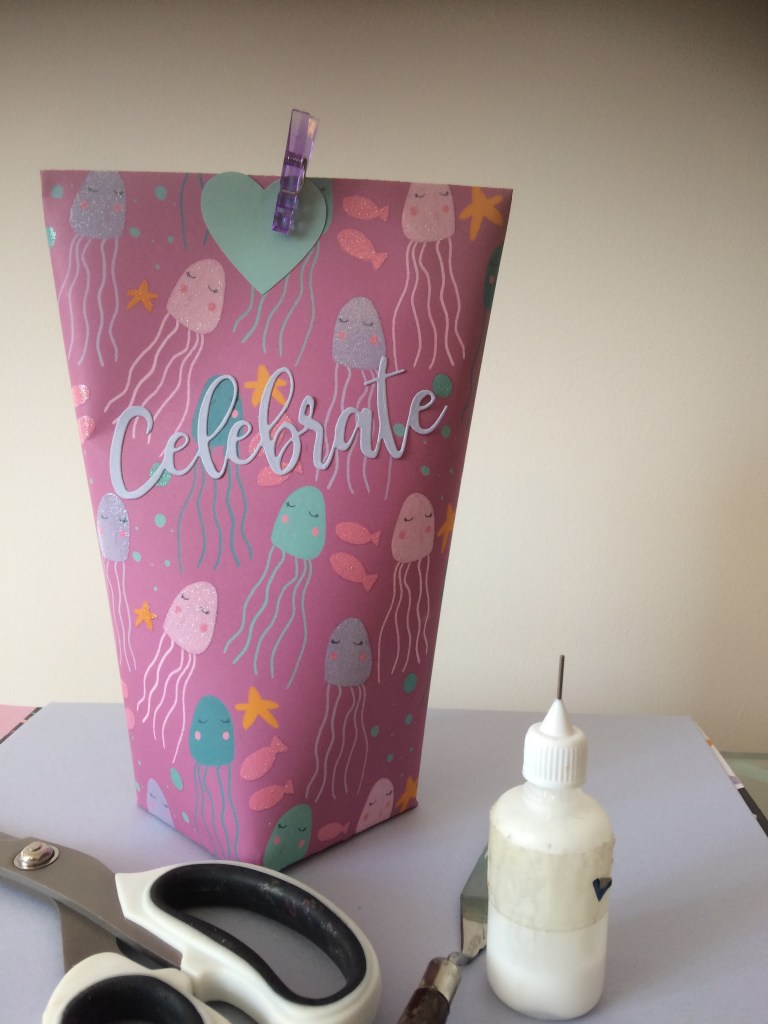
These days I use patterned paper to make striking gift bags very quickly with a simple formula.
With a blunt pen and ruler score a vertical line from top to bottom about 1/4” in from right side of the sheet. Then fold the rest (in this case 11 3/4”) into four long, equal panels (for me a shade under 3”). Unfold your sheet.
Rotate the paper round 90 degrees and score a line a few inches from the new top to bottom (for me, about 2 1/2”) from the right side, this will be the bottom of the pouch. Turn the paper back to the start orientation.
Get your scissors out. Cut up the four folds from the bottom to the last score you made. Snip out the tiny piece on the bottom right hand side. Put scissors away.
Get glue or tape out. Glue the 1/4” panel to the opposite side of the sheet to make a tube. When dry, lightly finger press the other score lines so you have a rough box shape. Turn the four bottom flaps inside in turn and stick closed the bottom of your pouch.
Stuff gift inside, pad with shredded or tissue paper. To close you can staple, peg or stick the top from east to west. I have also hole punched and threaded ribbon or yarn to tie things up.
This gives you a box bottom for stability and a flat front for labelling or sticking a card to.
If your gift is weighty make sure the glue is strong and maybe add a piece of cardboard inside the bottom just before packing.
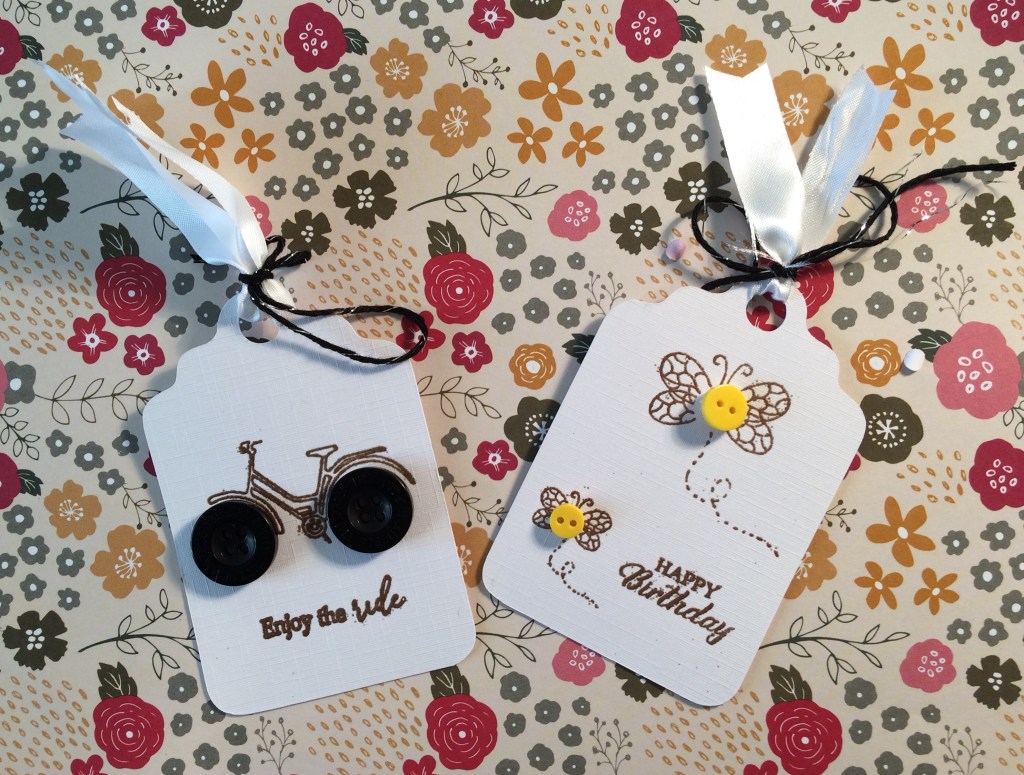
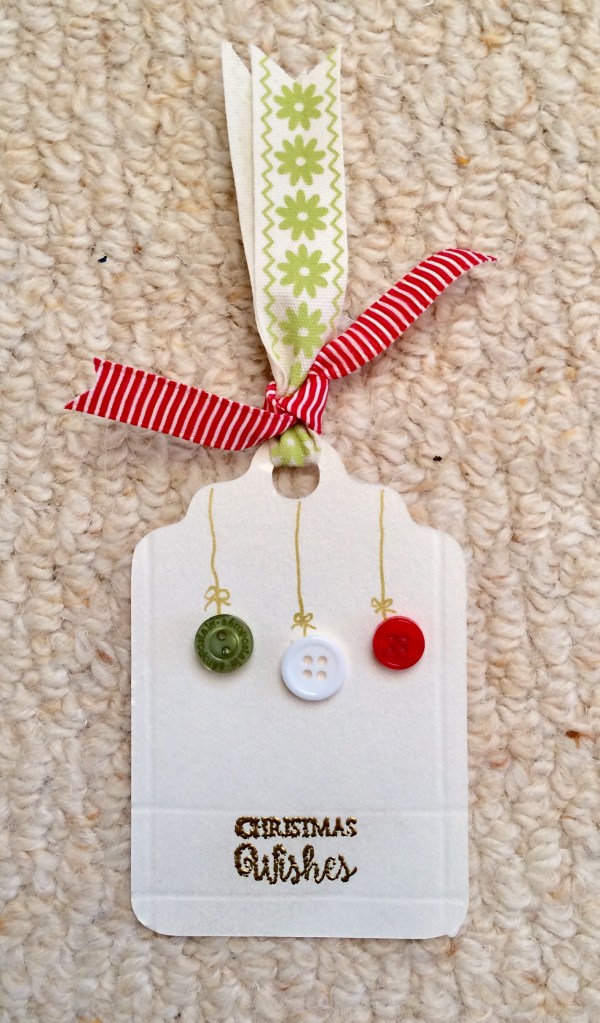
From the Crafter’s Companion ‘Cute as a Button’ kit
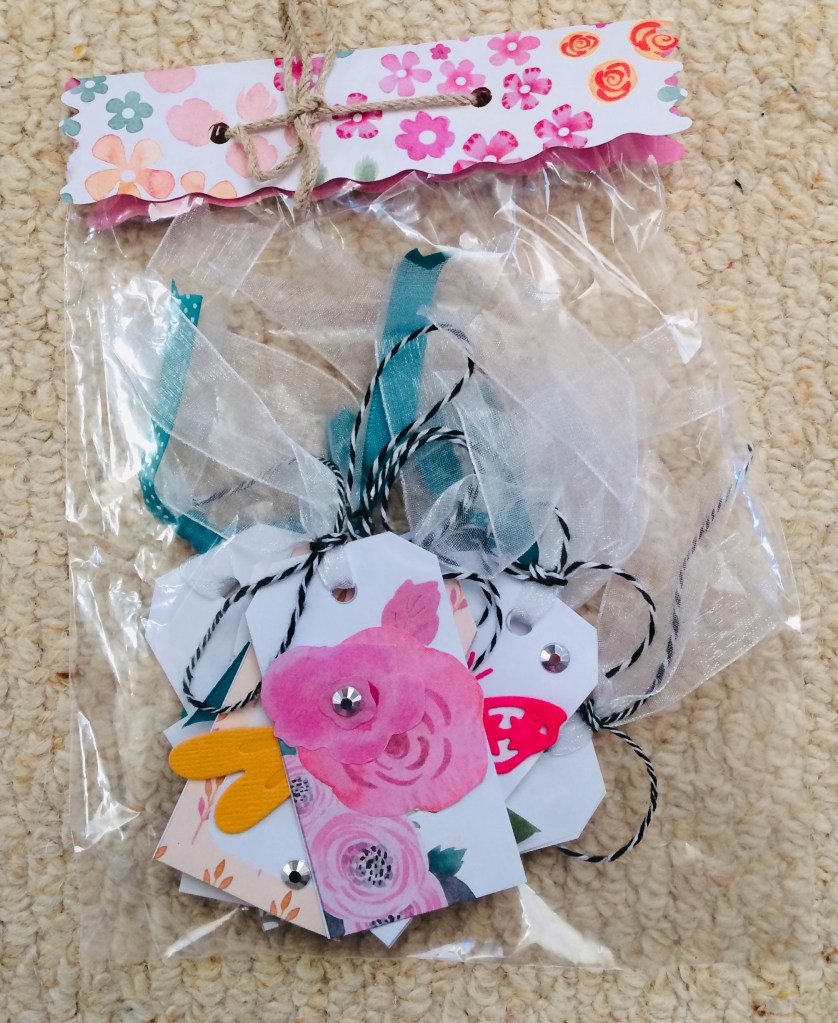
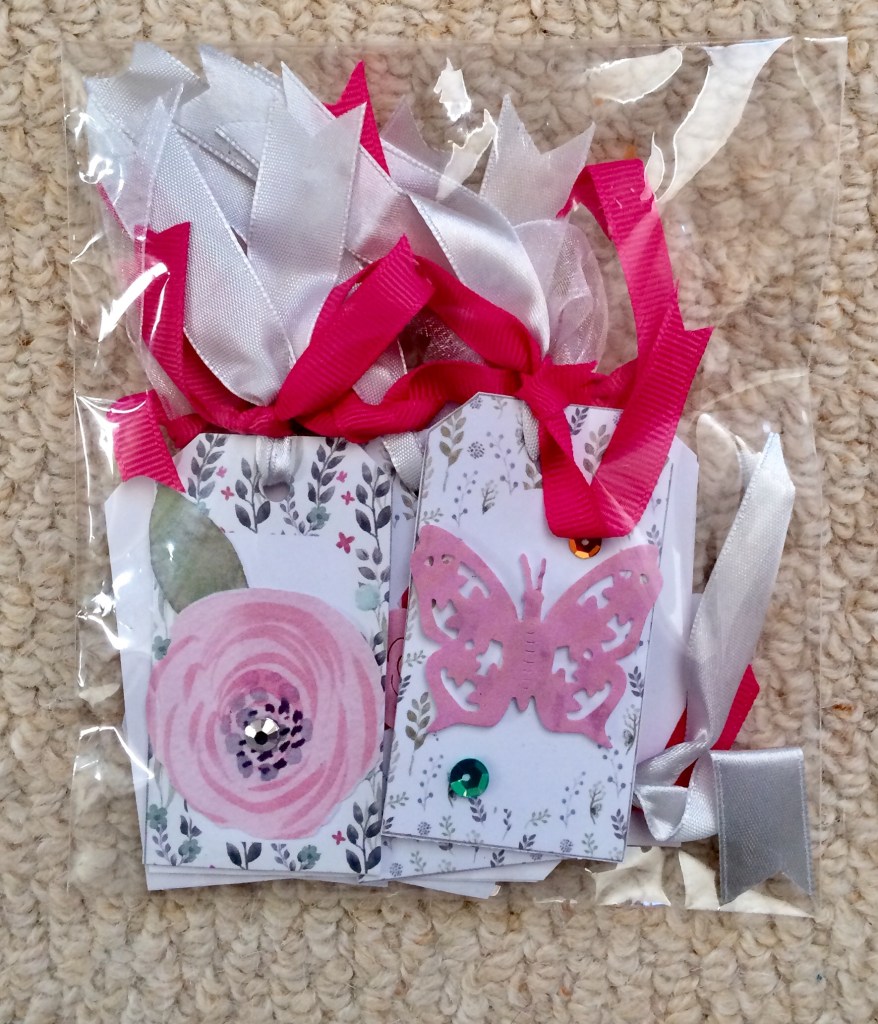
I cut tag shapes (with the scan n cut) from scraps of card and tried to use up embellishments as part of a ‘Use What You Have’ drive. This was so successful that I have batched and bagged sets to give away.
Die cut flowers, butterflies, ribbon and twine all used, hurrah. Not quite used up yet though.
Into each batch went some not so girly tags as well, not that many though.How is that for forward planning? I even have some Christmas tags ready.
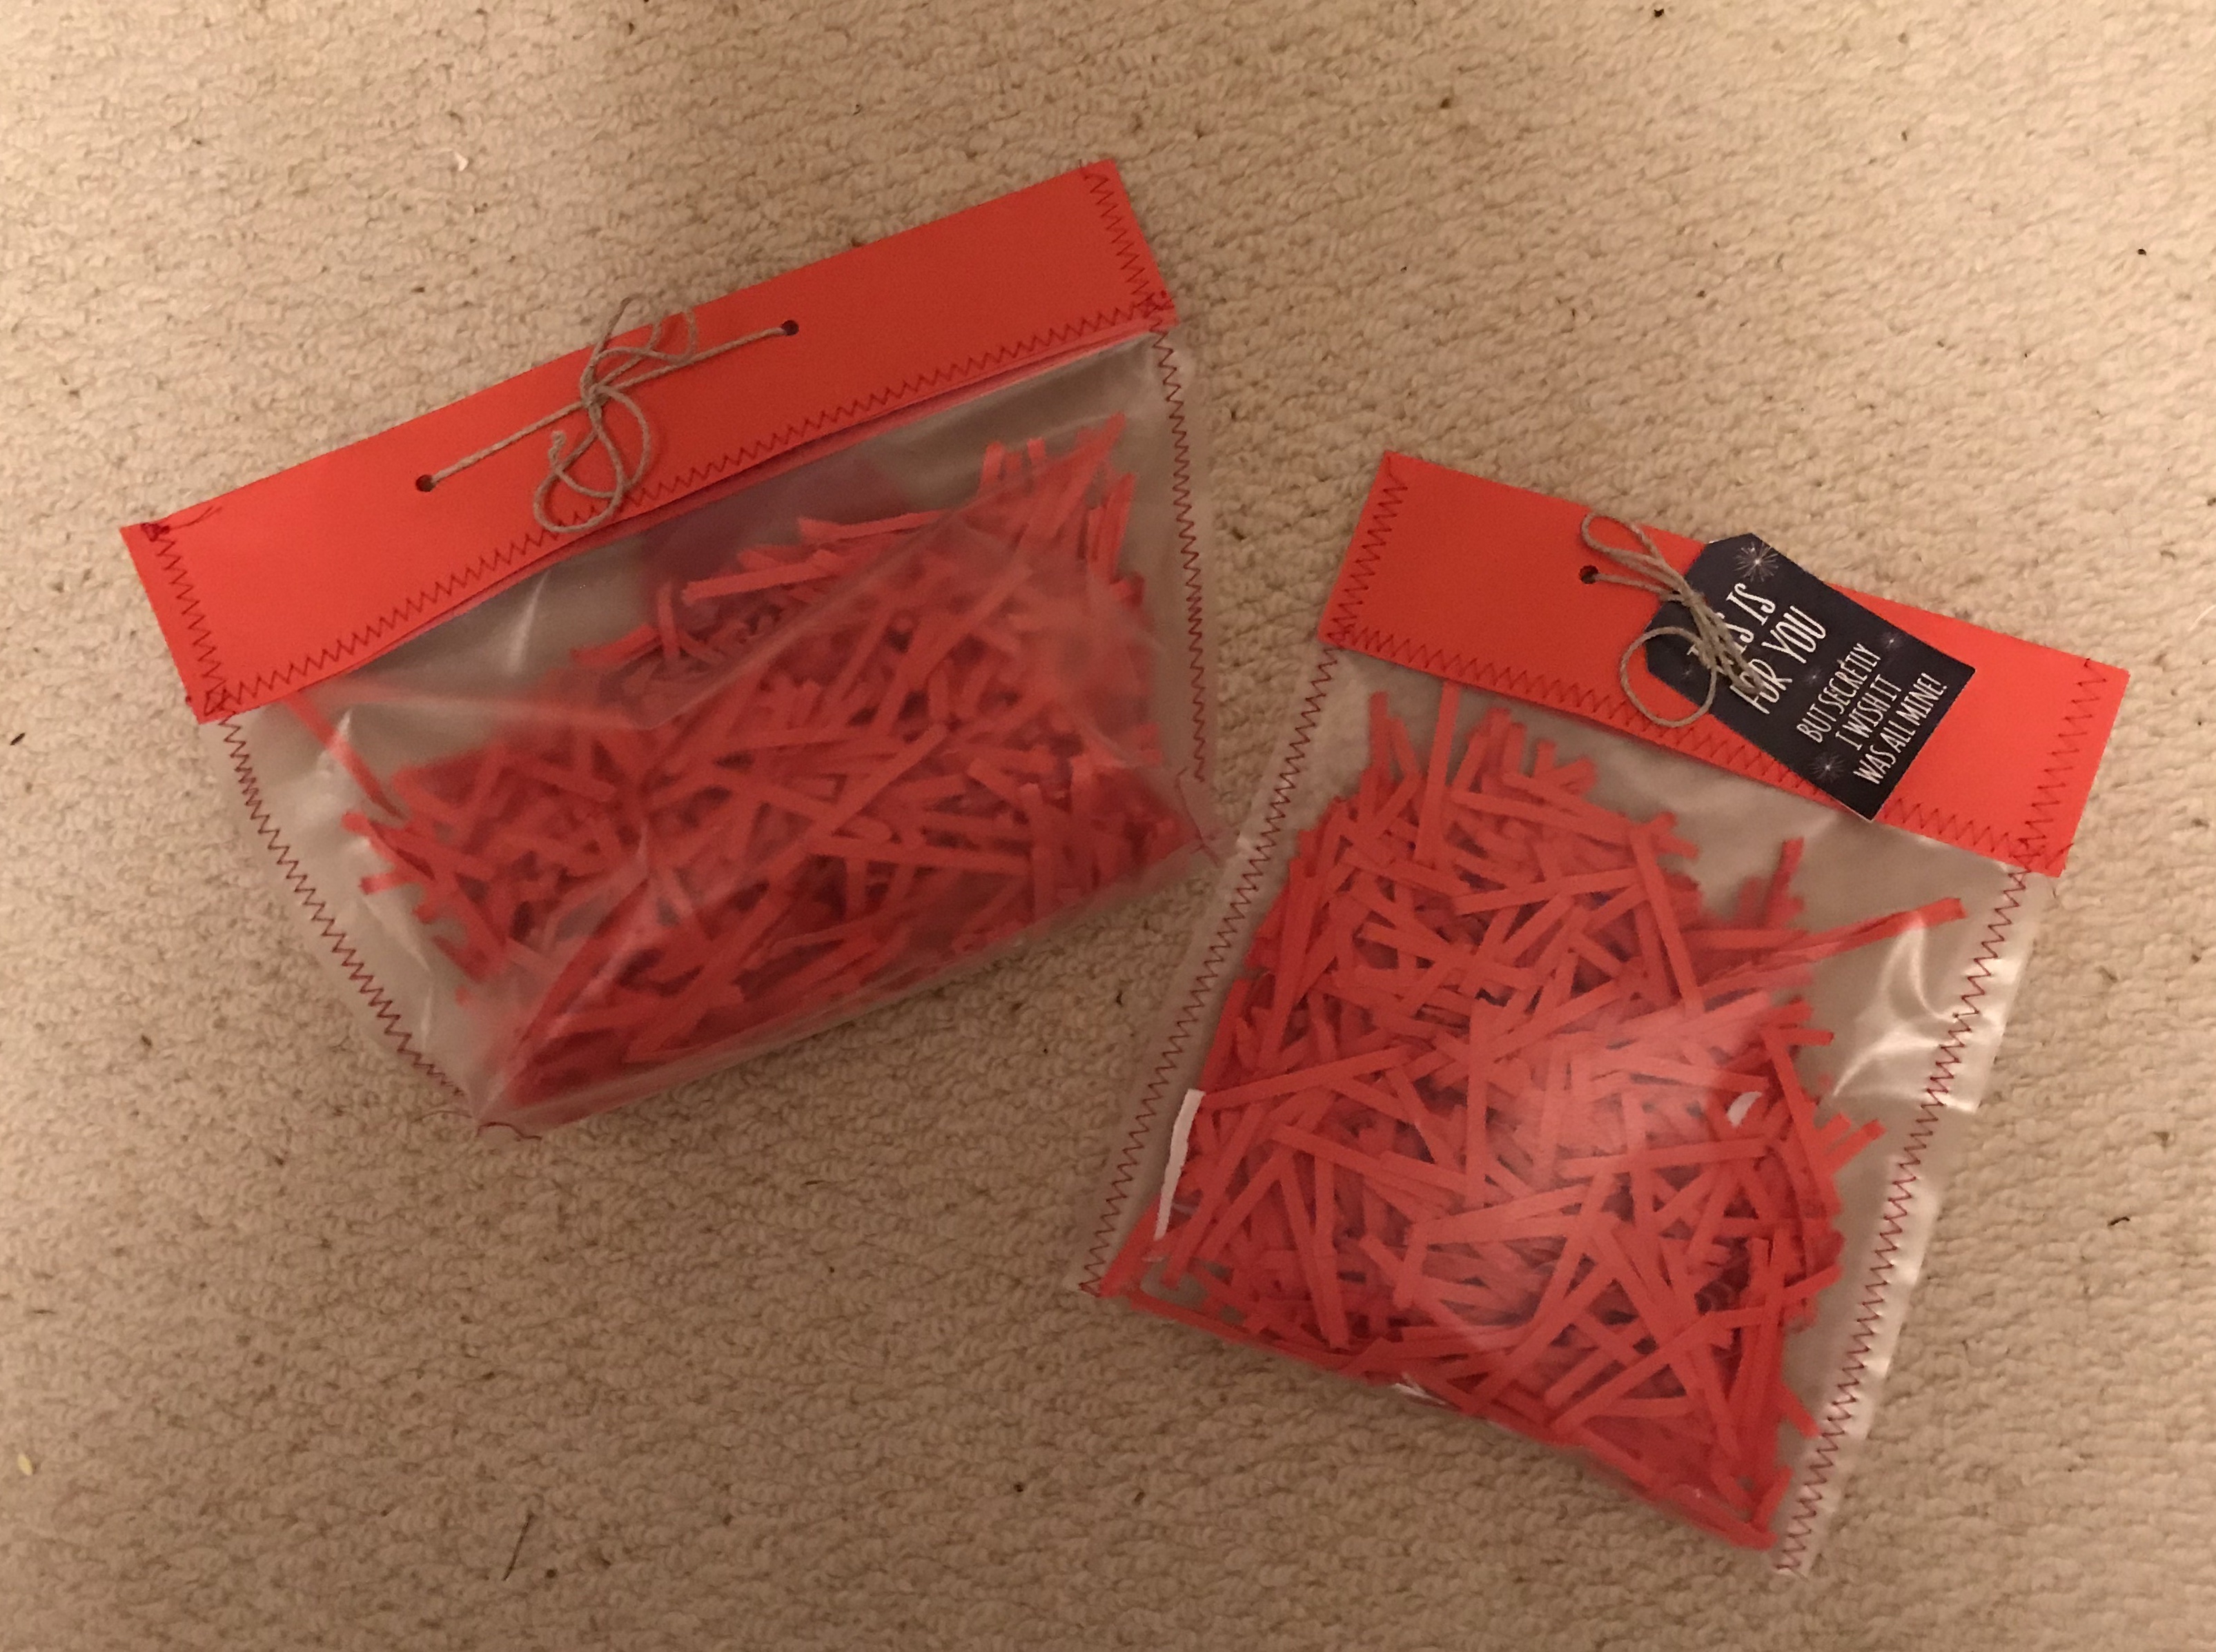
I have a roll of book covering plastic doing nothing in my stash, so cut rectangles from it and headed to the sewing machine
I folded copy paper (yes I also have a lot of coloured copy paper to use up) over the short ends and stitched it in place with a long zig zag.
The covered ends were folded together and the open sides zig zagged together to make a bag. I even boxed the bottom of the bigger one shown but am not sure it was worth the effort.
Two tips: use an old blunt needle as the plastic will ruin a new needle and long stitch lengths will minimise problems with the plastic slipping.
I bought a bundle of brown food bags from the catering supplies shop for Christmas and duly stuck on panels and greetings in red, green and gold. But eighteen months on I still have plenty left, so have decorated a few simply ready to pop gifts in.
I used a stencil panel which fitted the bag front perfectly so used all the patterns rather than re aligning one of them.
I dabbed some distress ink- evergreen bough- on to a craft sheet and rubbed the ink through the stencil with a piece of cheap bathroom ‘sponge’. The back was also stencilled the same way.
The gift card and flower were cut from craft card with the scan n cut, the same distress ink rubbed on the edges of the flower and stamped on the tag. The message is ‘a gift for you’ stamped repeatedly on the diagonal, so it can be used for many occasions.
Distress ink or sepia browns work brilliantly on craft and for more masculine versions I am using rosettes rather than flowers.
Inside is a sheet of tissue paper ready to wrap a goody from the present drawer. Even so this will store almost flat until needed.
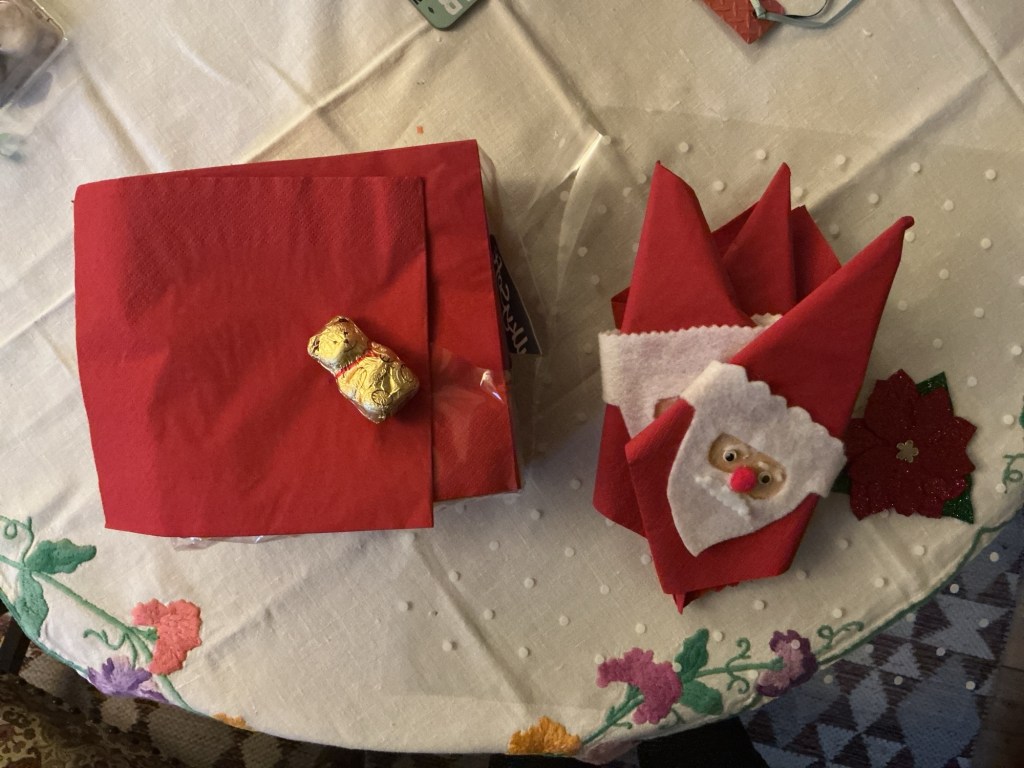
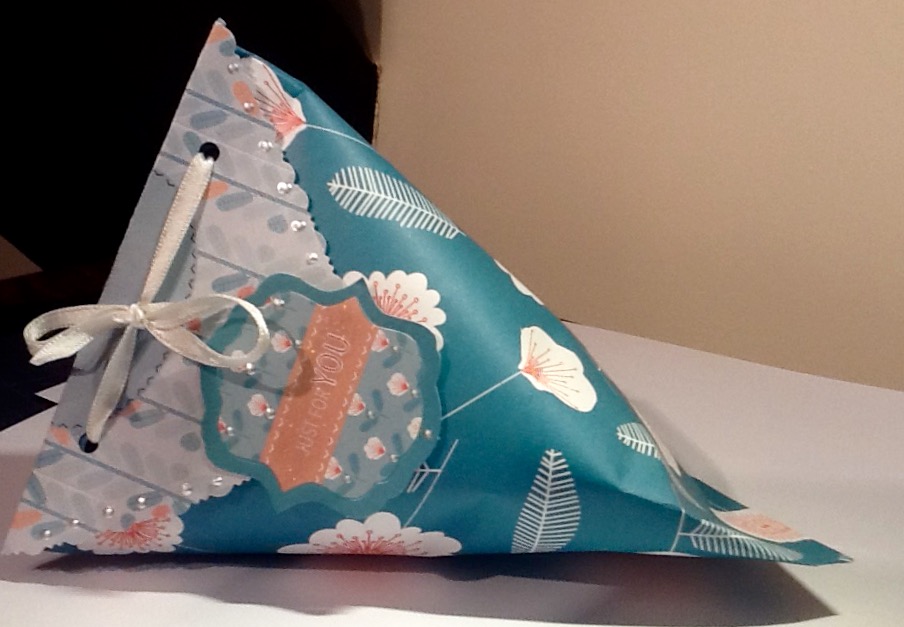
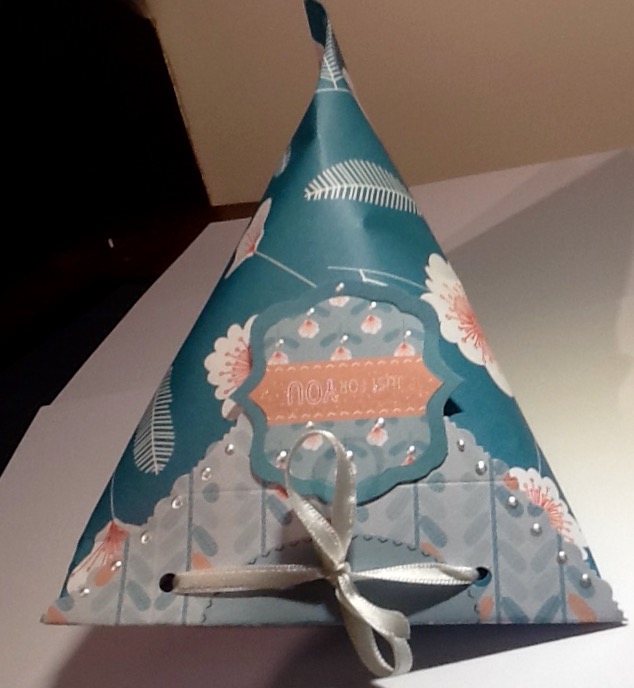
I love this papermania owl folk paper kit and used a sheet to wrap some beauty treats using the pouch method.
place double sided tape along the west side of a rectangle of paper. (Plain side facing up . Roll the east side over so that you form a tube with the pattern side sticking to the tape. Burnish the taped seam so it sticks well
flatten the tube lightly with the seam roughly mid way along the back and tape inside the southern (bottom) edge to make an open top packet. Pop in your goodies leaving plenty of space at the open top.
Now push the east and west sides together and staple or hole punch them together to form a wedge shaped pouch.
I added a flap of contrast paper which I trimmed with decorative edged scissors and hole punched then laced some ribbon through. A tag from the kit was added and then a brush of ‘wink of Stella ‘ for sparkle and some liquid pearls finished it off.
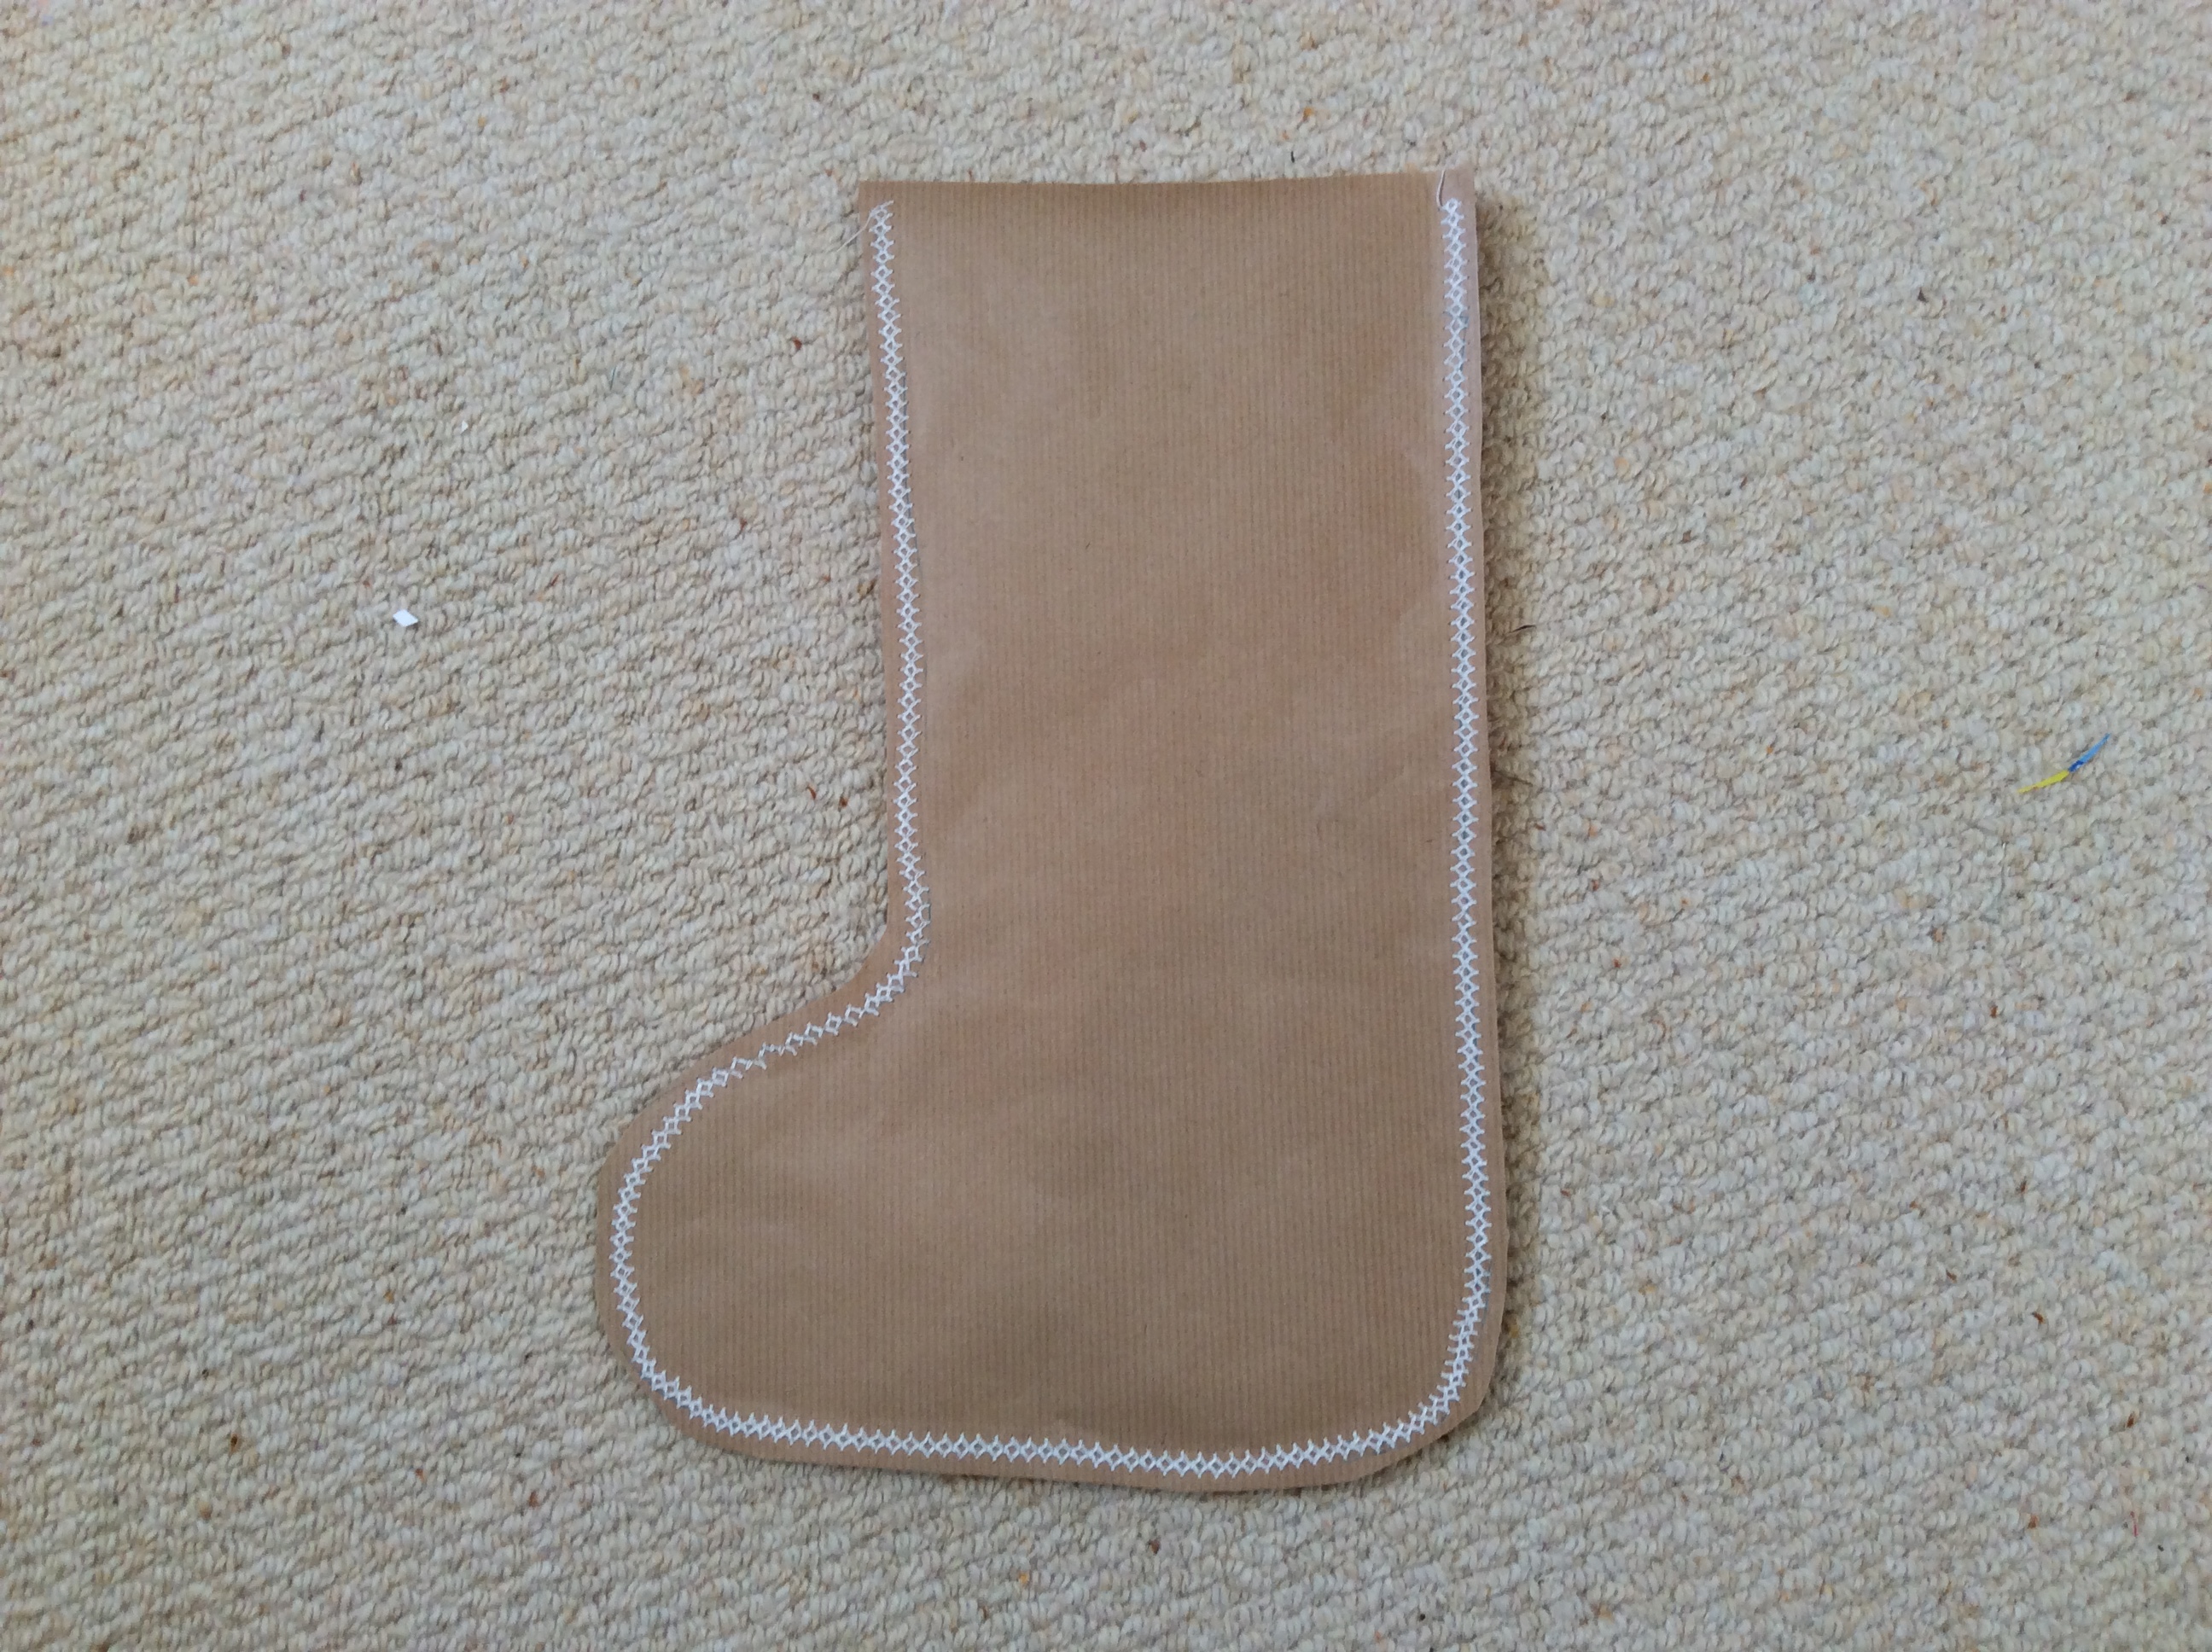
I am using brown paper for lots of my wrapping this year with scan n cut embellishments and stamping for most parcels, but these simple sewn packets are a joy to make and look very classy
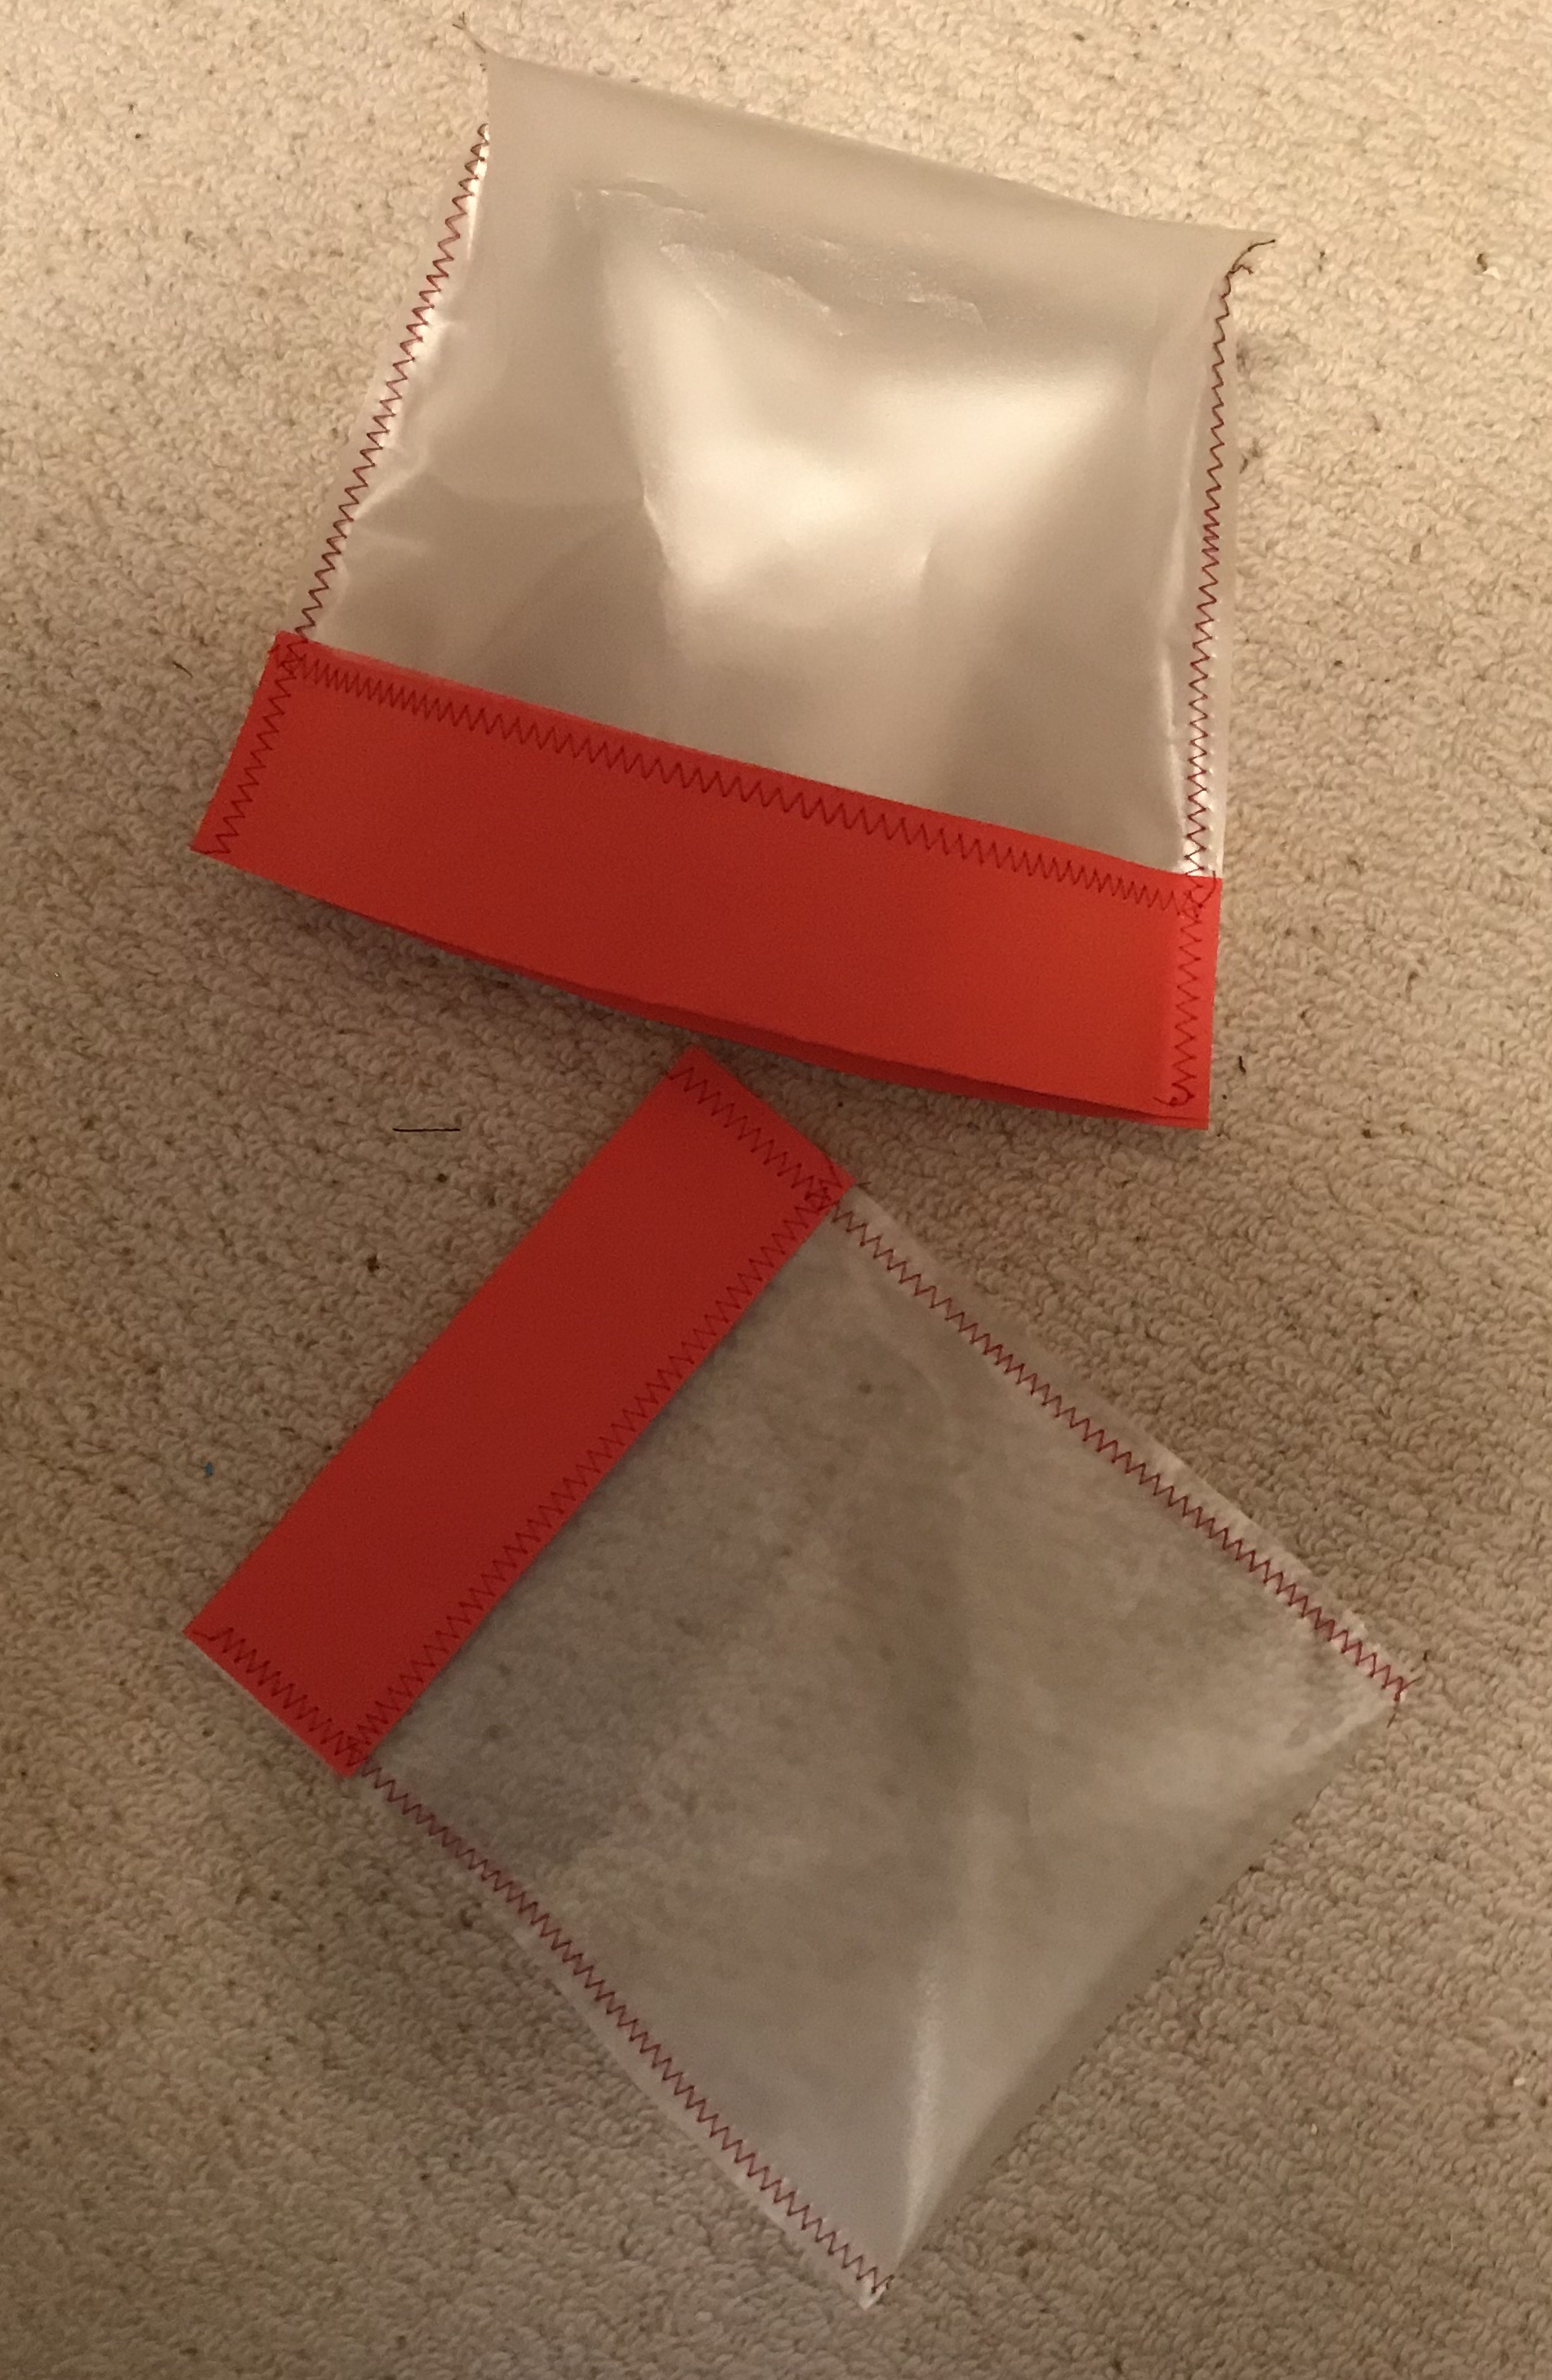
fold your paper in half then trace the shape you want to end up with one side ( I used a frixion pen in case I needed to erase it but light pencil would do as well).
then choose a decorative stitch to sew around all but one side of your image. I used a white thread here but Am inspired to try lots of threads from the sewing basket now.
I had my walking foot on the machine so nothing slipped but you might want to help the paper through if using a standard foot
trim the paper close to the stitch line to tidy it up (pinking shears would add a good effect, but too much use on paper might not be good for your expensive scissors)
pop in the present then sew up the final side
tip: make the packet larger than the contents or you will struggle to sew the final side closed and don’t want to sew through the contents
if you want to decorate the paper or write on the addressee details you will need to finish it all before you put the gift inside
some people keep old machine needles for their paper projects, I will just dispose of this needle before I start my next fabric project as the paper will blunt it.