
These days I use patterned paper to make striking gift bags very quickly with a simple formula.
With a blunt pen and ruler score a vertical line from top to bottom about 1/4” in from right side of the sheet. Then fold the rest (in this case 11 3/4”) into four long, equal panels (for me a shade under 3”). Unfold your sheet.
Rotate the paper round 90 degrees and score a line a few inches from the new top to bottom (for me, about 2 1/2”) from the right side, this will be the bottom of the pouch. Turn the paper back to the start orientation.
Get your scissors out. Cut up the four folds from the bottom to the last score you made. Snip out the tiny piece on the bottom right hand side. Put scissors away.
Get glue or tape out. Glue the 1/4” panel to the opposite side of the sheet to make a tube. When dry, lightly finger press the other score lines so you have a rough box shape. Turn the four bottom flaps inside in turn and stick closed the bottom of your pouch.
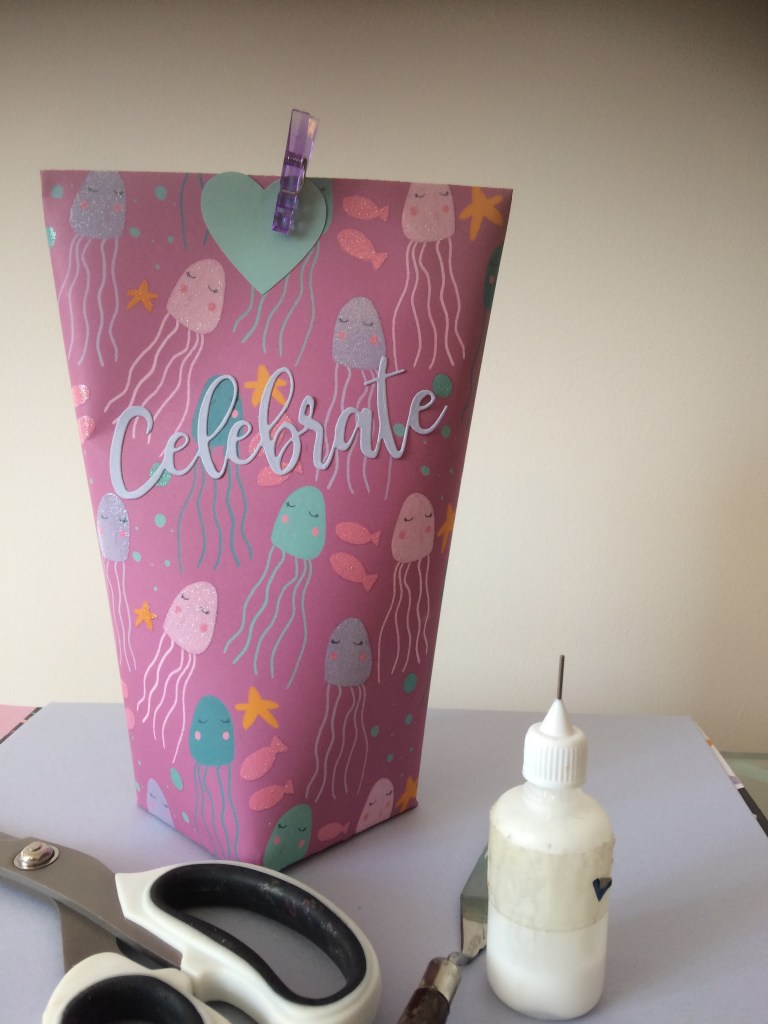
Stuff gift inside, pad with shredded or tissue paper. To close you can staple, peg or stick the top from east to west. I have also hole punched and threaded ribbon or yarn to tie things up.
This gives you a box bottom for stability and a flat front for labelling or sticking a card to.
If your gift is weighty make sure the glue is strong and maybe add a piece of cardboard inside the bottom just before packing.
