Can you guess which one I bought and which I made?
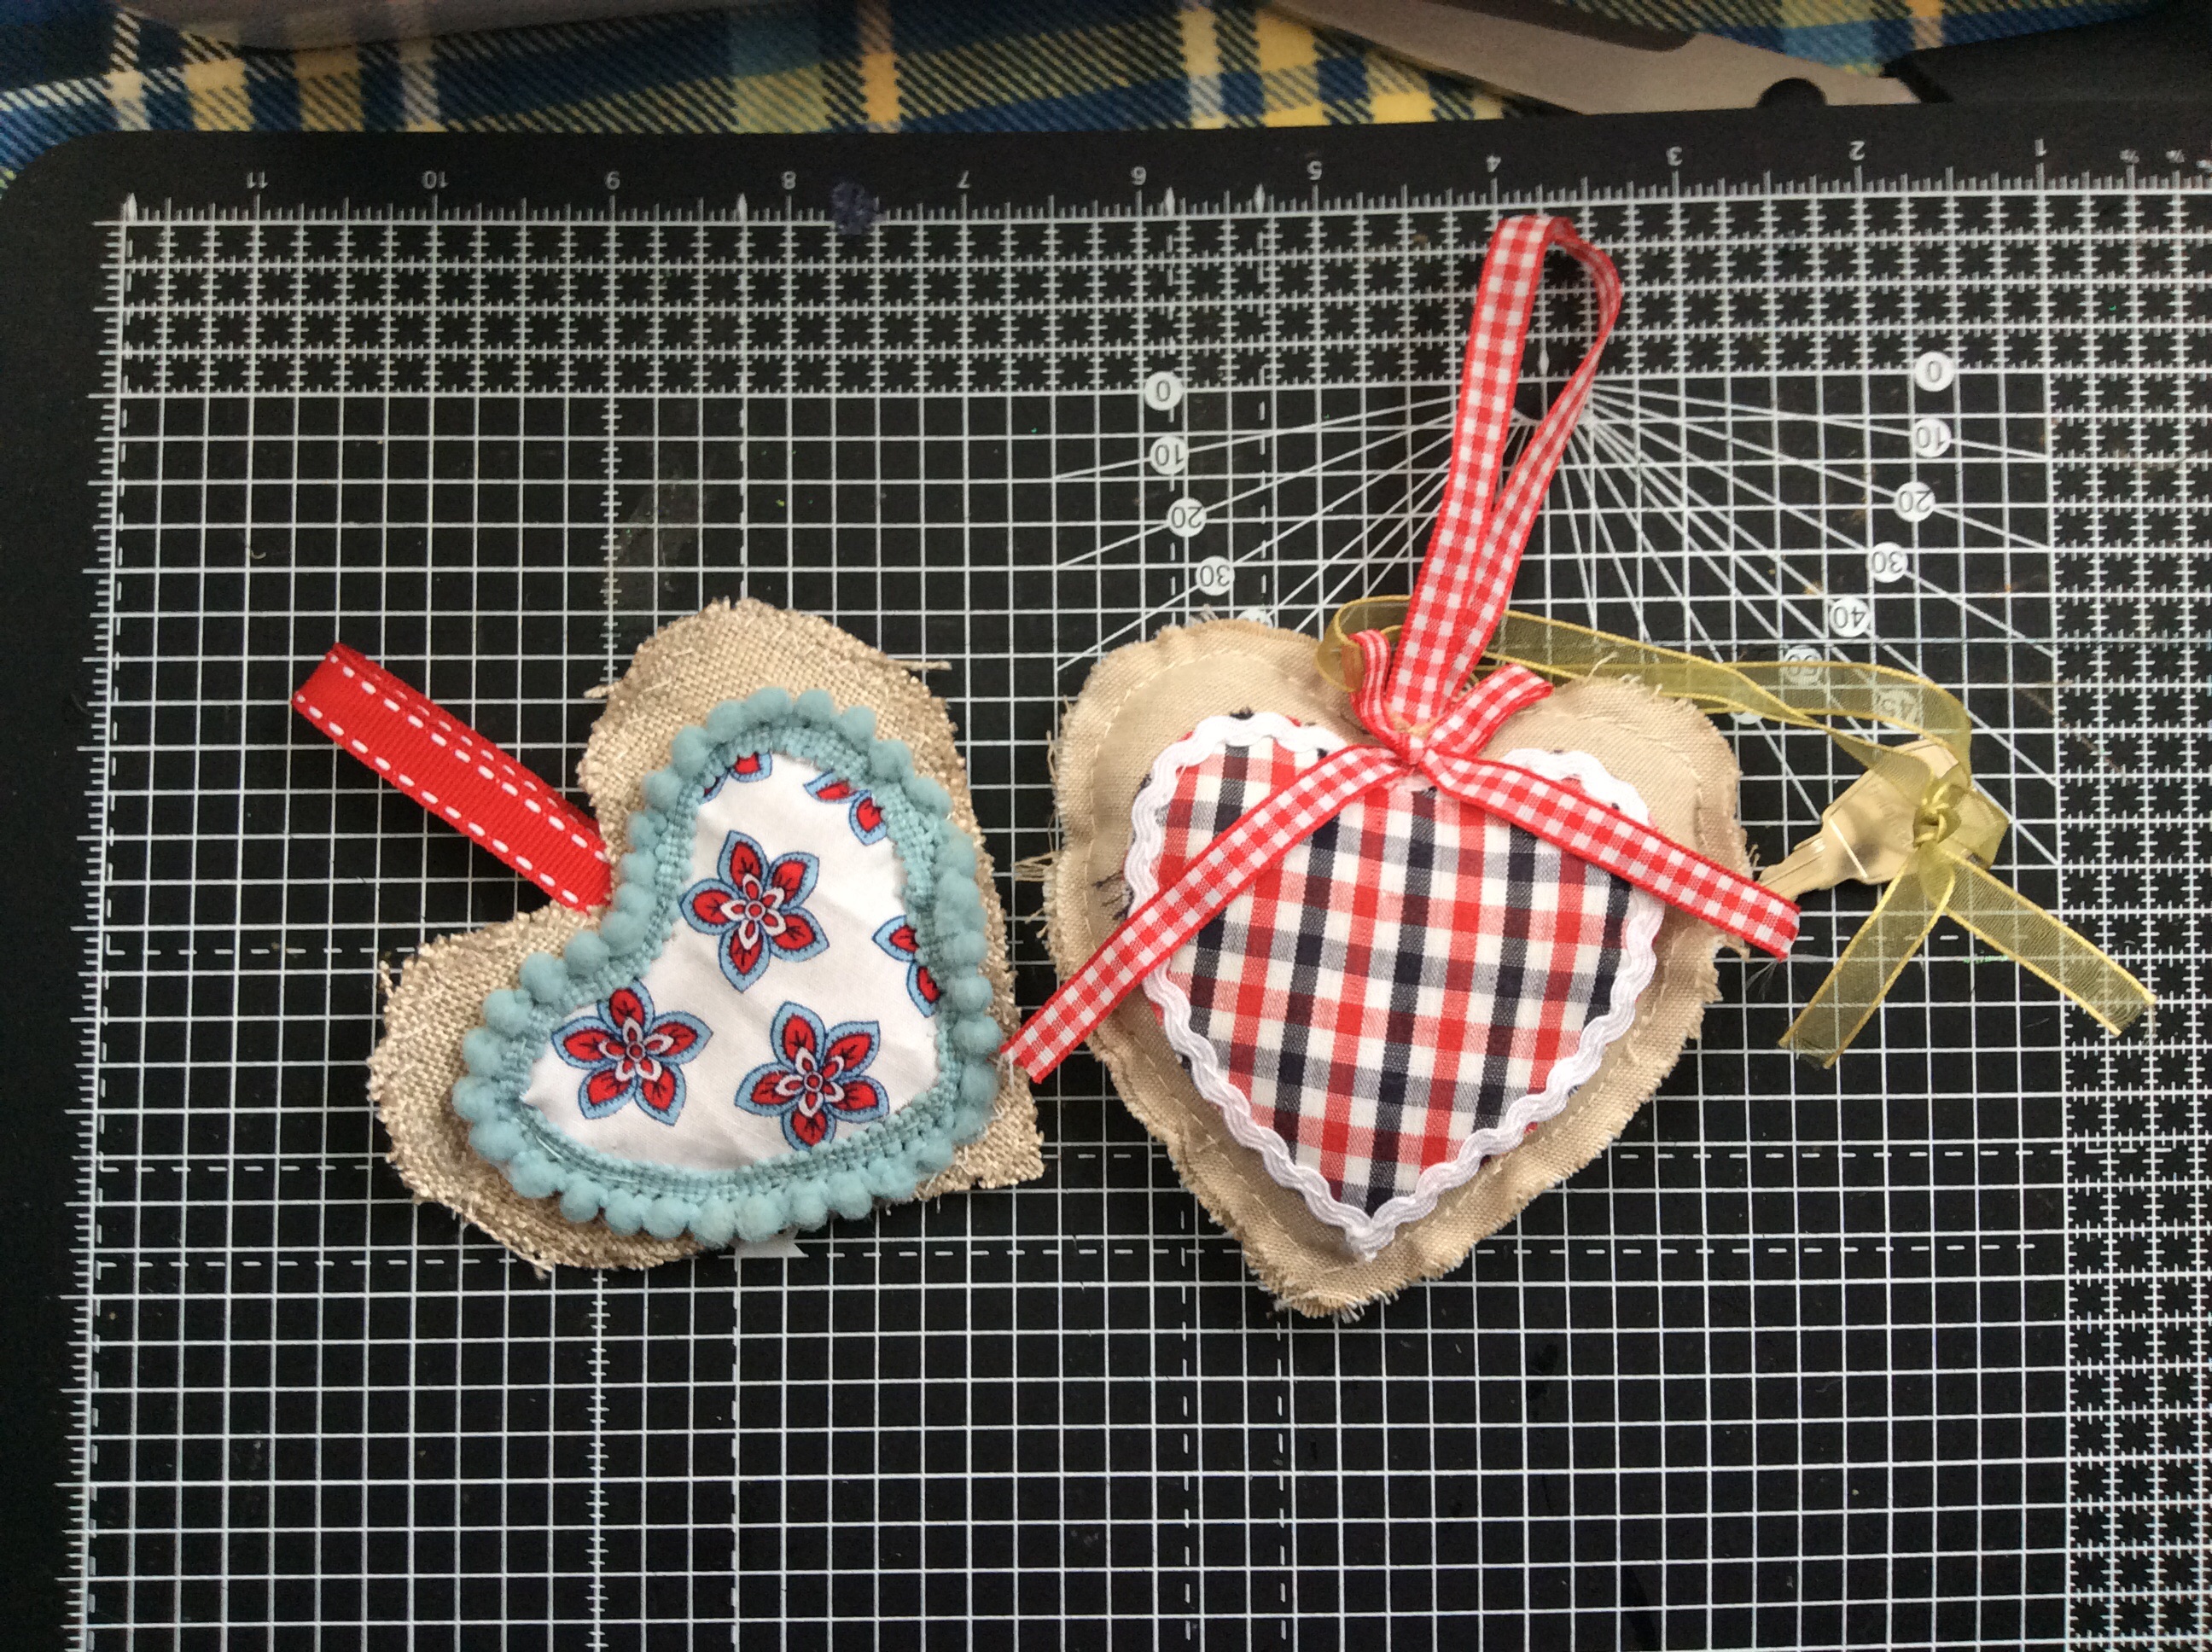
Simole hand sew with lavender stuffing when nearly finished

Can you guess which one I bought and which I made?
Simole hand sew with lavender stuffing when nearly finished
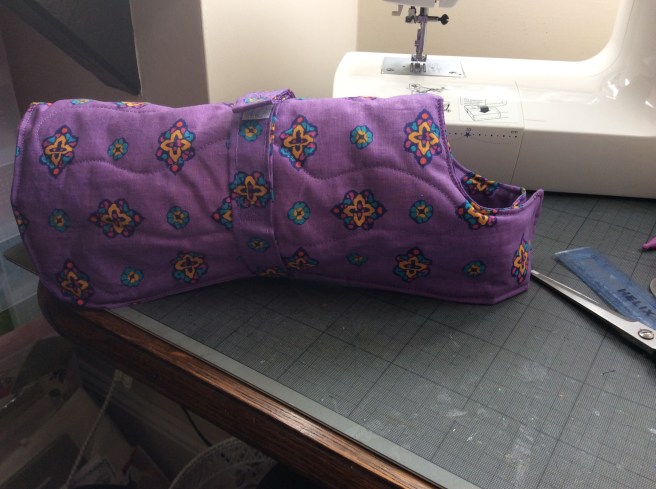 the most expensive dog coat turns out to be the easiest pattern to copy, just traced.
to fit Harvey this is 12.5 inches wide, 11.5 inches back to neck, 17 inches back to end of each tab
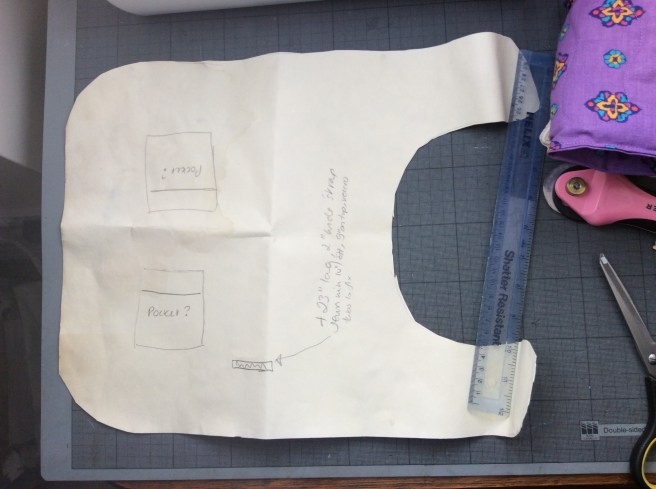
Method: use pattern to cut two fabric shapes and a 23 inch long four inch wide strip. Quilt wadding to the reverse of one shape then sew shapes wrong side together, leaving a gap to turn. Top stitch the edge, this also seals the turning gap. Iron the strip in half then turn in each edge to make a four ply strip . Top stitch along each edge and fix as on pattern.
once checked on doggie for fit, affix Velcro tabs on neck and on strip. Now just waiting for the reflective tape to arrive, so his night time walks are warm and safe.
For the travellers on my Christmas list…
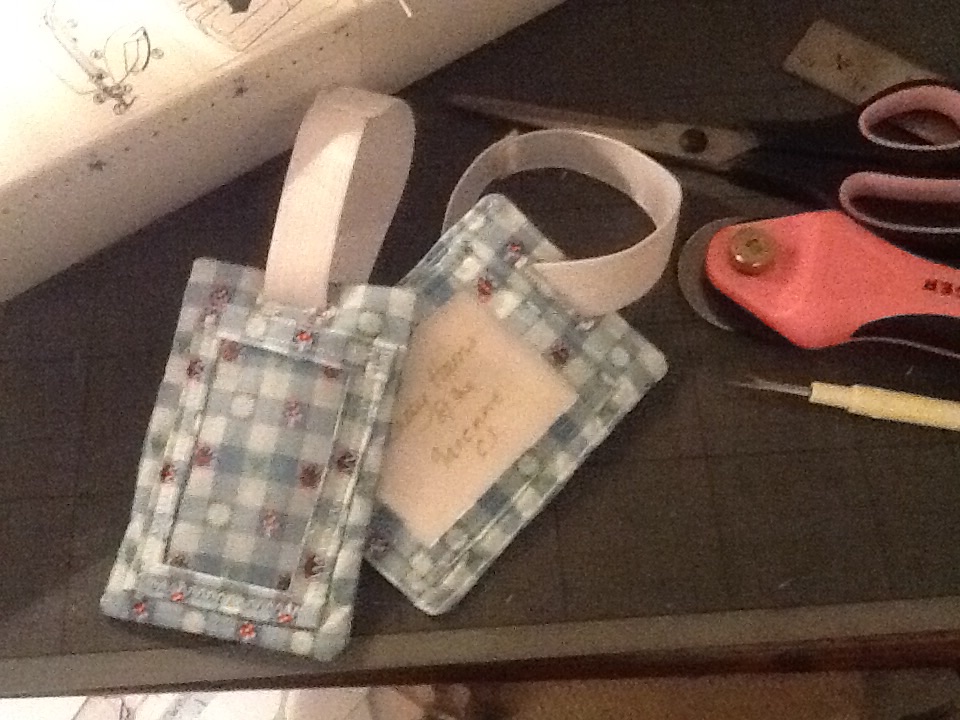
Materials: Two scraps of fabric 13×9 cm plus a length of 3cm wide matching fabric about 30 cm long. A piece of batting or wadding 12 x 8 ish, a piece of vinyl 6×8.5 and some elastic 25 cm.
Method:sew a 1/4 inch seam around the fabric squares which should be right sides facing, leaving a gap for turning. Stick the batting to one side the batting with a little fabric glue then turn. Push out the corners then top stitch all the way around the edge of the tag. Sew a buttonhole at the top of the tag, make it wide enough to thread the elastic through.
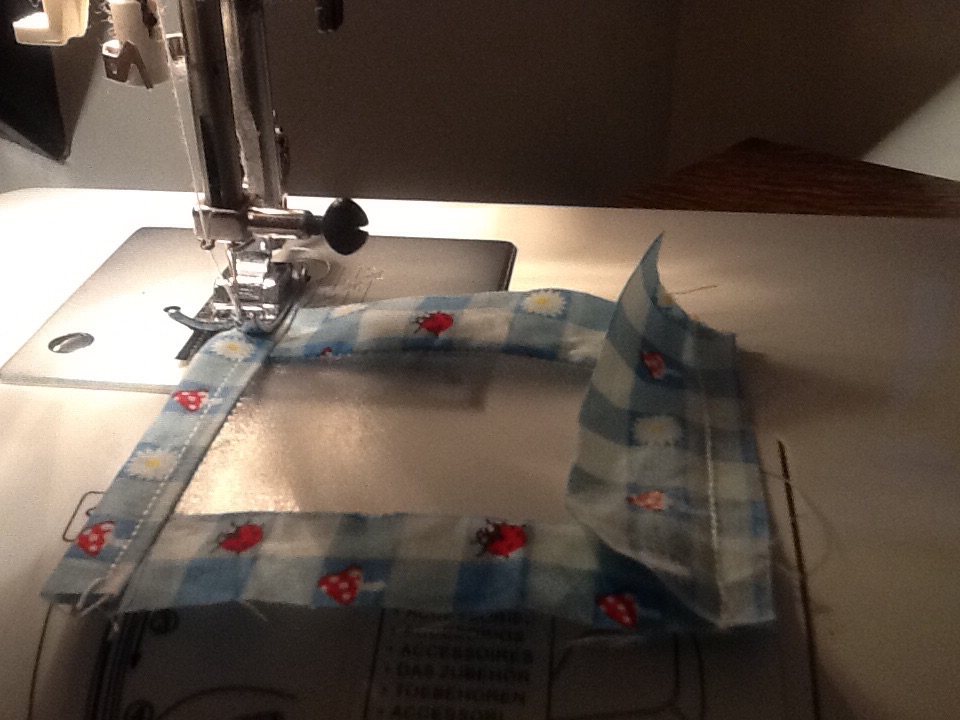
cut the strip of fabric to the length of the four vinyl sides. Put a strip face side down, edge flush to the fabric and sew a line , better to peg than pin vinyl.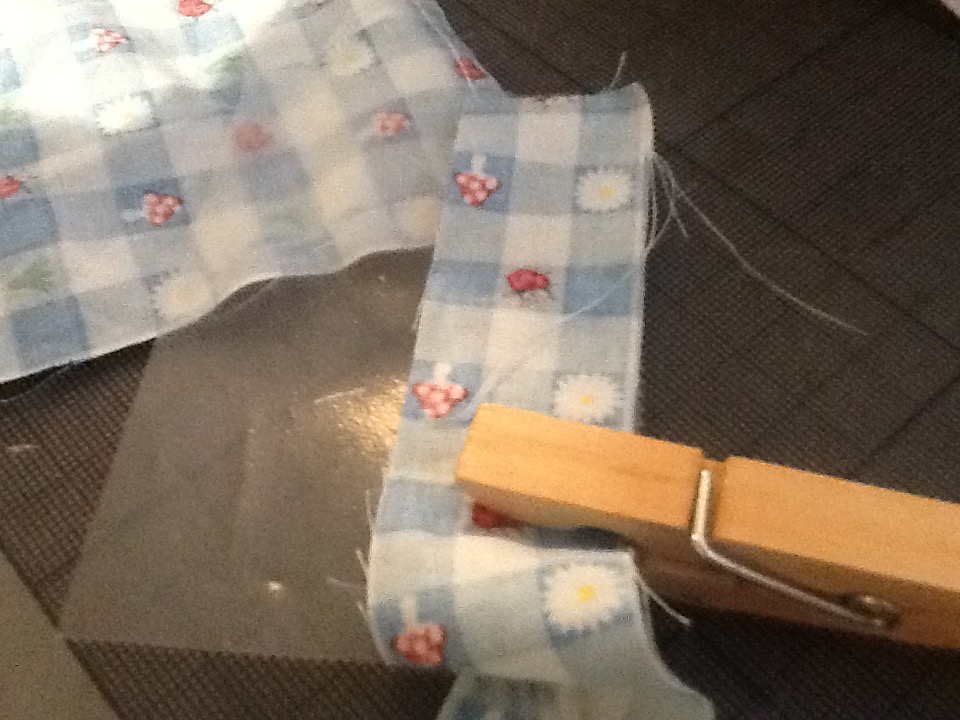
 Flip the top border over and top stitch it , this will be the open edge. Fold the other border pieces over and clip in place on the base, a bit fiddly, before stitch I got the other three sides in position .
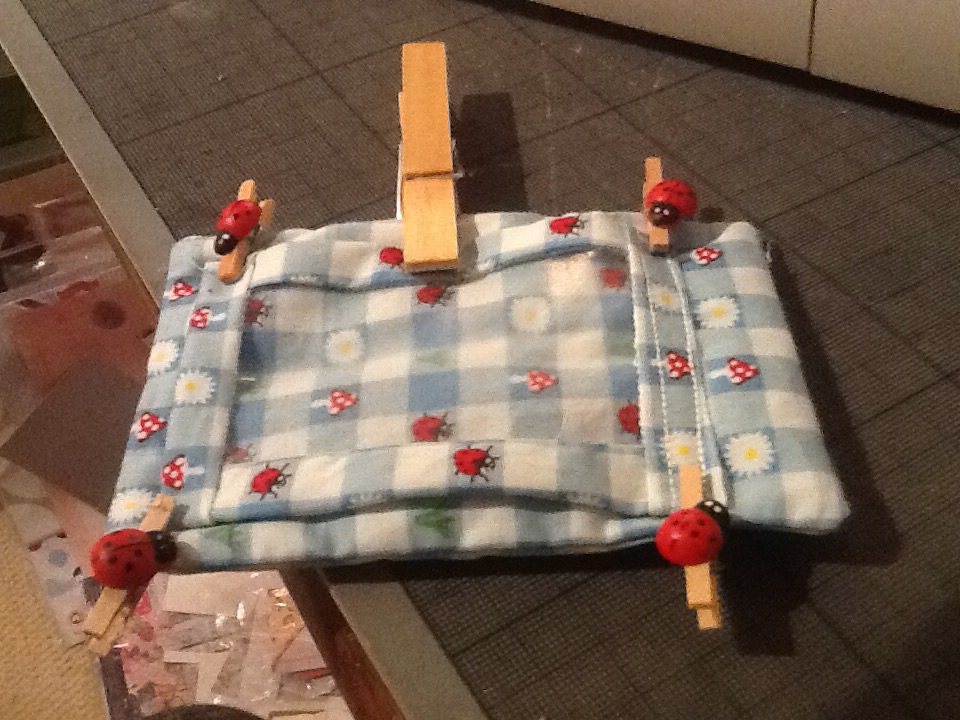 This looks like I have a ladybird theme going on!
If you zig zag you will be sure to catch the hidden edge of the border and the vinyl. Nb people warned me sewing vinyl would be tough but my little Toyota was fine with it.
thread elastic through the buttonhole and zig zag back and forth over the overlapped edges. All to do now is pop a piece of card with maybe jokey name and address for the recipient. I tried to size mine to take a business card though.
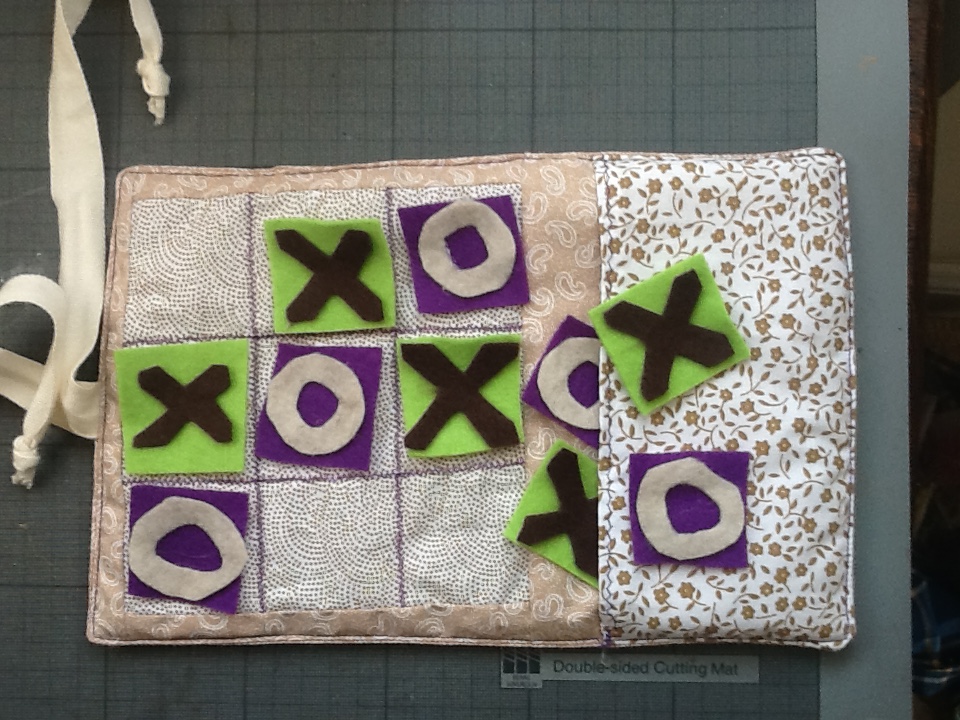 Such fun constructing this. I hope the recipients have as much fun playing with it.
how to: draw four evenly spaced lines with an erasable pen to form the nine squares then zig zag stitch over the lines in contrast thread. My grid boxes are about 2 inches square. Piece a frame in contrast fabric around the grid by sewing two matching sides then a top and finish with a deep bottom to the frame. I made a simple pocket in a third fabric by hemming the open top then pinning in place. Cut a back and piece of wadding. Lay a ribbon (little loop side out -and strings pinned away from the edge) on top of the finished front, then the back face down on top then the wadding and stitch around taking care to catch the pocket, leave enough of a gap to turn. Once turned top stitch all the way round the edge , which also seals the turning gap. Counters are cut from squares of felt, five of each and can stored in the pocket.
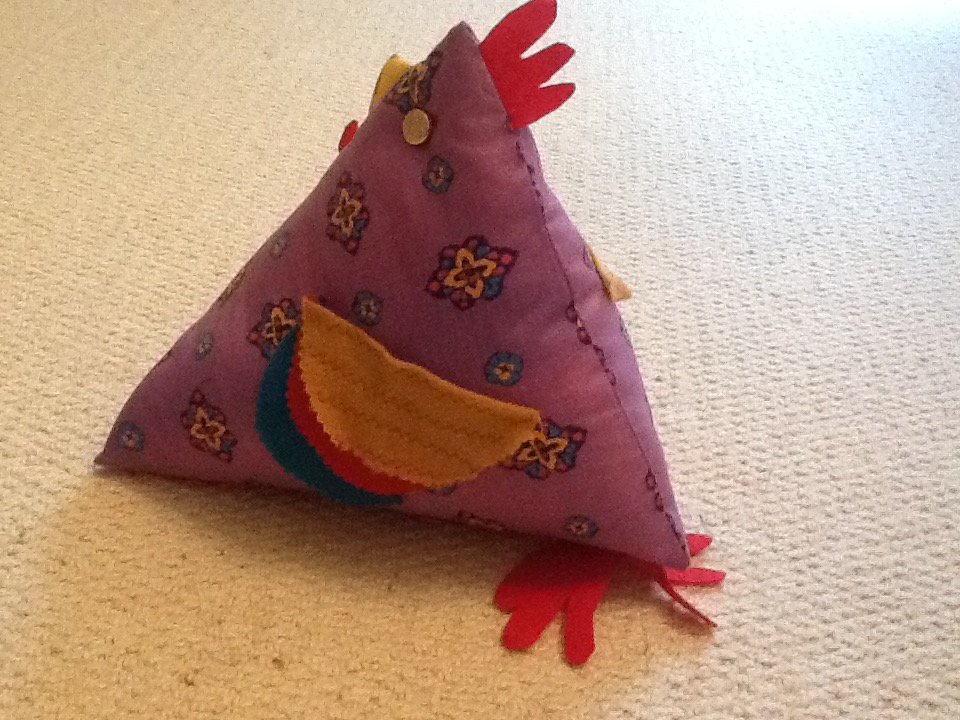
Today I couldn’t start work without a session at the sewing machine, so a vintage Debbie Shore YouTube video was my inspiration. It is basically two 10 inch squares sewn right sides together around three sides and then the fourth side is pulled seams to the centre to make the pyramid. A few extra felt embellishments and a ziplock bag of gravel amongst the stuffing and, voila, a door stop for chicken lovers.