I assembled pine cones, bay leaves and rosemary sprigs in a paper cupcake case then melted candle wax over them to make these pretty and practical Christmas items.
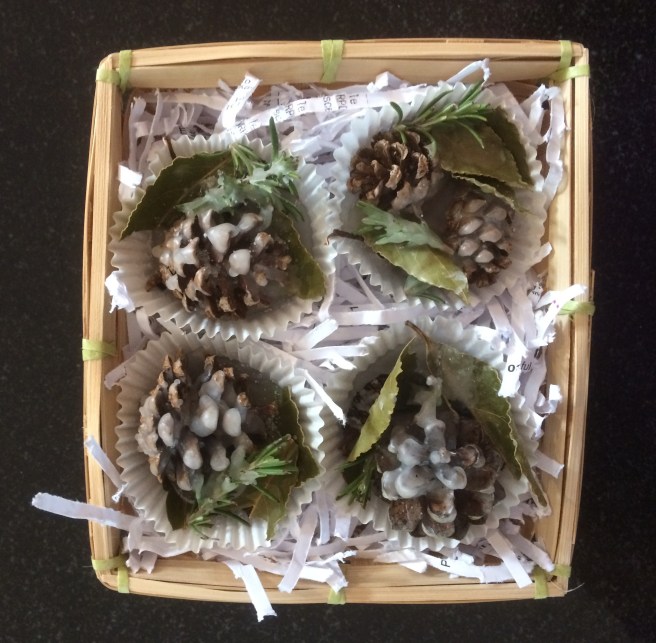

I assembled pine cones, bay leaves and rosemary sprigs in a paper cupcake case then melted candle wax over them to make these pretty and practical Christmas items.
The fun with felt felt day started with me trying to use up scraps from my Santa napkins…

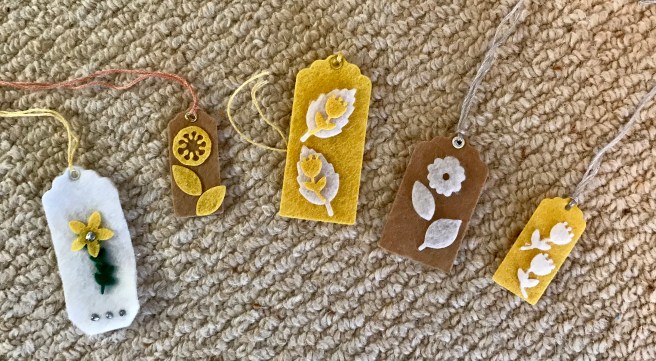
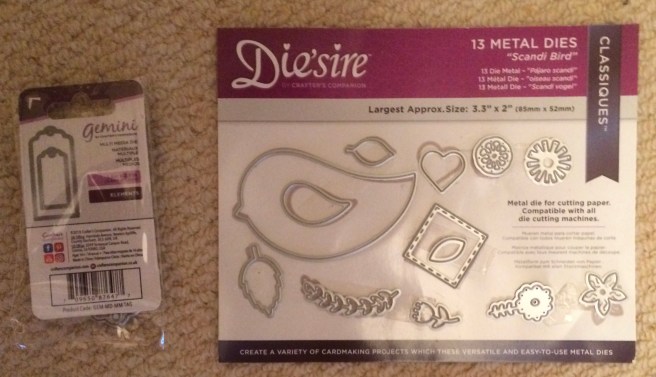
And then I found I had some mixed media tag dies as a bonus in an order from crafters companion… fifty tags as embellishments are now in the wrapping resource box!
Then I found that some of my ordinary dies cut felt as well as paper ( the outline ones anyway)
And a flock of French hens, turtle doves or partridges are now being cut, glued and stitched as tree decoration gifts…


A fun felt and glue project …
Many years ago my mother in law made us some Santa napkins. Hers were rolled hem red sheeting and Santa was sewn from fun fur with felt and google eyes. We use them every year and I wanted to spread with joy without making napkins, so a version using paper serviettes and felt was born.
her version has a triangular beard and straight top head but I preferred a combination of outlines I found on pinterest so drew this stencil with a 7 inch band. Felt is forgiving so have a go and scribble out your own version, but keep it simple enough to cut out cleanly.
To make…
trace your stencil onto white felt (thicker is better if you can find a roll of quality felt), I reversed my stencil to get some variation in beard direction
cut it out inside your trace lines so they don’t show on the finished version
cut a piece of flesh tone felt and hot glue it behind the face gap – I suggest you hold the felt with tweezers to avoid glue burns and help be precise-ish, tweezers also pull off any glue strands
hot glue on a red mini Pom Pom for the nose and googly eyes in a characterful position, tweezers again most useful
I added pinking shear cut felt strips as a moustache and tiny pieces for eyebrows then glued the band into a loop with about a one inch overlap
some people embroider on names or add other embellishments… I like this clean and simple version
If gifting a set of these include spare red serviettes to encourage reuse.

Originally conceived to cover the dog bowl but now I have realised these food protectors are as efficient as the umbrella type food domes I have been using and much more space efficient.
Cut a circle of paper or card slightly larger than the intended bowl, laminate and trim the excess plastic to fit the circle ( both cuts can be done on a cutting machine or by hand). If you re laminate the trimmed circle the heat softens any rough edges you may have left.
I used some of my stash of letters to decorate the circle before laminating but these function without decoration.
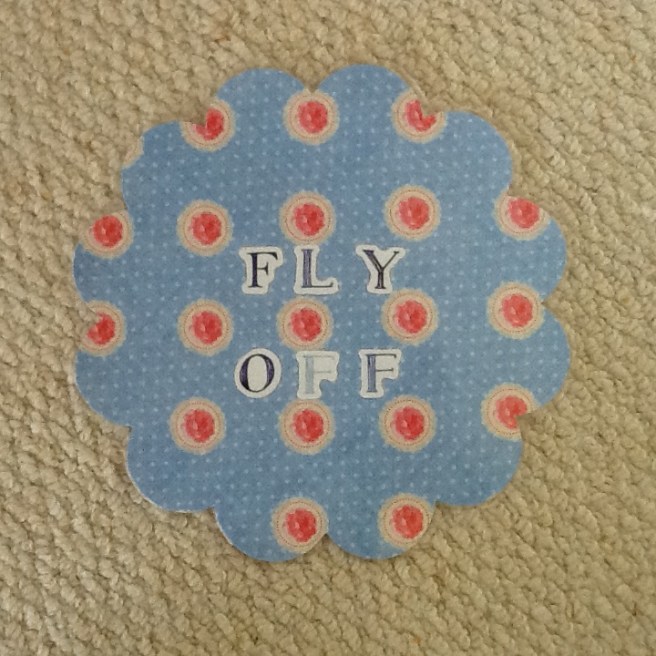
The laminate may warp if used on hot bowls or over steaming hot foods but otherwise these easy wipe covers do a useful job.
The next batch will have new wording, after all – there are no flies on me!
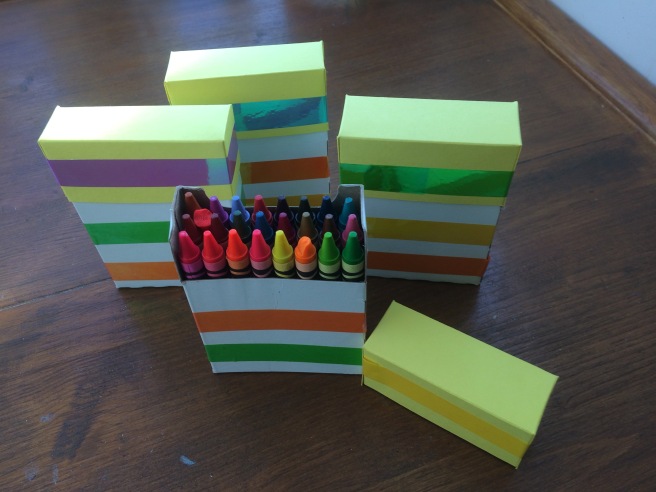
 A quick fix to box up some of the very many loose crayons I have accumulated to go to a charity drive and present them nicely (plus use up some of the acculululated washi tape.
The lid was a piece of 14.5 x 9 cm card scored at 3.2 cm in from each long side and 2 cm n from each short side then cut and trimmed as shown.
I used my Tonic trimmer which has a very handy scoring blade that makes meauring a little job like this quick and easy.
The lid was folded to shape and fixed with a length of washi and then further washi in contrast colours was stuck around the base carton to unite the top and bottom.
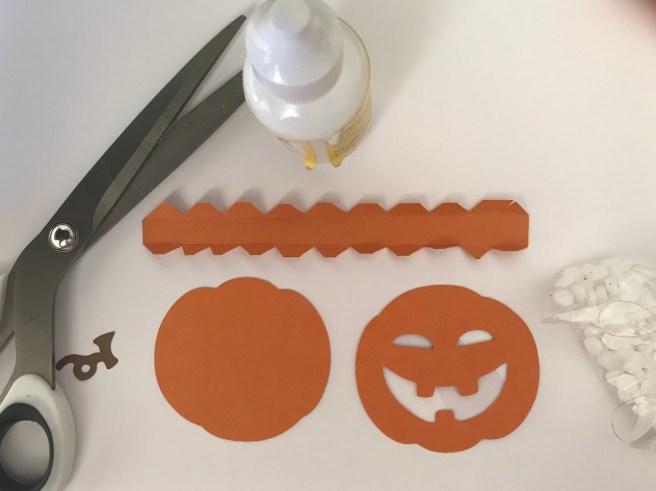
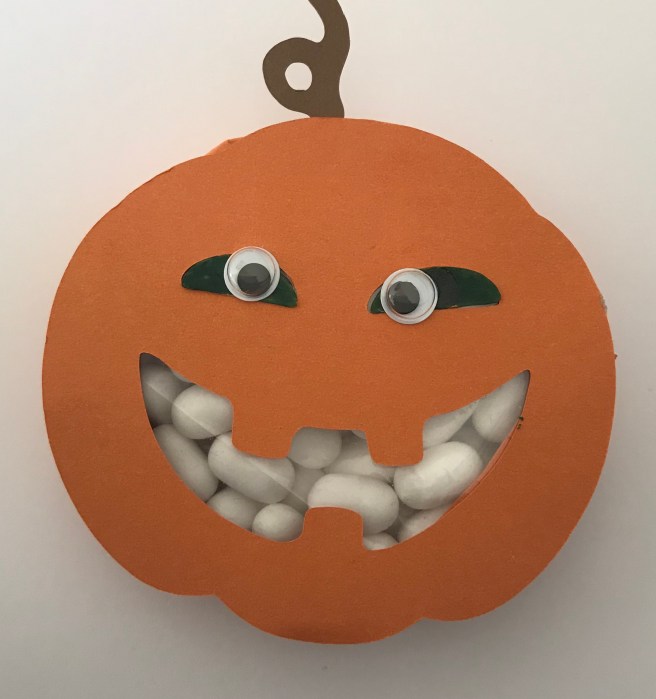 A treat box or table gift ready to hand out which uses up some mini mint sachets…
It is basically a sandwich of matching shapes for front and back with a strip of scored card around the diameter to hold the contents inside.
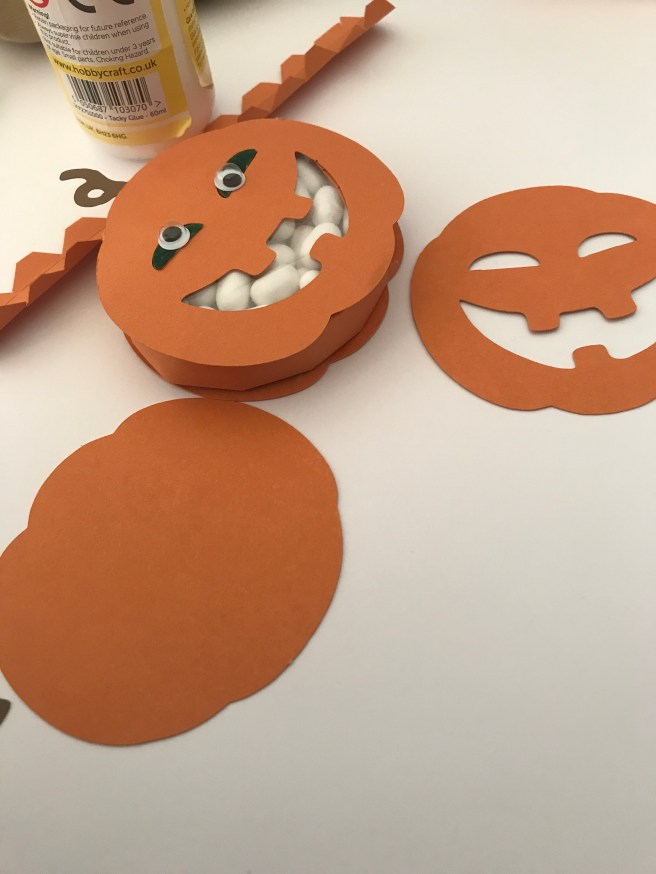
For this one I cut a 3 inch pumpkin on the scan and cut, put acetate behind the apertures and fixed front to back with an improvised strip of card cut and scored as shown. To decorate I coloured, with a marker, the eye hole negatives put them back in place and then stuck on googly eyes and the little tendril to finish it off.
Now to make cars with windows, boats and other animals from the scan and cut. Easy project, good fun.


Who doesn’t love washi tape? The challenge is to use it, particularly as I am now two thirds of the way through this year’s resolution to “use what you have”. So today is declared washi Wednesday and I have been taping all sorts of objects in an attempt to use some of 50 (! How did that happen?) rolls of tape hanging in th craft room.
I have made fridge magnets from wooden pegs and magnetic sheets, and decorated more pegs that I use for clamping in the craft room. I covered corporate pencils and plastic coat hangers and also made the binder clips that I use for sewing very pretty.
(tip for covering pencils with minimal creases, run a strip of washi around the top and bottom of the pencil before spiralling around with the full length of washi )
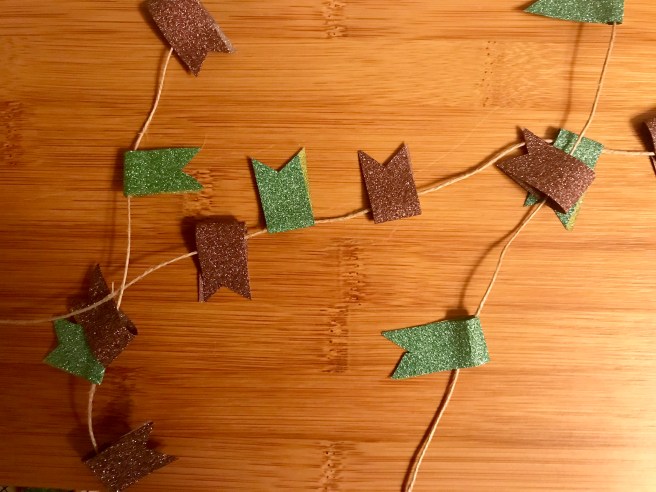
I copied the bunting string from various pinterest posts and will use it to prettify a parcel
I have beautified spray bottles and tea lights but still haven’t made a dent in the stash, so covering journals and making cards is on the list for the next washi Wednesday.
Not being ambitious enough to do wall decor with washi, I would welcome suggestions for practical uses for the washi mountain. Polite suggestions only please,
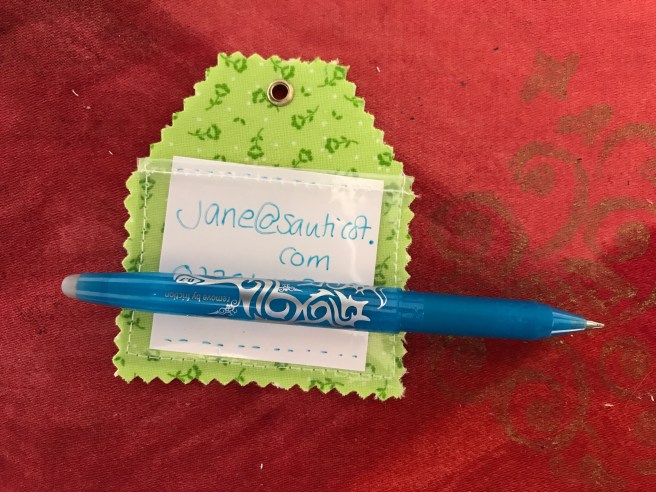 Easy peezy lemon squeezy tags that take minutes to make if you keep it simple…
1. fuse a piece of firm interfacing ( I used Pellon fuse-n-shape) between two scraps of material that are just bigger than the interfacing.
My interfacing was 3.5 inches by 4 – a scrap that I wanted to experiment on, my next versions will be a bit bigger if I decide to cut into my carefully hoarded interfacing.
2. Trim the fabric sandwich to a tag shape, rotary cutter works well but my favourite was using pinking shears
3. Punch a hole and set an eyelet, I used my cropodile and was grateful to make a tiny dent in the eyelet stash (how did that get so big?)
4. Cut a piece of plastic packaging – the firmer the better- to a rectangle bigger than your tag and fold over a small ‘hem’. With a long straight stitch sew the hem down 
5. Position the plastic over the tag with the hem across the ‘shoulders’ of the tag and then sew the other three sides to the tag
6. Trim the plastic, I angled my scissors so I could trim it just smaller than the fabric
7. Insert card or paper with your details on
What a great little project. Inspired by Riley Blake designs.
If you embroidered or monogrammed or vinyled a design onto the fabric first, these would make fab personalised tags
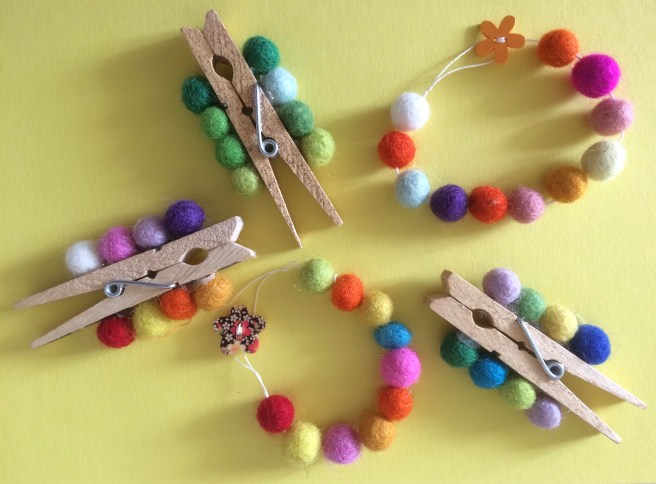
I ordered a bag of wool felted balls to try and expand my use of essential oils.
To make a car scenter that will clip on an air vent- hot glue four 1cm balls on either side of a wooden clothes peg. Positioning as I did, leaving tip and base of the peg free, is the most practical.
Drip on essential oil or perfume and clip in place. Top up when you think the scent has dissipated.
To make a bracelet style scenter that will hook around the rear view mirror or clothes hangers in a wardrobe –


Take about 60cm or 24 inches of strong cotton and fold it in half. Double knot about 3cm or an inch in from the folded end to make a loop as shown on the left of the pictures above.
Thread both strands of cotton through your needle and then thread through the balls. I used 10 per bracelet. Finish by threading on a button and secure it well before cutting off any spare tails of thread.
When ready to use drop on chosen essential oil and hook button through the loop.


four standard c5 office envelopes, a trimmer, double sided tape, decorative washi tape and paper from the stash. This project takes as little or as much time as you have…
Being challenged on the spacial awareness front I had to follow a you tube tutorial called coupon/receipt organiser by JustaFewDesigns
I added a couple of magnets and omitted her mini binder clip element but to decorate I just grabbed a pack of paper 
and my stash of washi tape, and kept going until I felt enough was enough.
I stuck the magnets with glue dots and covered them with paper hexagons but am not sure it works too well, or is necessary.
This will hold gift vouchers, coupons and loyalty cards in my bag. Wonder how long it will hold together…
