A chic’n cheap dog bed

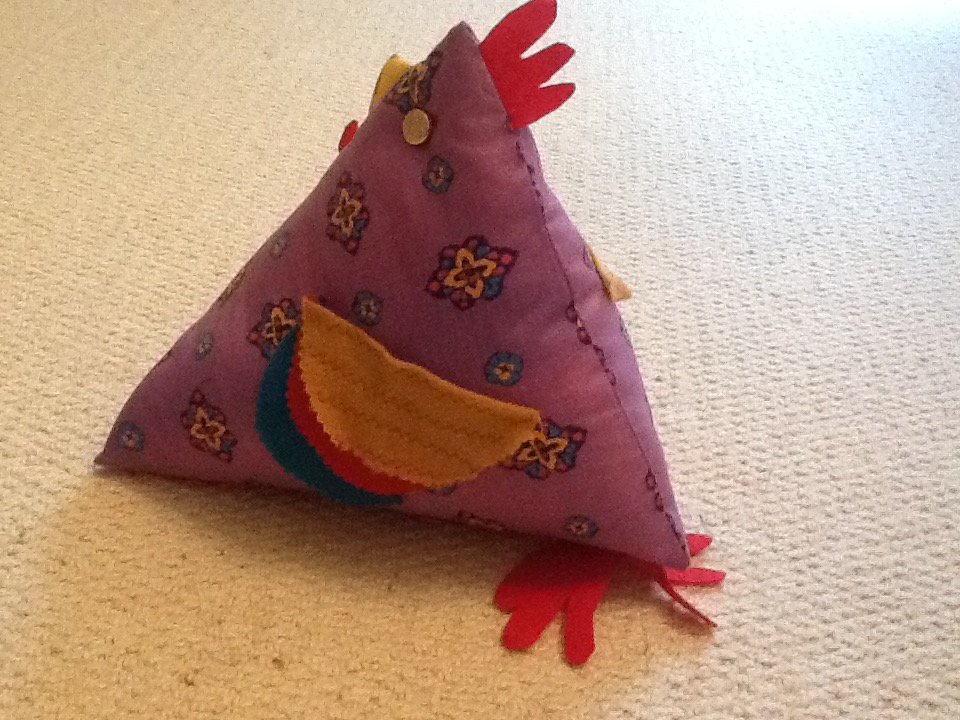
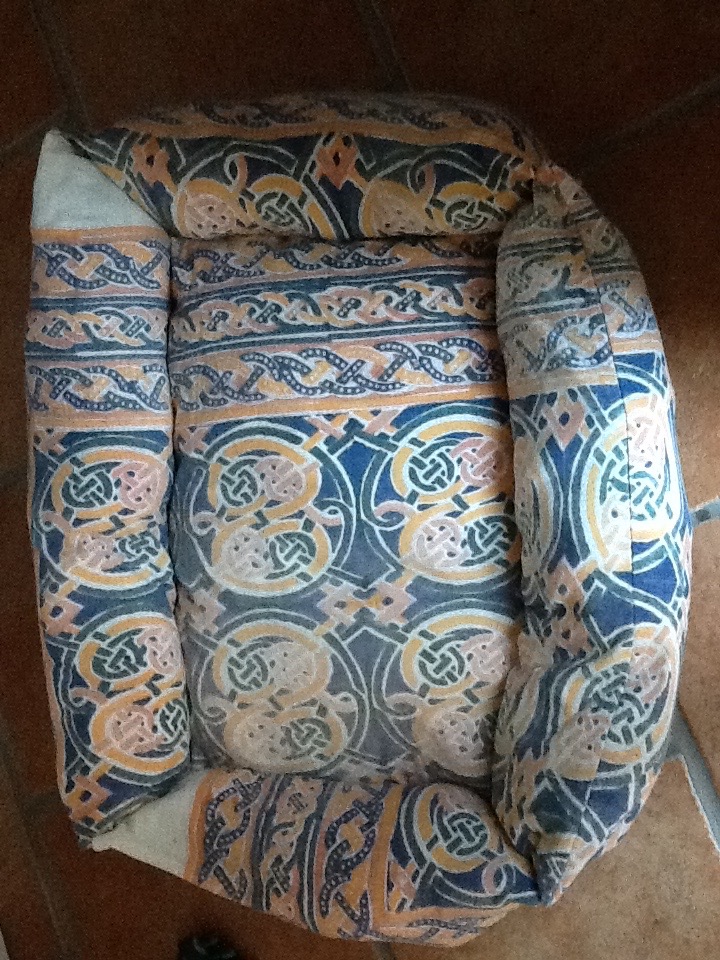
As doggy outgrew his favourite bed and declined to use the giant pillow we bought him,  I decided to make a new one out of what we had around. A faded Indian cotton throw, a large IKEA pillow pad and  old duvet (world is mad when it is cheaper to buy a new one than get it drycleaned) filling.

Method:make a ‘pillow case’ for the base pillow. make four smaller pillow cases, one  for each side of the base leaving half of a narrow end open for stuffing. sew one  long seam of each of the four smaller pillows to the base  case. stuff as firmly as you can and insert the base pillow in. hand sew  the opening of the pillows closed and then hand sew the short ends of the smaller pillows together . This  pulls the four sides up and together around the base.

Success – he loves it! So much that another one made with the same set of materials.

IMG_0468


Portable sewing kit

imageimageimage
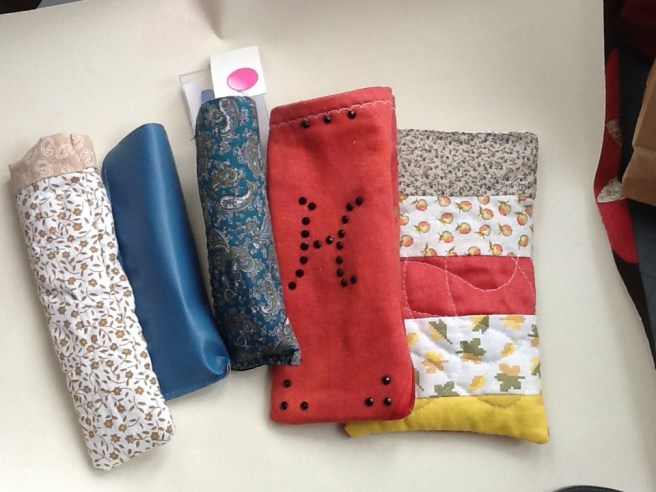
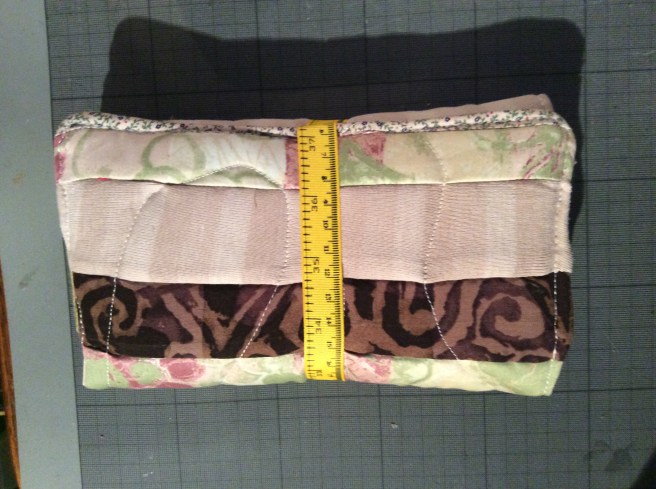
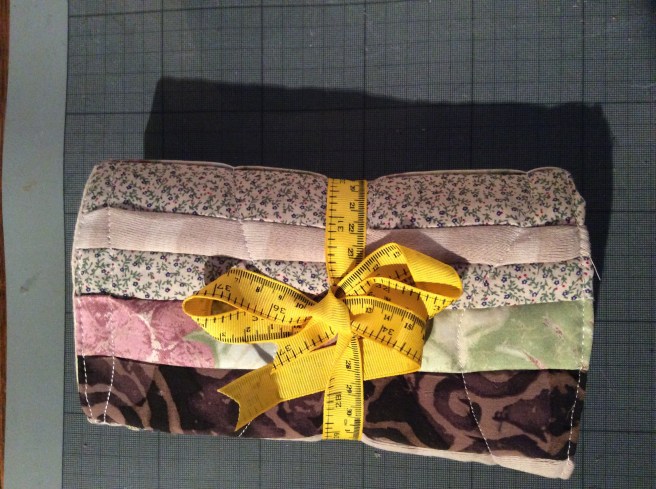
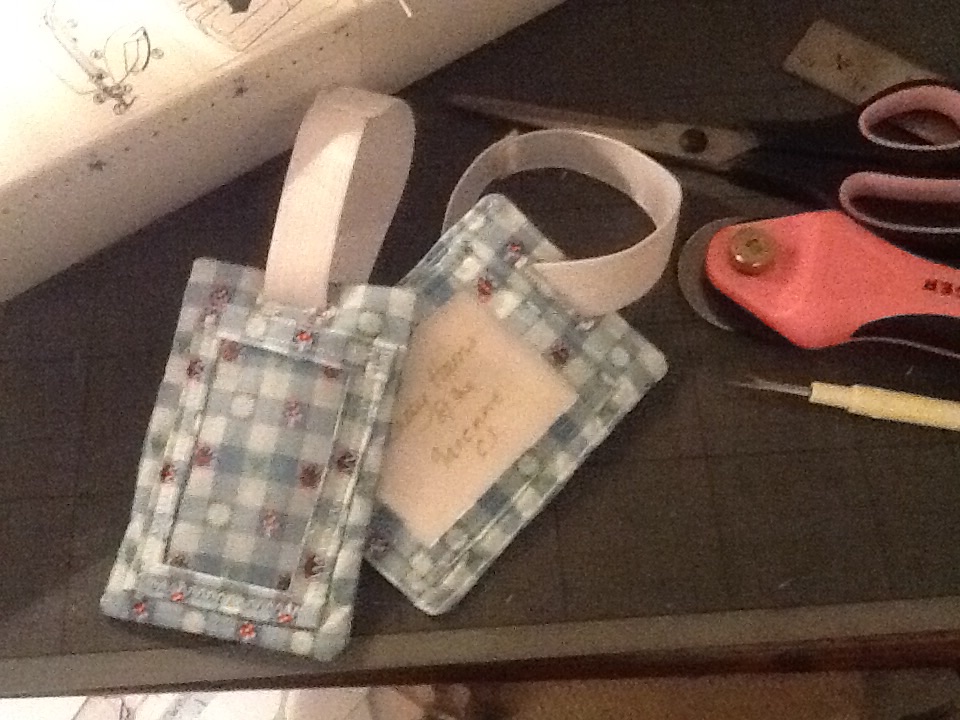
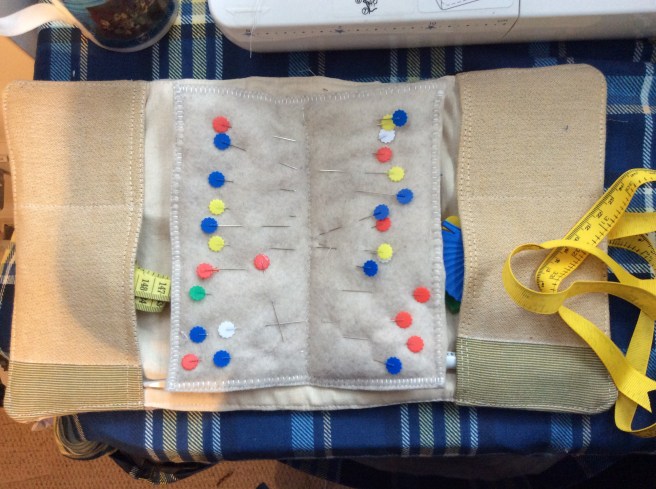
A scrap attack with a ‘quilt as you go’ exterior,  free motioned on to wadding.  The interior was just two pieces of folded fabric used to make the two pockets and a square of felt for the pin holder .

It was all sandwiched together right sides facing (with ribbon tie carefully pinned away from the sides) and once turned, top stitched to tidy.


Dog coat

image
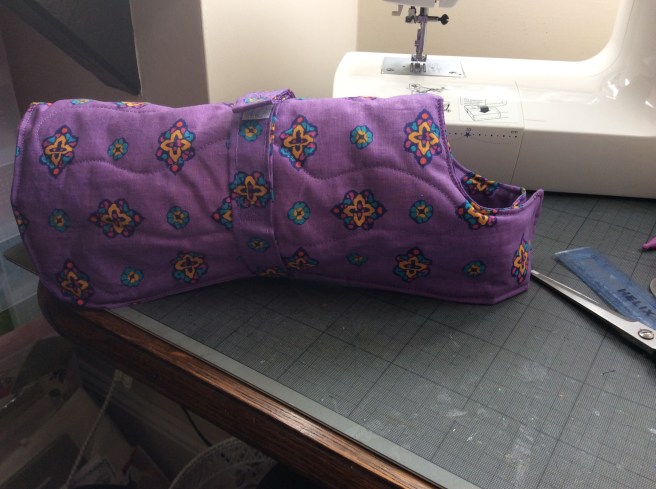
the most expensive dog coat turns out to be the easiest pattern to copy, just traced.


to fit Harvey this is 12.5 inches wide, 11.5 inches back to neck, 17 inches back to end of each tab

image

Method: use pattern to cut two fabric shapes and a 23 inch long four inch wide strip. Quilt wadding to the reverse of one shape then sew shapes wrong side together, leaving a gap to turn. Top stitch the edge, this also seals the turning gap. Iron the strip in half then turn in each edge to make a four ply strip . Top stitch along each edge and fix as on pattern.

once checked on doggie for fit,  affix Velcro tabs on neck and on strip. Now just waiting for the reflective tape to arrive, so his night time walks are warm and safe.


Cornered!

thanks to a great you tube tutorial from fabric junction, I have mitred corners on these place mats

imageBy pinning the centres of two proportionate rectangles and carefully marked boxes in the corners of my top fabric, it worked!

now, shall I make some napkins with the  remnant?

don’t  tell my mum, this is the home made part of her present


Bag and purse combo

image
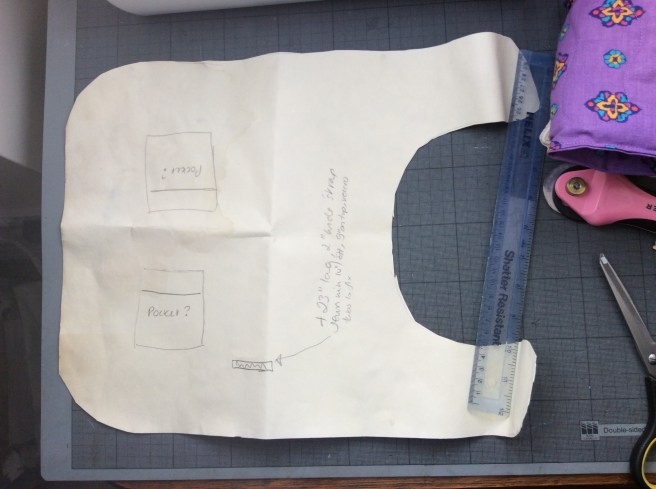
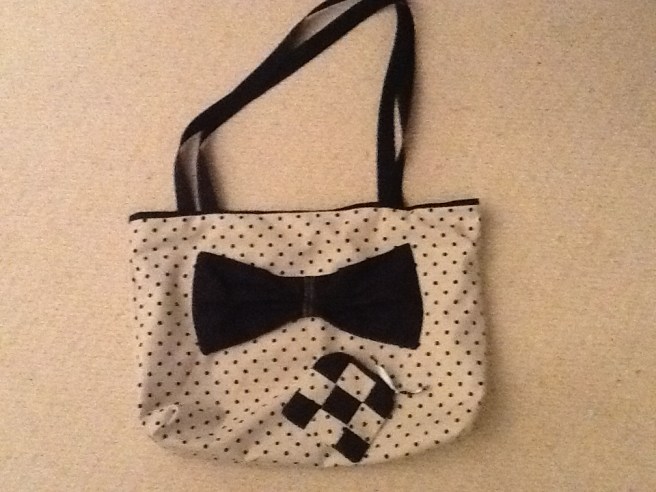
a simple tote with webbing for handles, interfaced and lined with a pocket inside and a decorative bow on the front – thanks to Debbie Shore videos for techniques

when boxing the bottom of the bag I had eight little squares which I turned into a patchwork square (adding another square to make the ninth piece) as the front of a matching zippered purse

too good to give away?

Luggage tags

For the travellers on my Christmas list…

image


Materials: Two scraps of fabric 13×9 cm plus a length of 3cm wide matching fabric about 30 cm long. A piece of batting or wadding 12 x 8 ish, a piece of vinyl 6×8.5 and some elastic 25 cm.

Method:sew a 1/4 inch seam around the fabric squares which should be right sides facing, leaving a gap for turning. Stick the batting to one side the batting with a little fabric glue then turn. Push out the corners then top stitch all the way around the edge of the tag.  Sew a buttonhole at the top of the tag, make it wide enough to thread the elastic through.

cut the strip of fabric to the length of the four vinyl sides. Put a strip face side down, edge flush to the fabric and sew a line , better to peg than pin vinyl.imageimage Flip the top border over and top stitch it , this will be the open edge.  Fold the other border pieces over and clip in place on the base, a bit fiddly, before stitch I got the other three sides in position .

imageThis looks like I have a ladybird theme going on!

If you zig zag you will be sure to catch the hidden edge of the border and the vinyl. Nb people warned me sewing vinyl would be tough but my little Toyota was fine with it.

thread elastic through the buttonhole and zig zag back and forth over the overlapped edges.  All to do now is pop a piece of card with maybe jokey name and address for the recipient.  I tried to size mine to take a business card though.


Chicken door stop

Today I couldn’t start work without a session at the sewing machine, so a vintage Debbie Shore YouTube video was my inspiration. It is basically two 10 inch squares sewn right sides together around three sides and then the fourth side is pulled seams to the centre to make the pyramid.  A few extra felt embellishments and a ziplock bag of gravel amongst the stuffing and, voila, a door stop for chicken lovers.

image image