Double oven mitts, again from jeans

image imagea freestyle project using ‘jolly molly’ double oven mitts as a template.

layer outer canvas, insulbright, batting, outer canvas and jeans back pockets over the template made from old mitts. Baste around the edge then fix bias binding to seal the edges.

Don’t look too closely at the binding, next time I will hand stitch the second side as I found it tough to stitch in the ditch.

Jeans to oven mitts

imageimage

The pocket of some neglected jeans (remember, don’t buy bargain jeans any more) is simply layered face up a piece of canvas face down then  insulbright  and felt – I didn’t have any batting to hand. I tucked in a loop of cord for hanging – and sewed around using my walking foot, leaving a gap for turning.


After turning I hand stitched the gap as the bulk was too much for the machine and voila! The pocket works on the oven glove better than it ever did on my jeans.


So so simple that I made a smaller version with the other front pocket immediately.


now to make the two back pockets into a double mitt creation!

What to do with a fabric samples book?

Ideas please as I have a stack of curtain fabric samples to be used. There just isn’t room in my craft cupboard for all the fabric I am accumulating.

imageProject number one – my failsafe door stop design with sizing adapted to fit the fabric square. Four identical rectaingles and two squares to match the width of the rectangles with a strip folded to make a handle. Method; stitch the rectangles to form four sides of cube, keep it inside out.. Top stitch the folded strip and sew on the top square in place as a handle. Stitch  the top into position in the cube and stitch around most of the base square leaving a gap for turning. After turning fill with cushion poly fill and finish with some gravel or pebbles as weight before hand stitching closed the gap.

Wet stuff pouch

image image

A super cheap IKEA shower curtain is the lining for a simple zippered pouch which will carry wet swim wear or soggy stuff in style this summer

method: cut two identical panels of outer fabric (I used six charm pack squares quilted on to wadding), two of liner (shower curtain) and optional interfacing if you want stability.

sandwich interfacing first then outer then zip then lining to one side of zip – all raw edges aligned then do other side of zip. Optional top stitch afterwards

lay linings to the right and outer space to the left with good sides facing then stitch around leaving a gap for turning on the long lining side

turn then top stitch the gap closed.

done

to be honest the shower curtain is going to rip under pressure and was tough to sew at zip level so the next one is going to be an envelope style pouch with Velcro fixing instead

Elegant doorstop

image
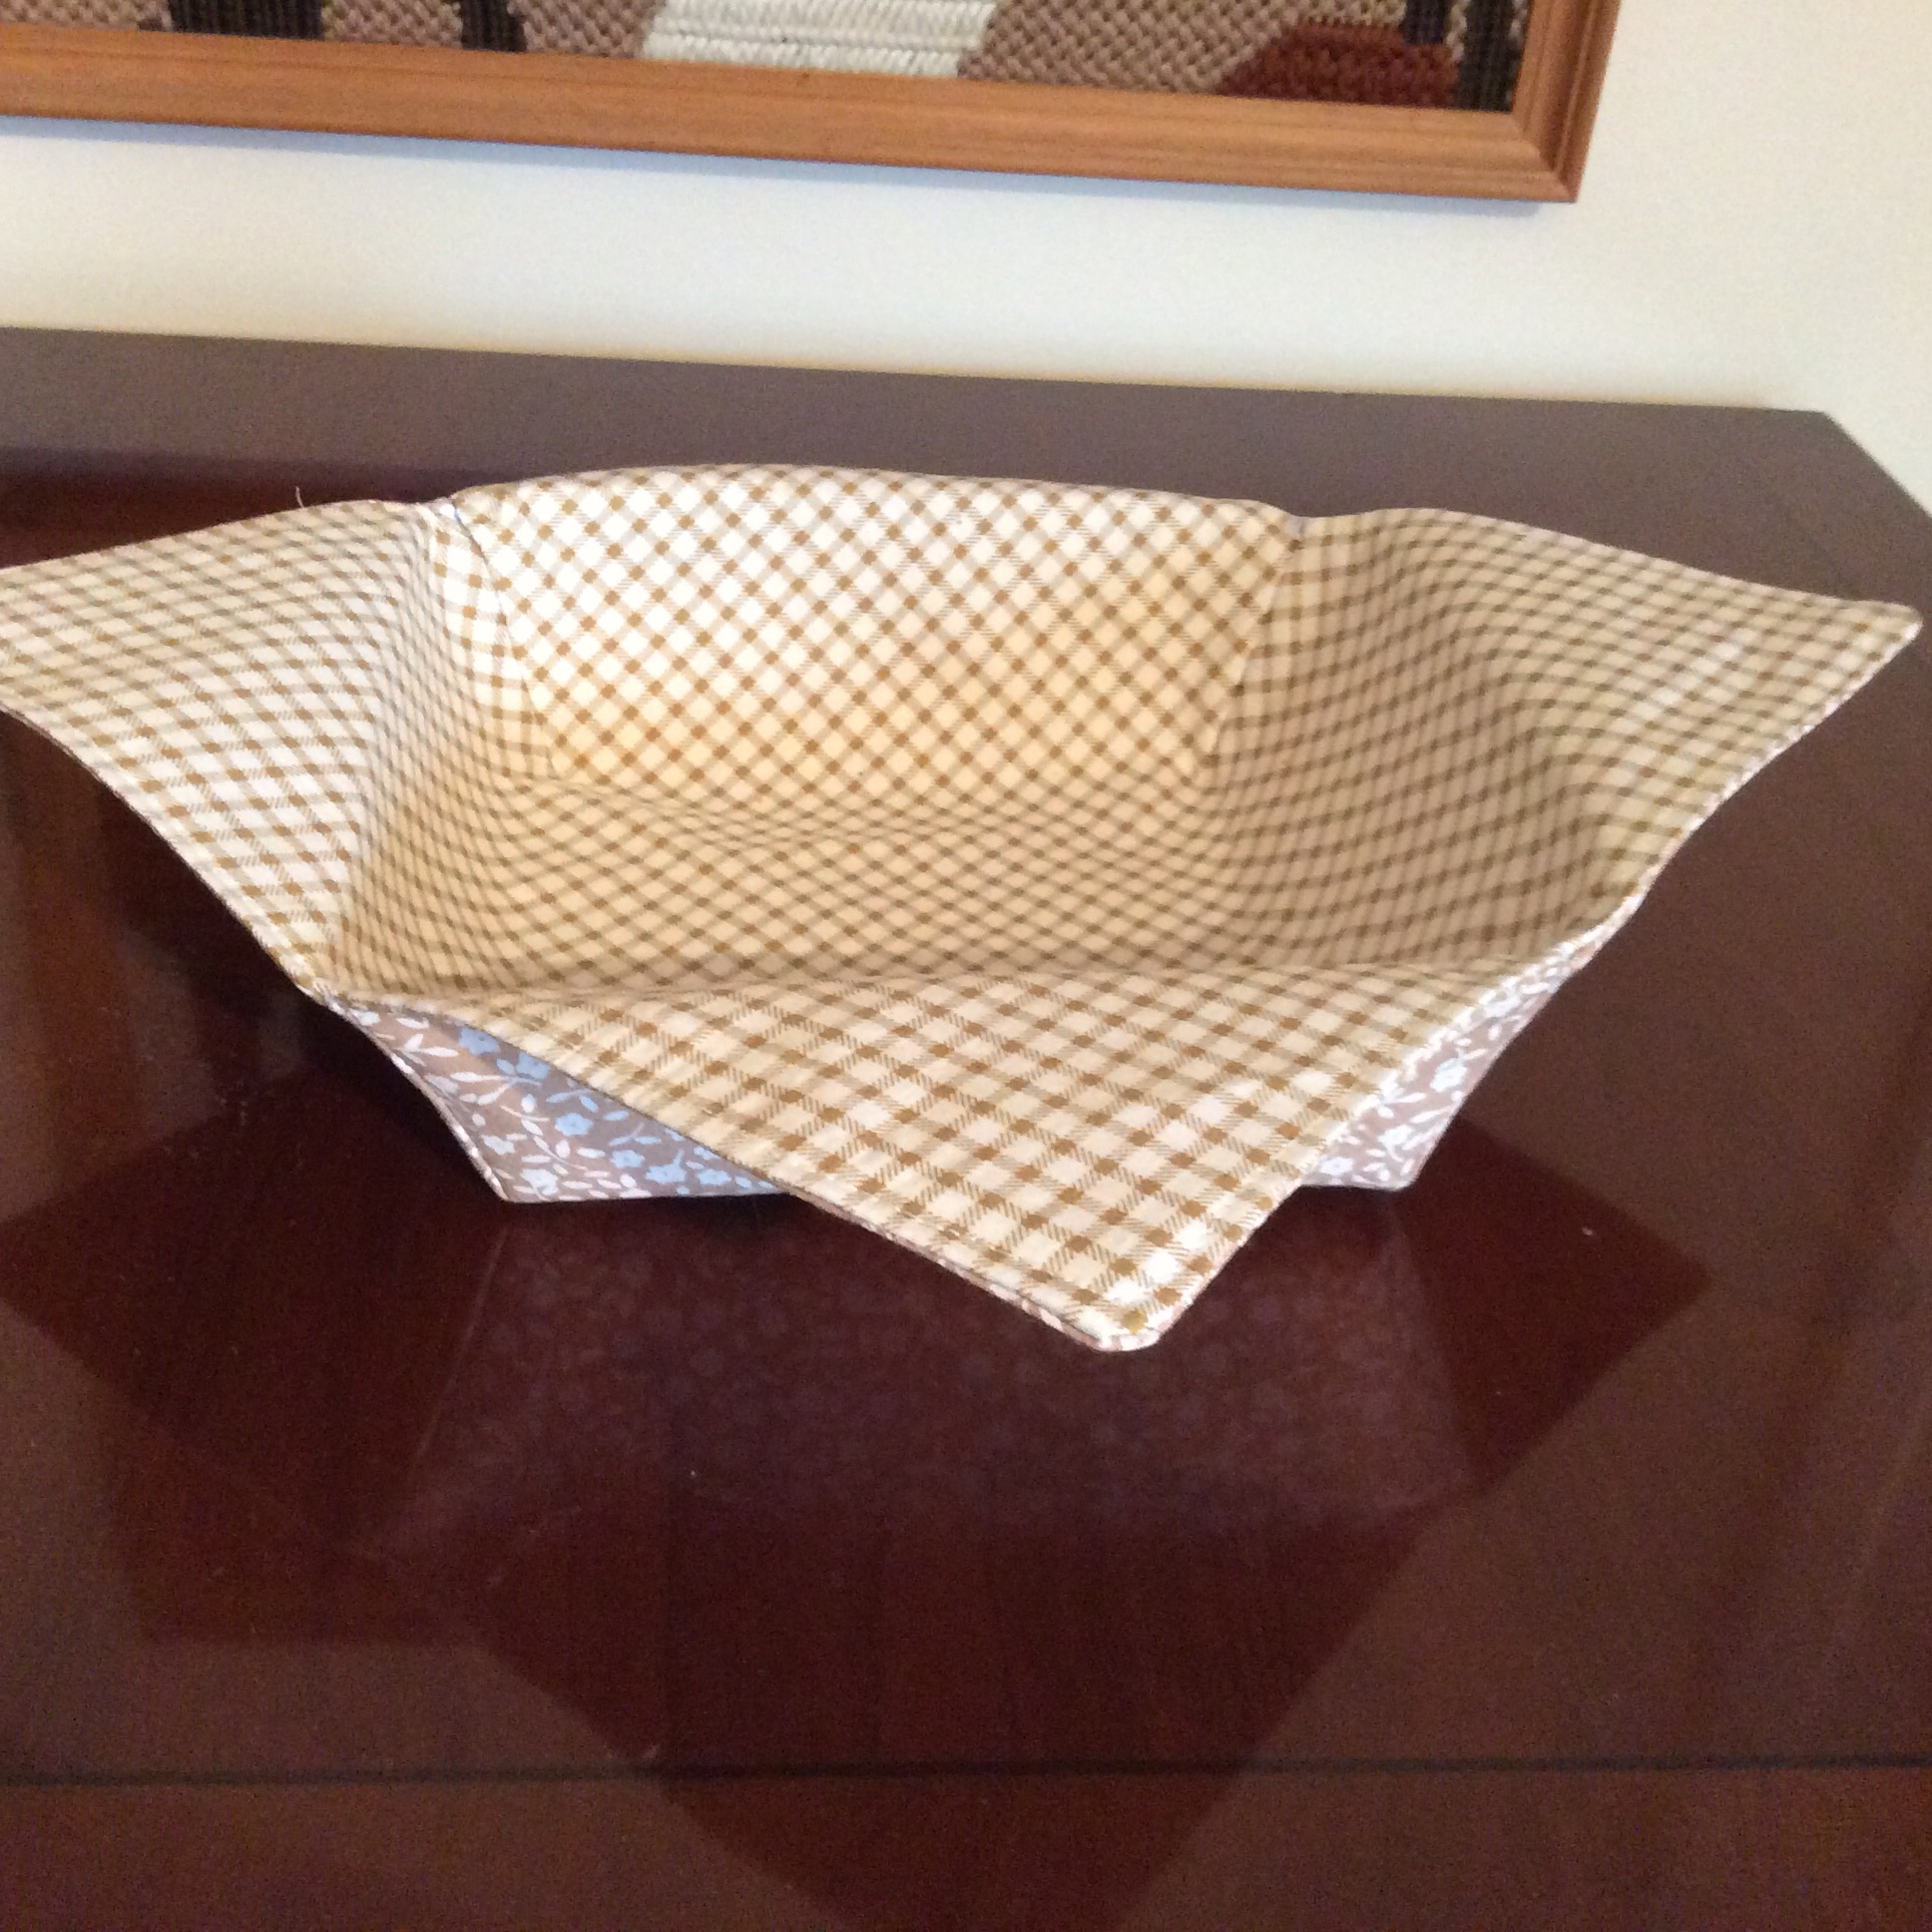
Any heavyweight fabric (left over curtain or upholstery looks great but still needs interfacing to give it structure.

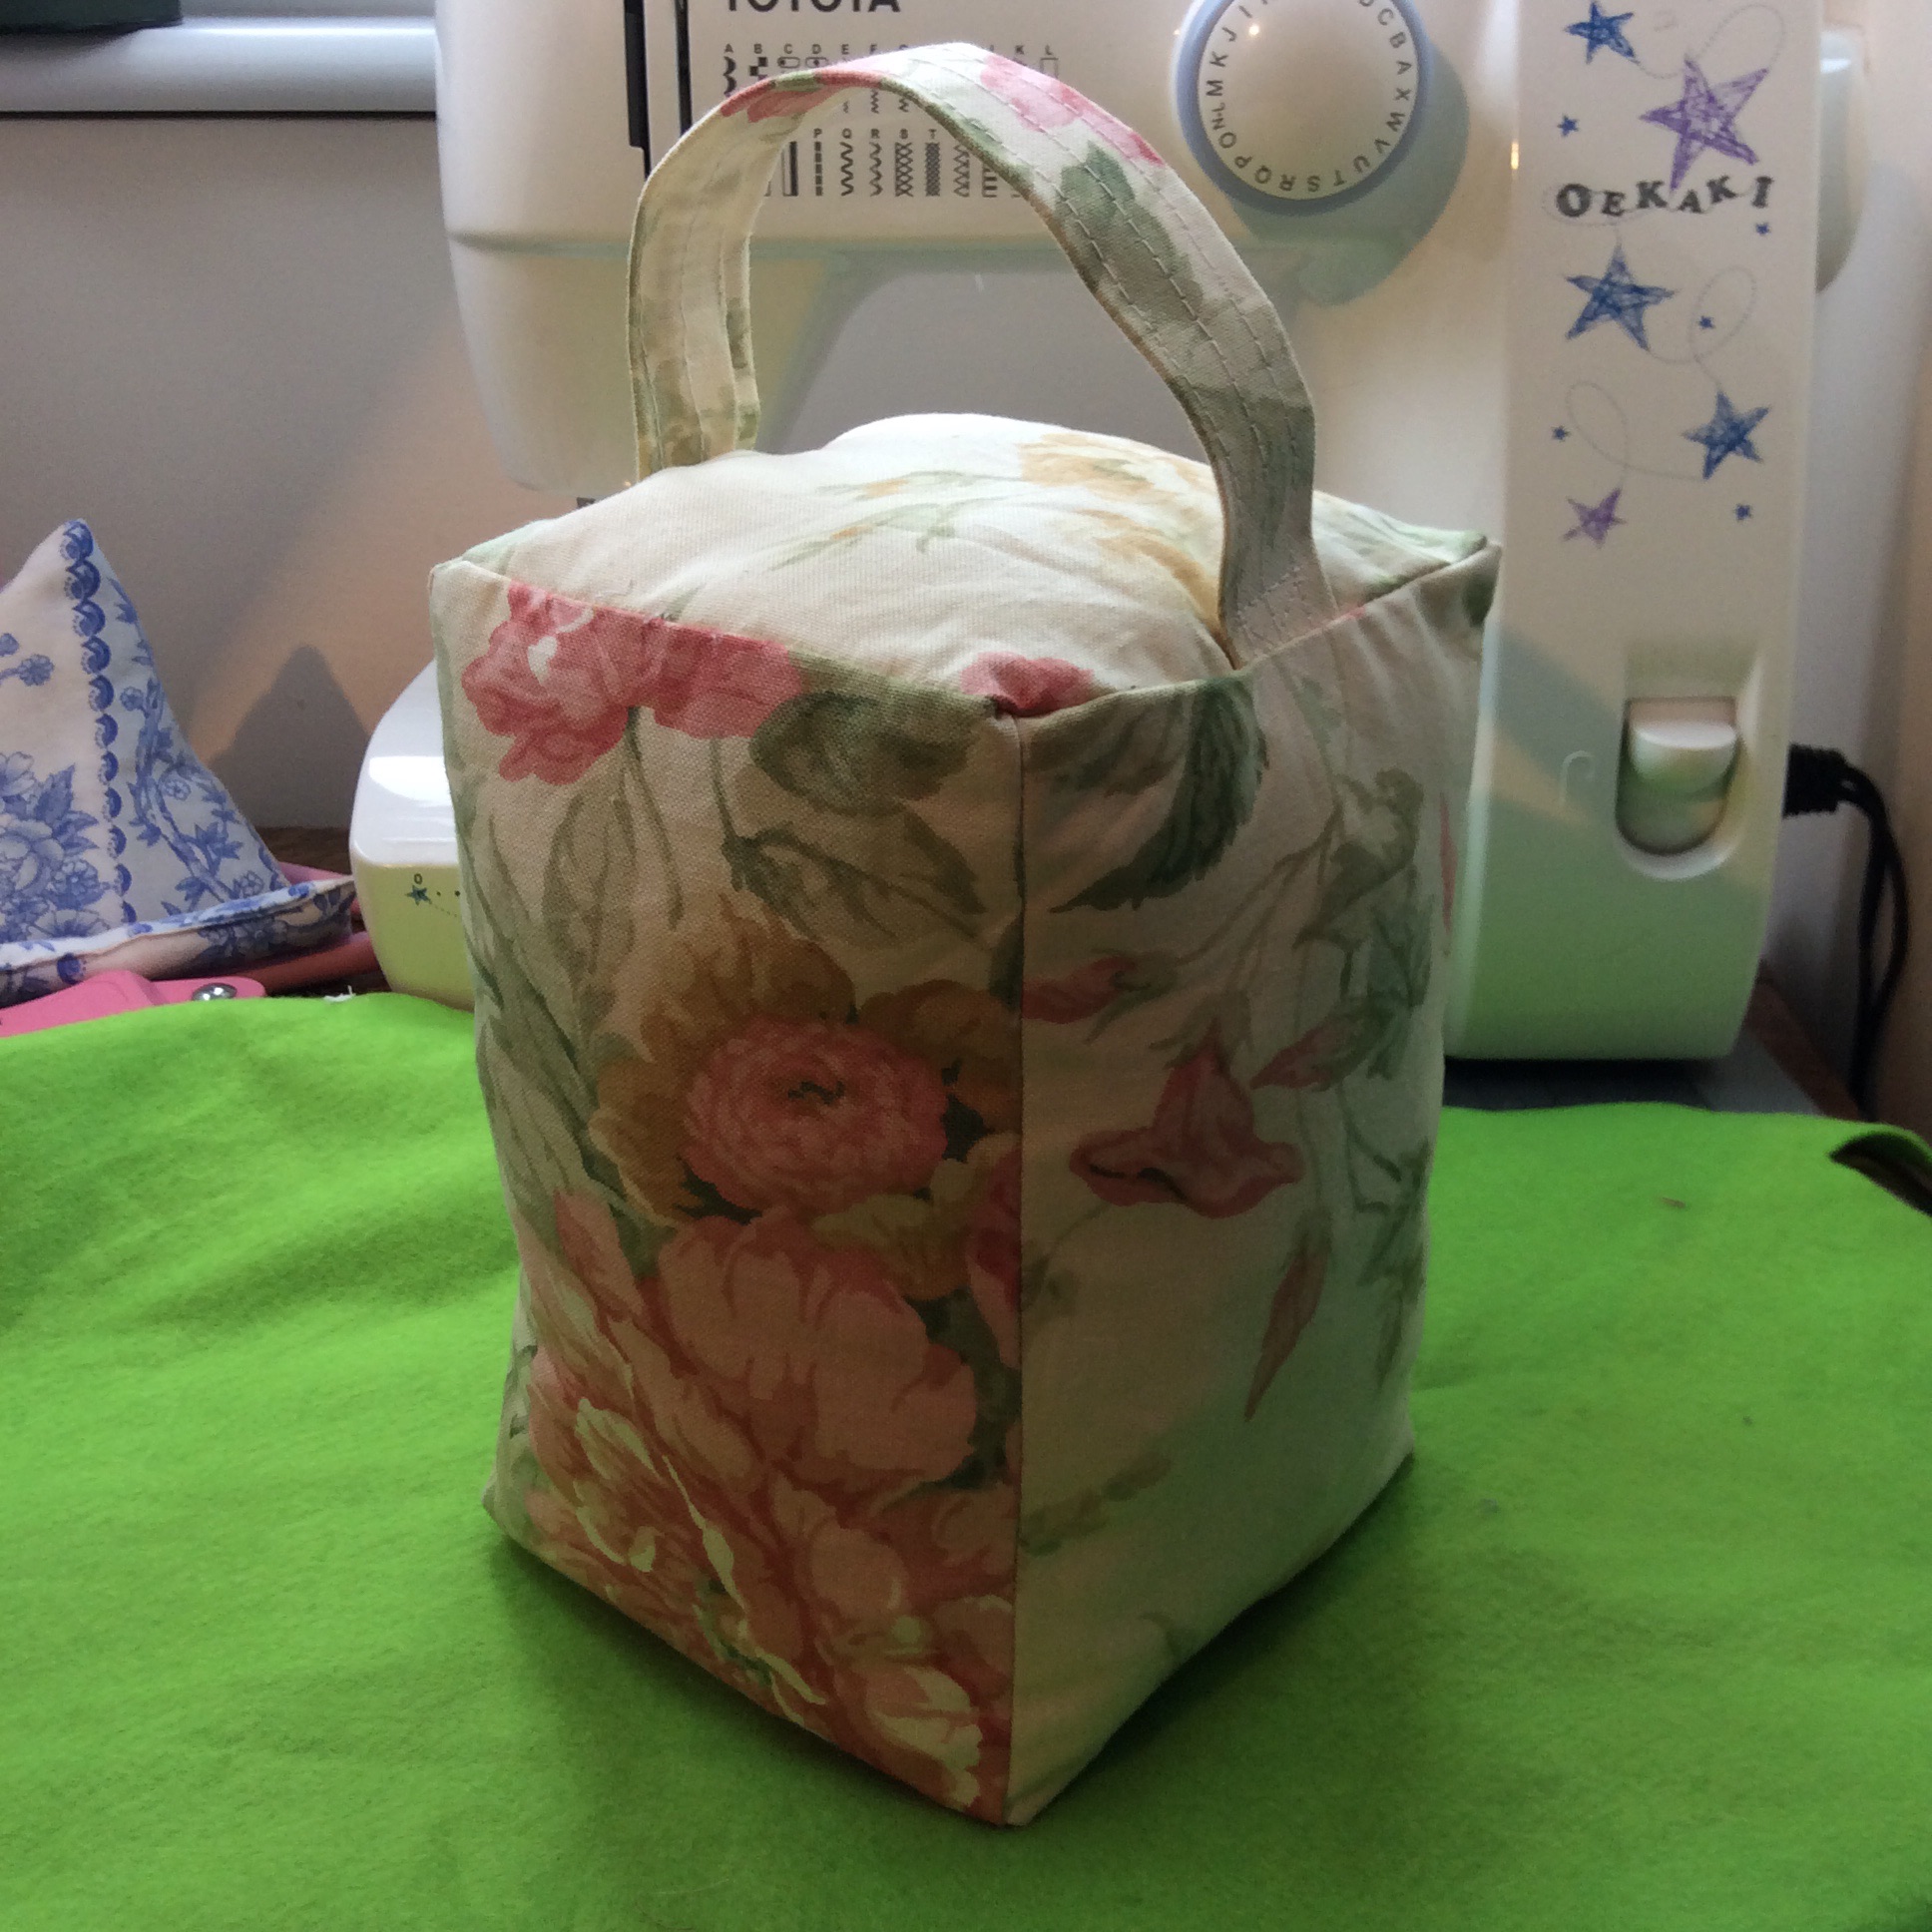
Method; cut four 20 x 15 cm sides and two 15 x 15 squares for top and bottom plus one 15 x 12 cm strip for the handle. Interface everything.

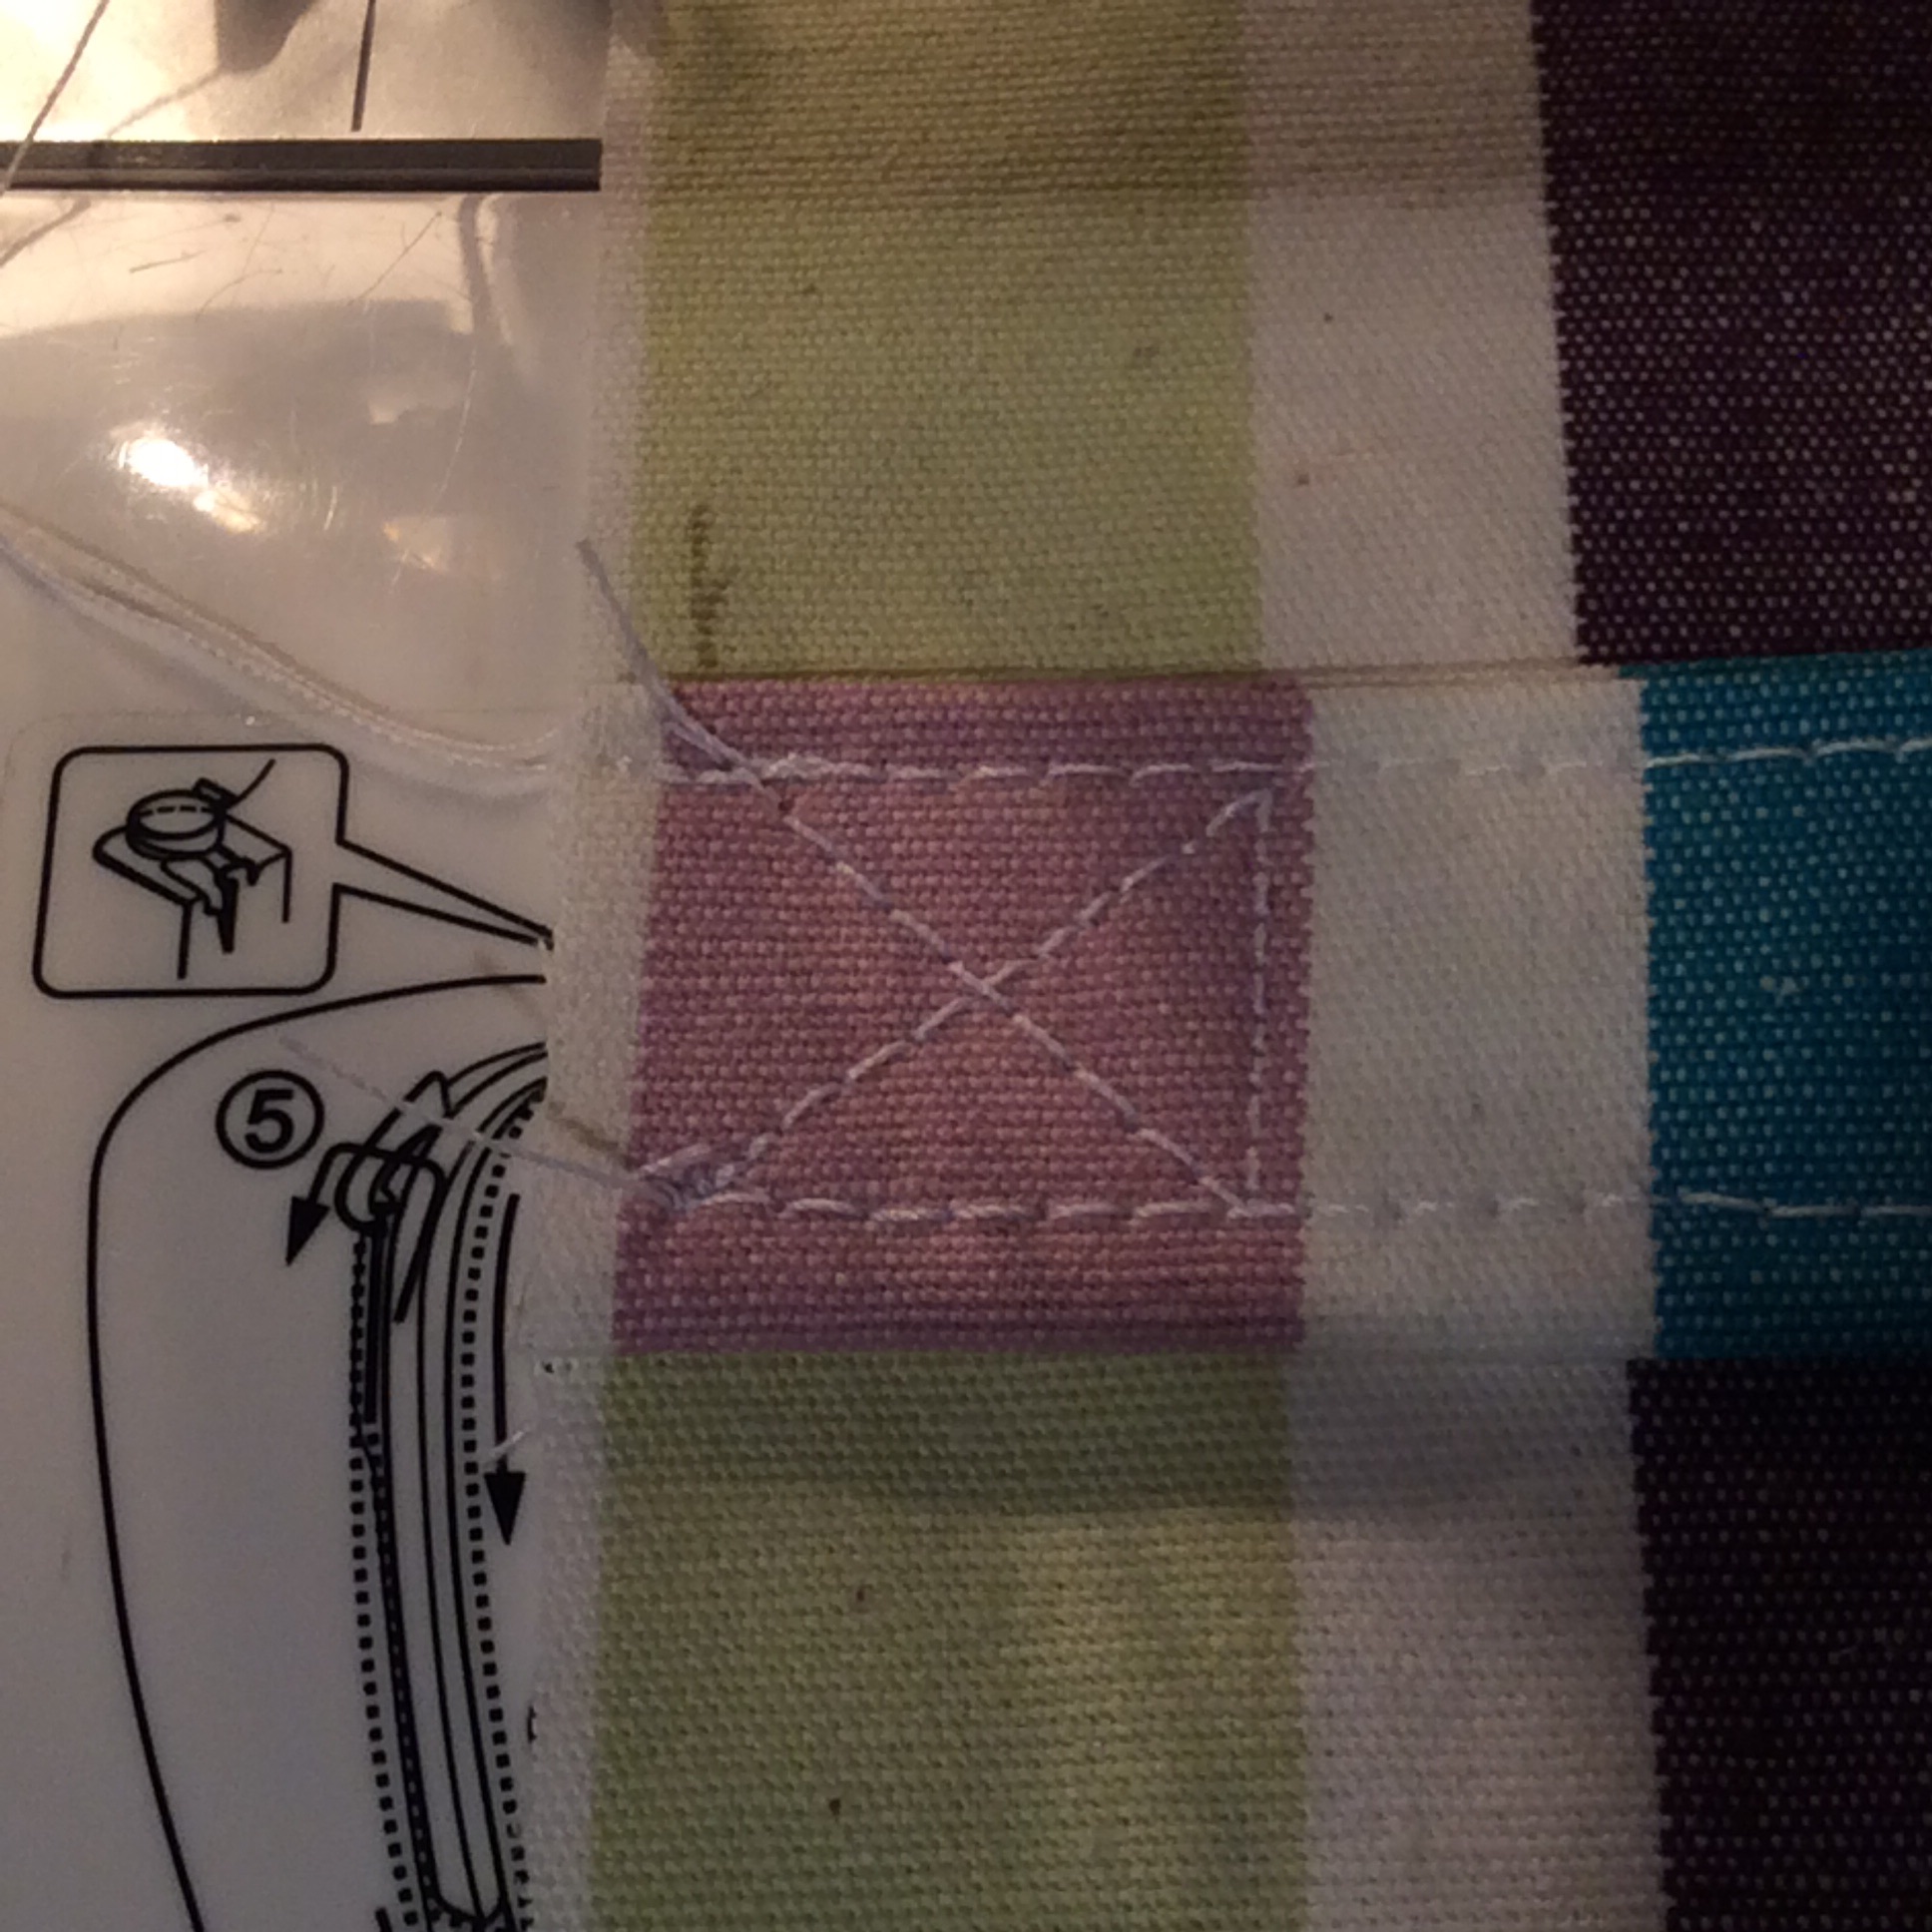
Create the handle by folding the sides of the strip to the middle then fold in half and top stitch closed. Top stitch the other side for effect. Stitch the handle to your top piece, fixing it in an ‘x’ pattern at either end for strength.

image

Line up the four sides inside out  and stitch with an even seam width down the 20cm sides to create a cube (sort of) then with right sides still together together pin and then stitch the top into the cube.

Check you have caught all the corners then stitch the base piece in leaving a gap for turning.

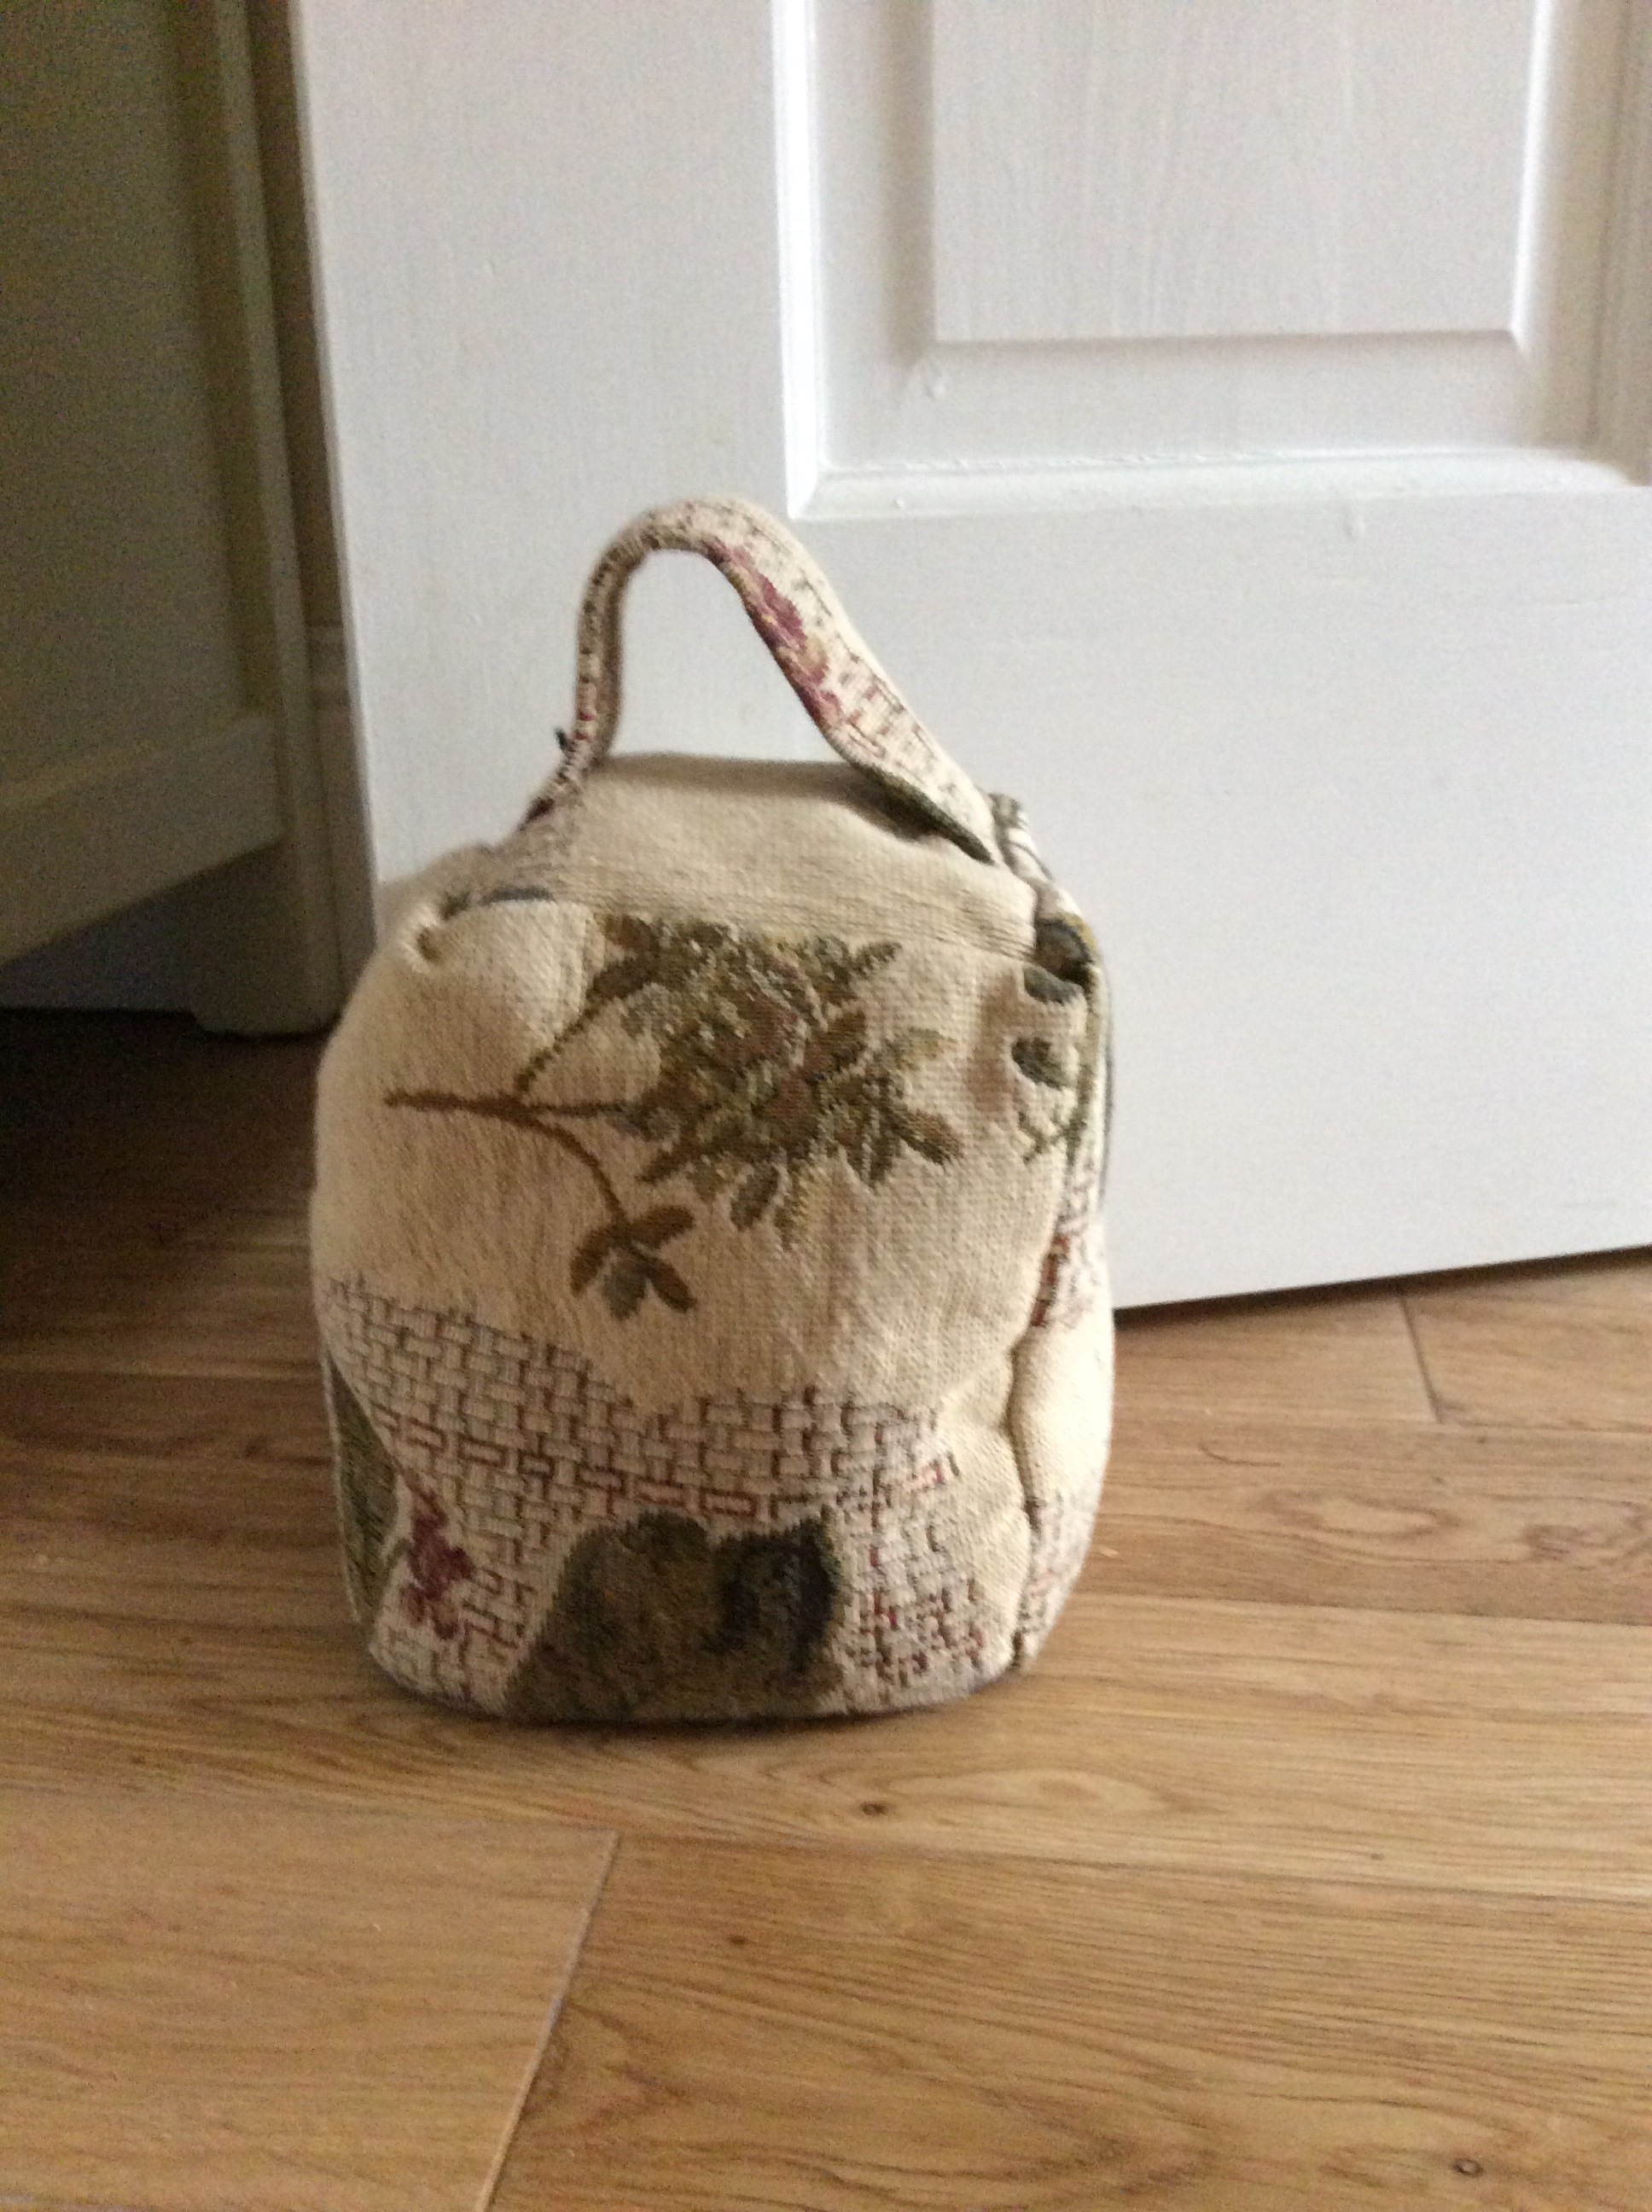
Turn,  stuff with wadding, gravel – best in a sandwich or simple mini sack – Try to surround the sack with wadding so the cube sits right and stuff more than you think necessary, then slip stitch the gap closed.
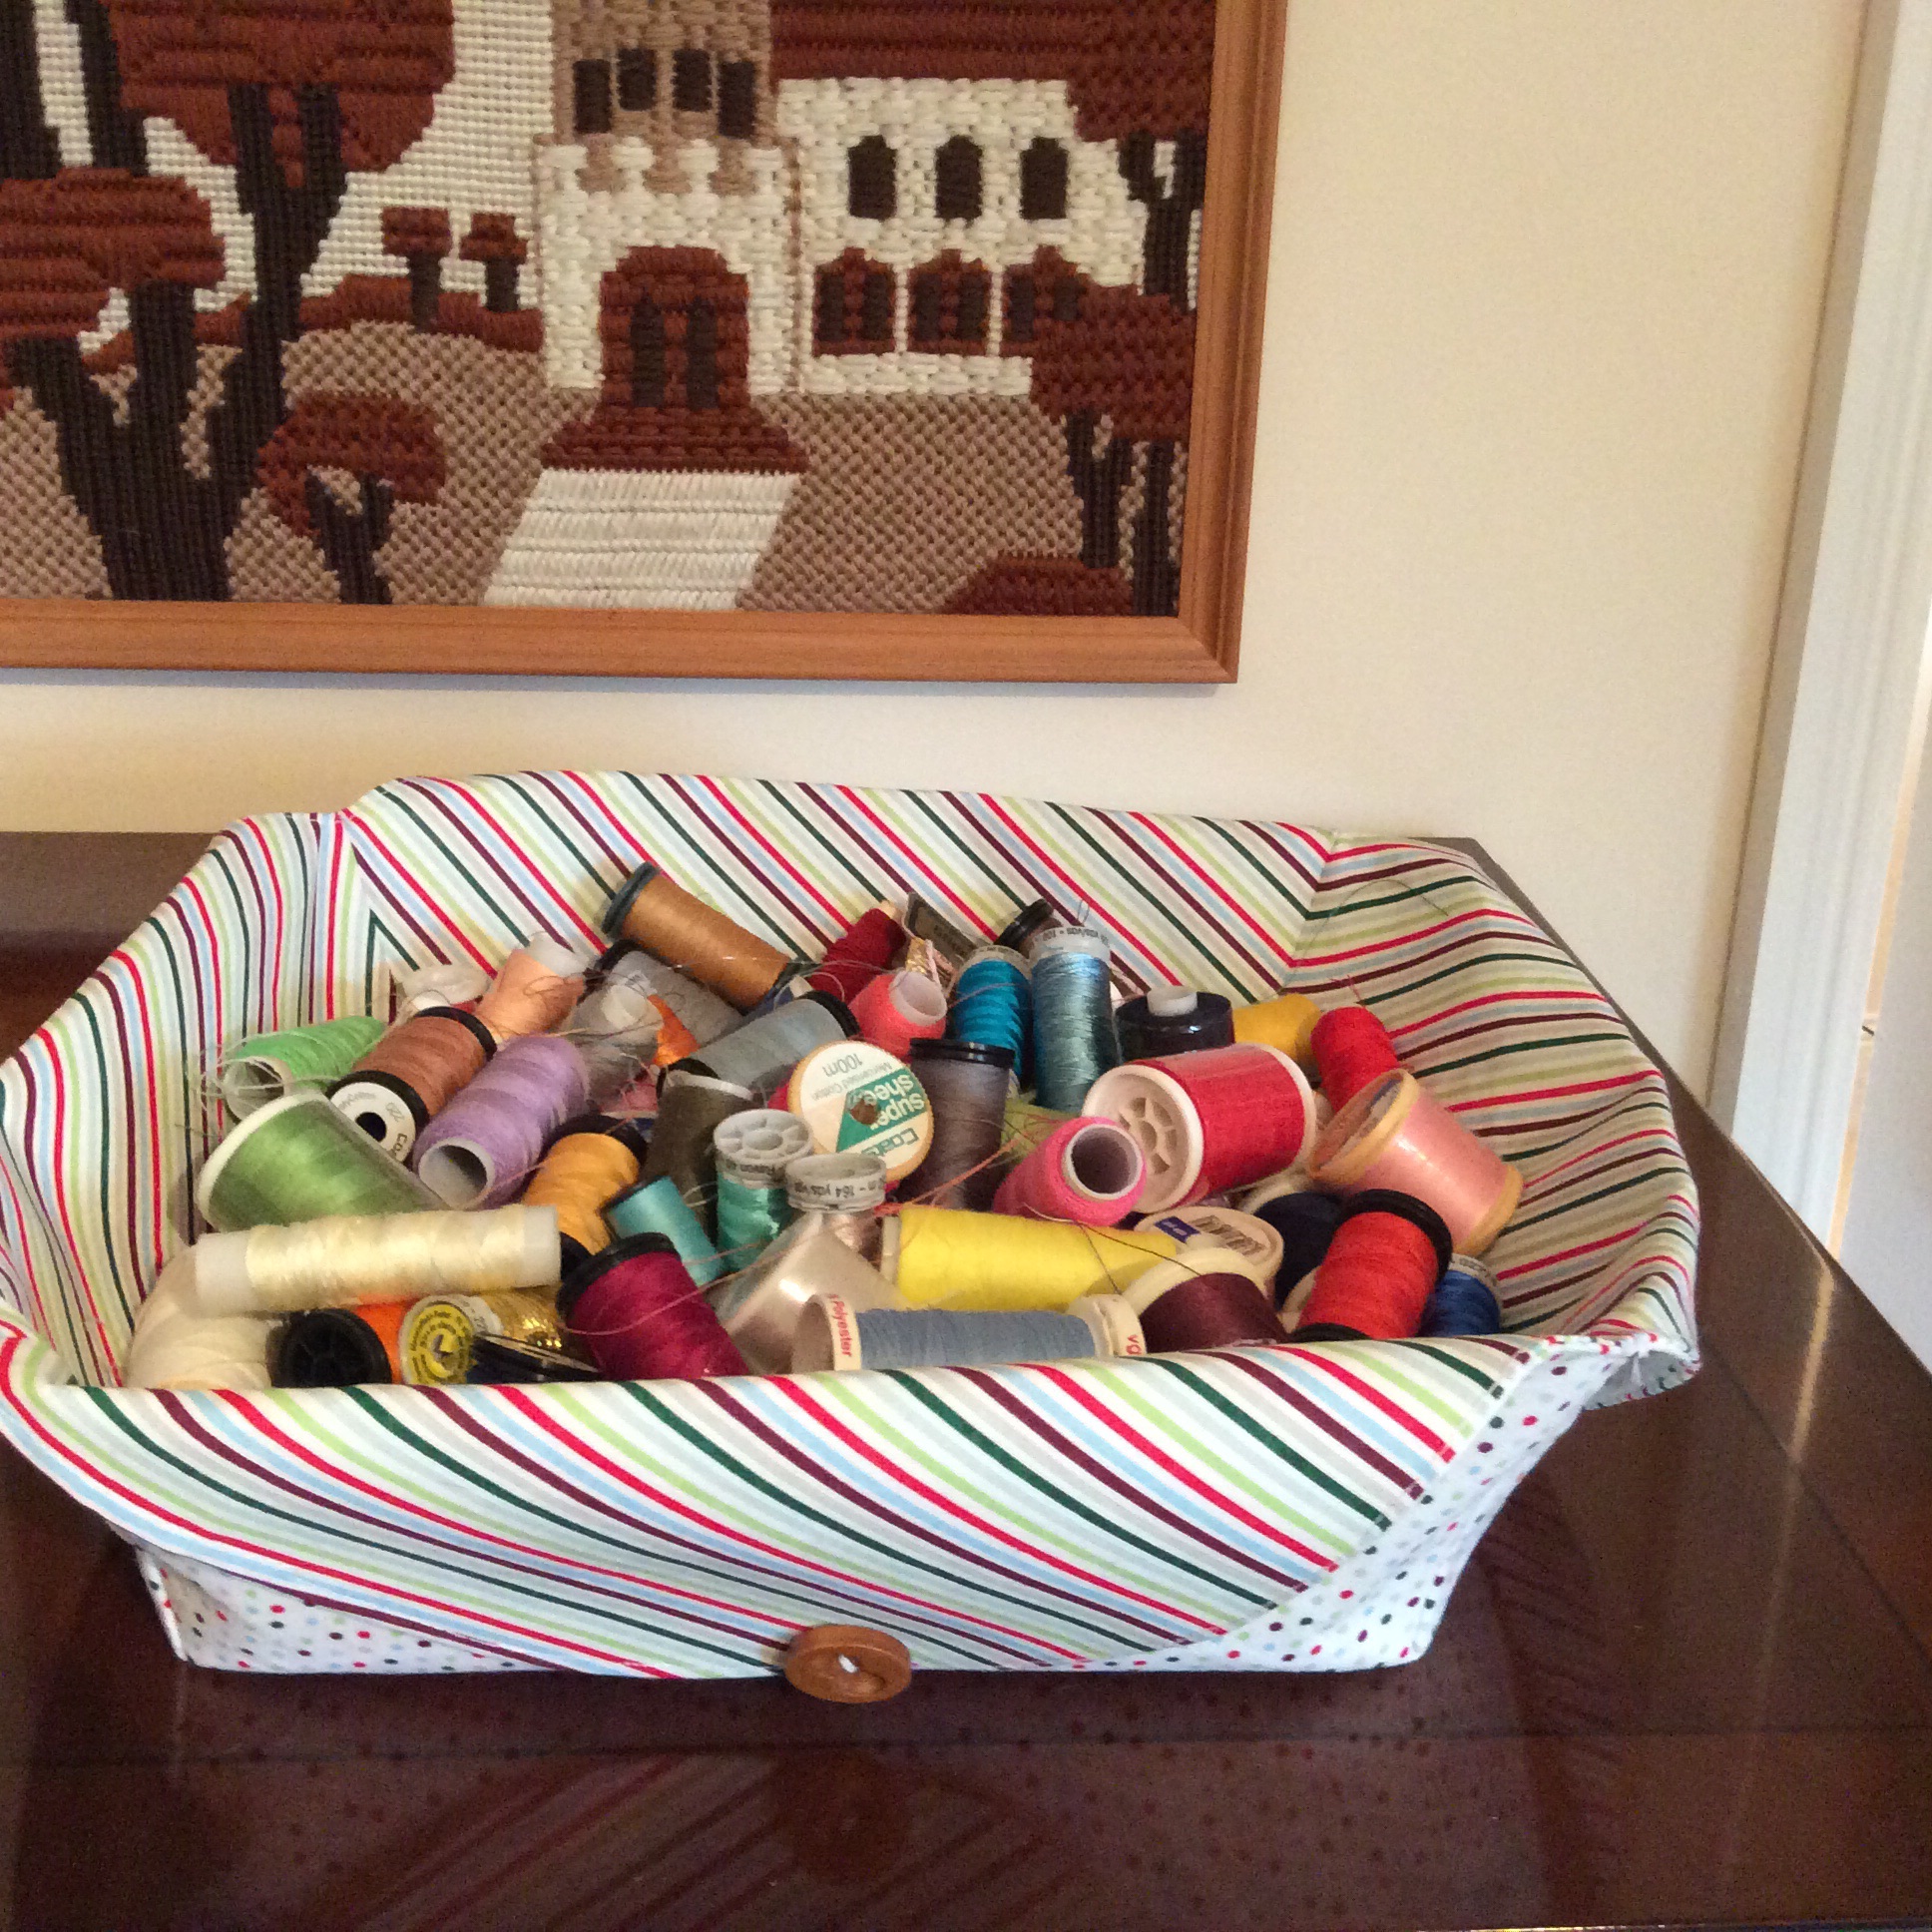
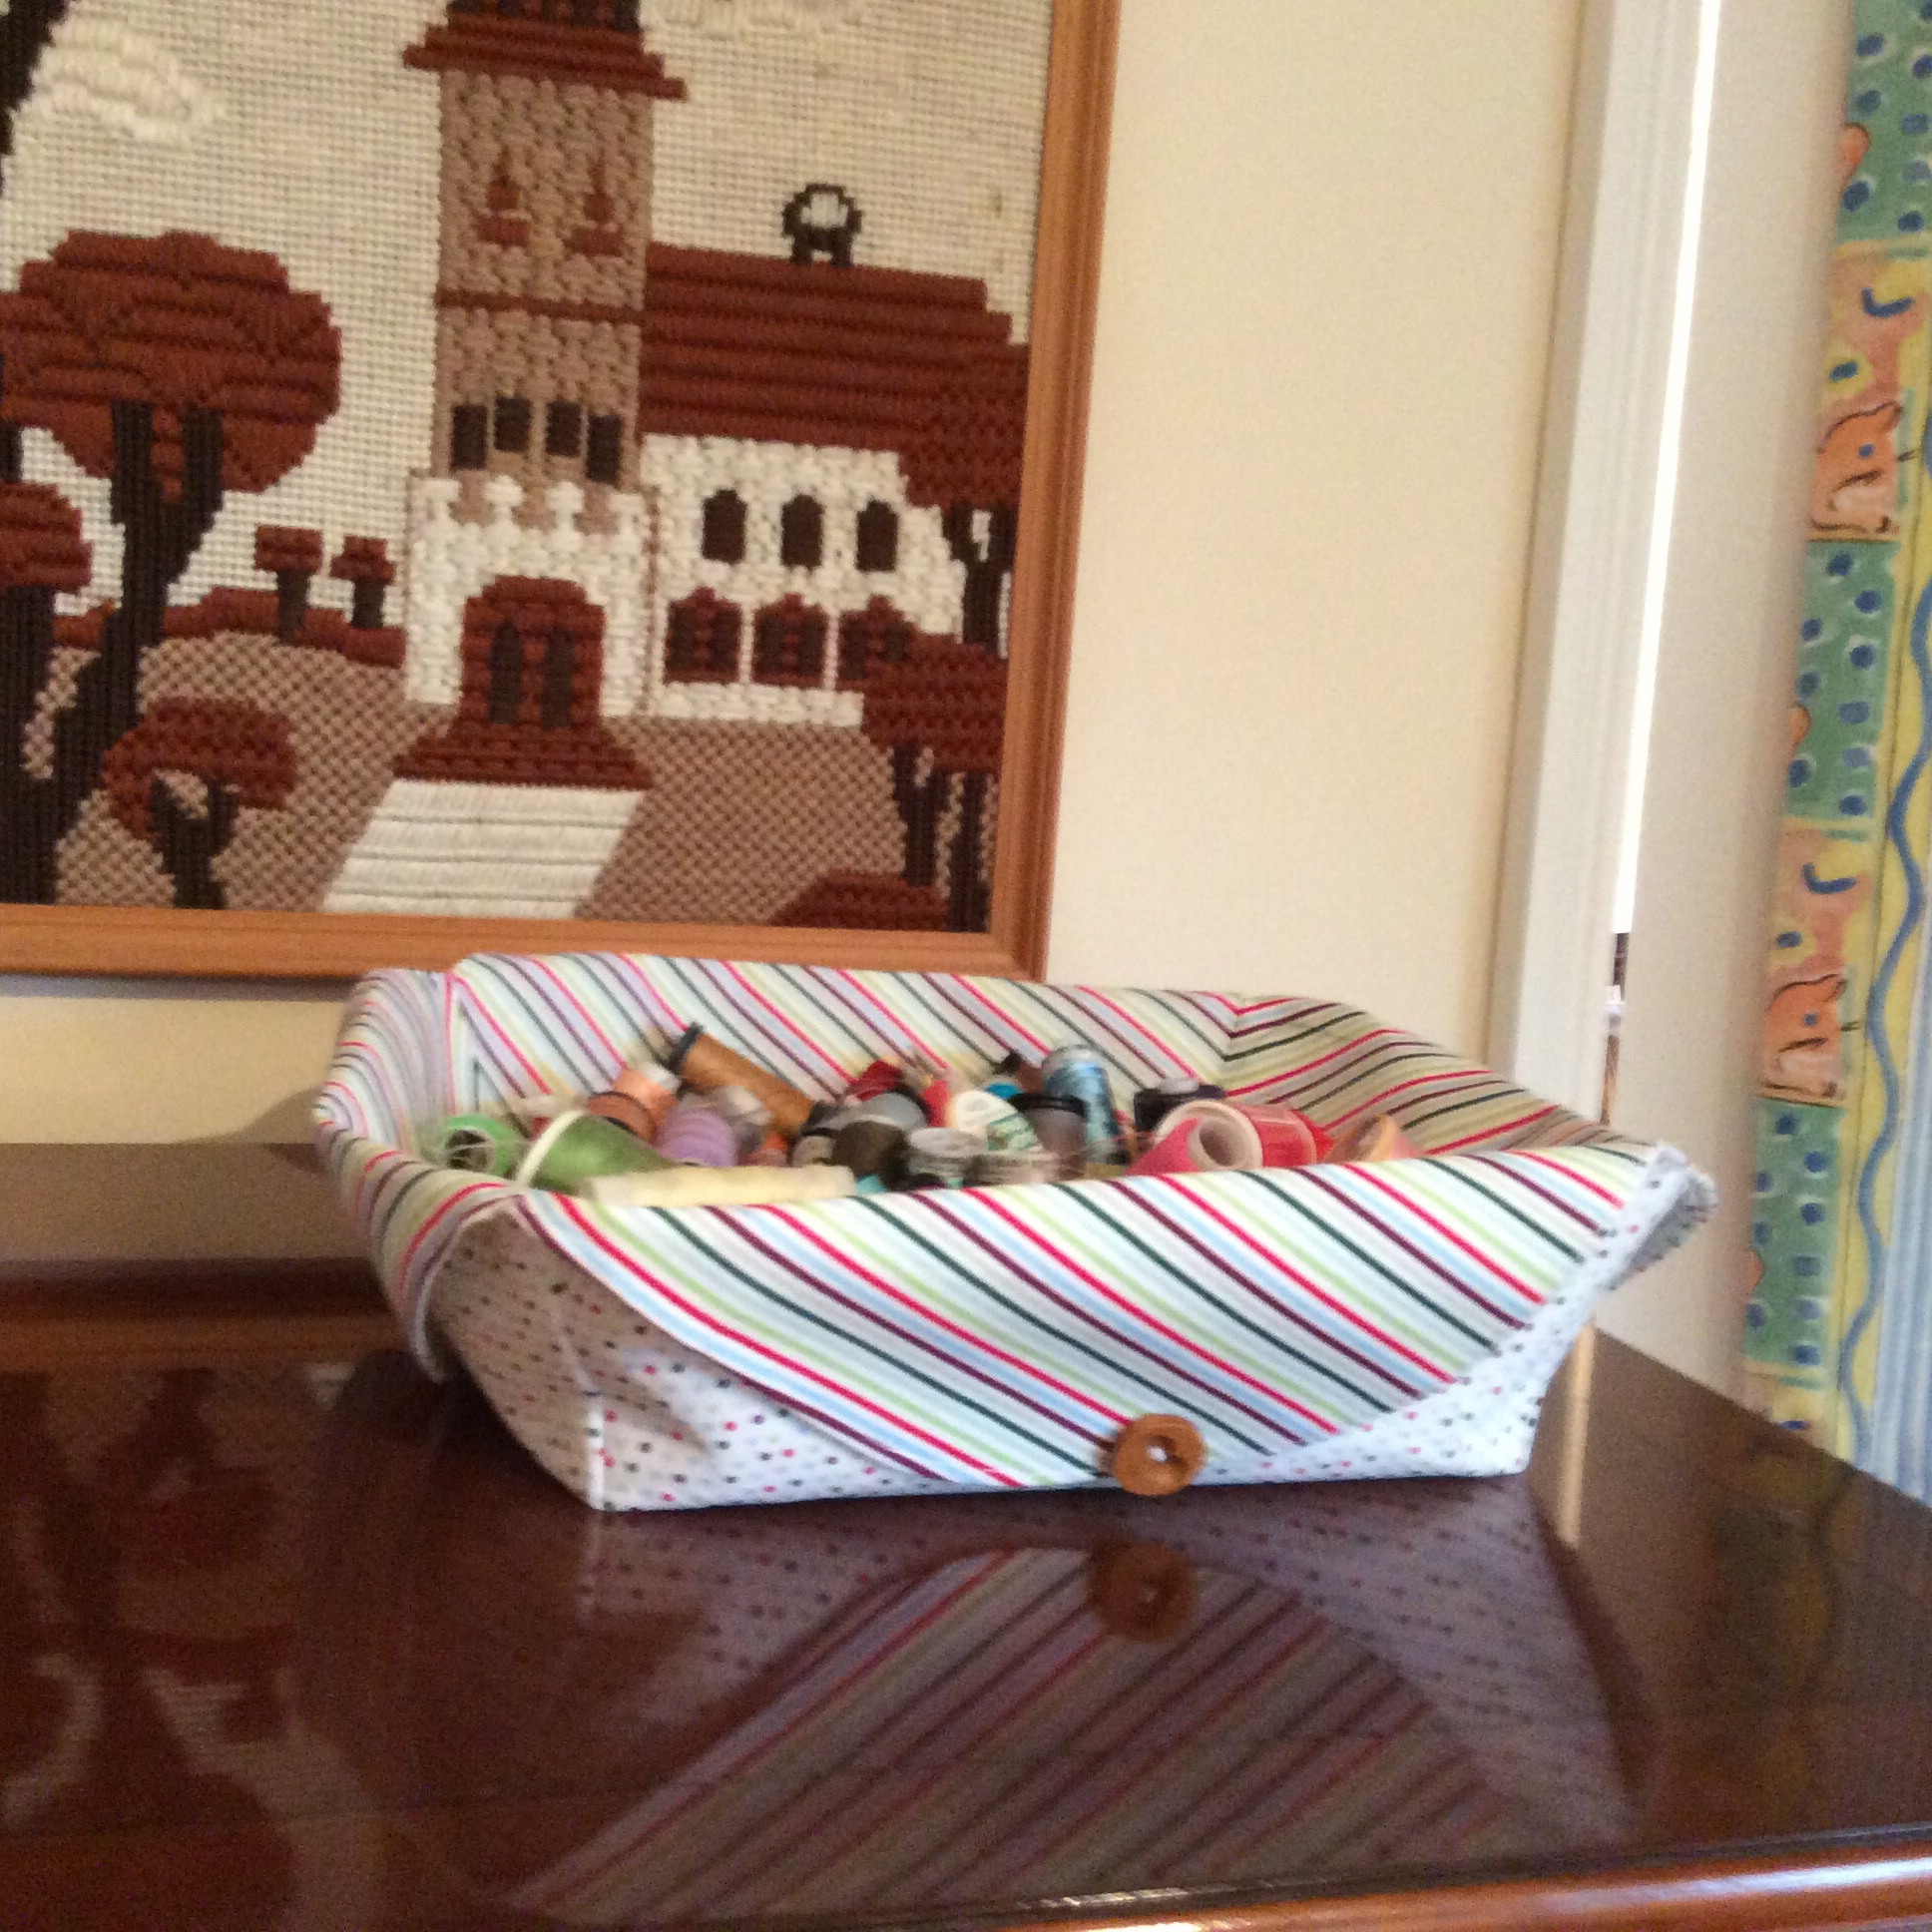
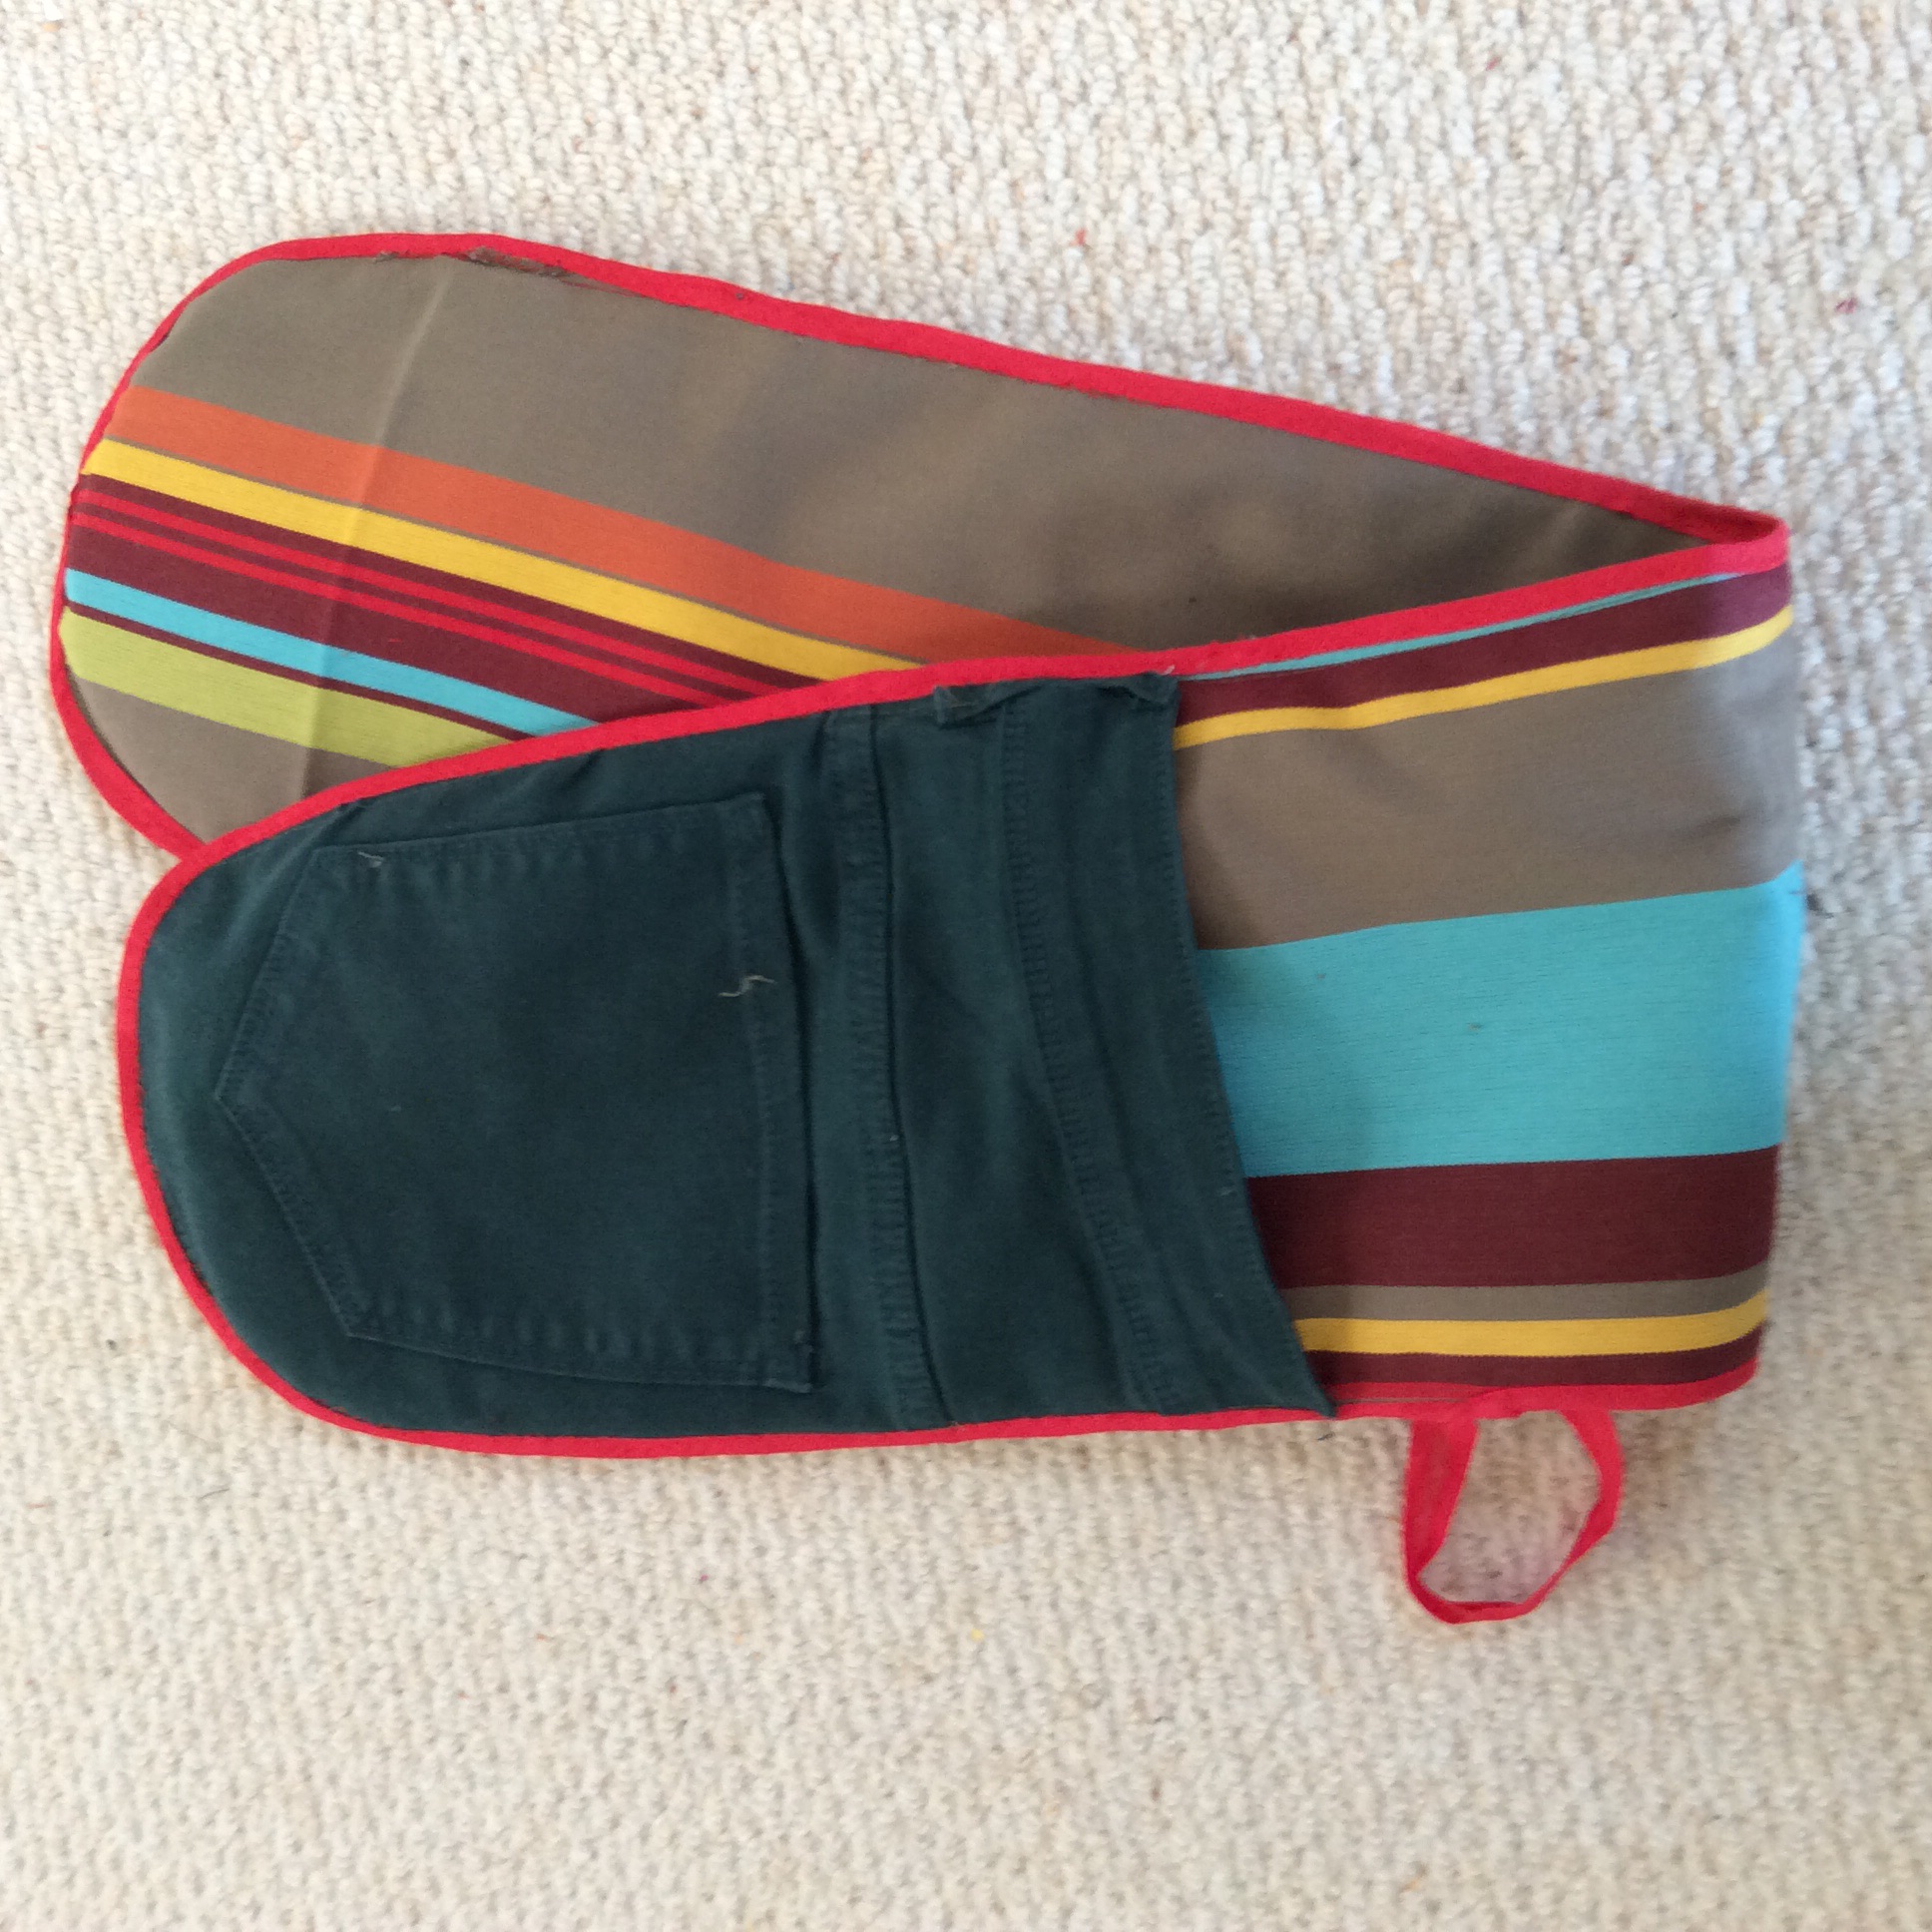
Rustic table mat

image

Think I found the idea for this in home crafts magazine last year. A simple make to suit a rustic table and a practical recycle of bits

method- disassemble a pack of wooden clothes pegs (ideas please for what to do with the discarded clips) and hot glue to an old cloth place mat. Cut the place mat to leave as much border as you want- you may prefer to do this first if you are confident about size.

word of warning, hot glue re melts if you put a hot pot or pan on the pegs, and they will detatch

Thank you docrafts

image

I won a web draw prize and a box of very useful goodies arrived in time for me to take to our holiday home and enjoy a lovely play time.

image

i wanted to try the sunburst card technique so this was a good opportunity.  Make a mat with scratch paper, cover it with glue stick. Take rectangles of patterned paper and cut diagonally to form triangles which you then assemble over the scratch paper. The triangles should overlap the edges and will be trimmed off later.

You might need to trim the last triangle to fit. Trim the edges so the mat can now be put on your card base and place a topper or greeting on the centre, this covers any less than perfect assembly. Great way to use scraps.

the photo shows the card with a box made to hold it and several other Anita’s A6 cards and envelopes all made with paper from the docrafts simply floral A4 ultimate die cut and paper pack

image


Fabric baskets

image image image imageGoal:To replace the tired old bread basket with a home made version.

result: love this with contrasting fabric which makes it reversible. so far one bread basket suitable for 2 people (10 inch squares) and one (18 inches) now my cottons basket.

method- take two squares of fabric, back with heavyweight interfacing and iron neatly.

draw darts midway each side – for the large one mine were three inches deep and three inches wide.

image

Sew each dart so it pulls the fabric into bowl shape then, with right sides facing, stitch the pieces together leaving a gap for turning. Turn right sides out, iron to tidy the edge and top stitch to neaten and close the turning gap.

For or the large one I also rounded the corners before I drew the darts using a plate as a template  and at the end stitched a button on each flap. Other variations to follow, love this practical make.


A chic’n cheap dog bed

As doggy outgrew his favourite bed and declined to use the giant pillow we bought him,  I decided to make a new one out of what we had around. A faded Indian cotton throw, a large IKEA pillow pad and  old duvet (world is mad when it is cheaper to buy a new one than get it drycleaned) filling.

Method:make a ‘pillow case’ for the base pillow. make four smaller pillow cases, one  for each side of the base leaving half of a narrow end open for stuffing. sew one  long seam of each of the four smaller pillows to the base  case. stuff as firmly as you can and insert the base pillow in. hand sew  the opening of the pillows closed and then hand sew the short ends of the smaller pillows together . This  pulls the four sides up and together around the base.

Success – he loves it! So much that another one made with the same set of materials.

IMG_0468