
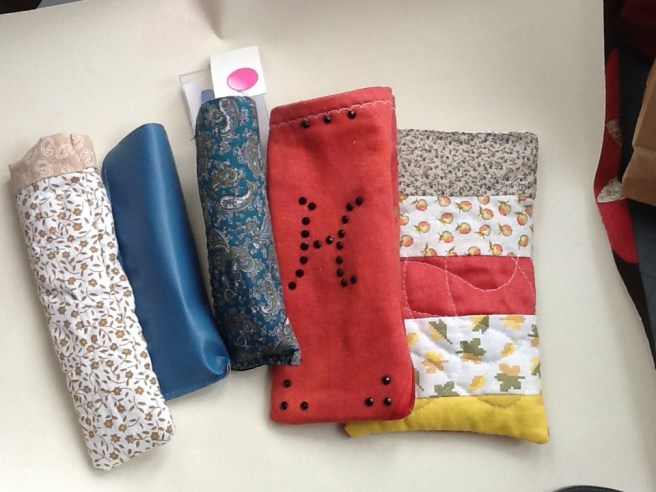
Portable sewing kit
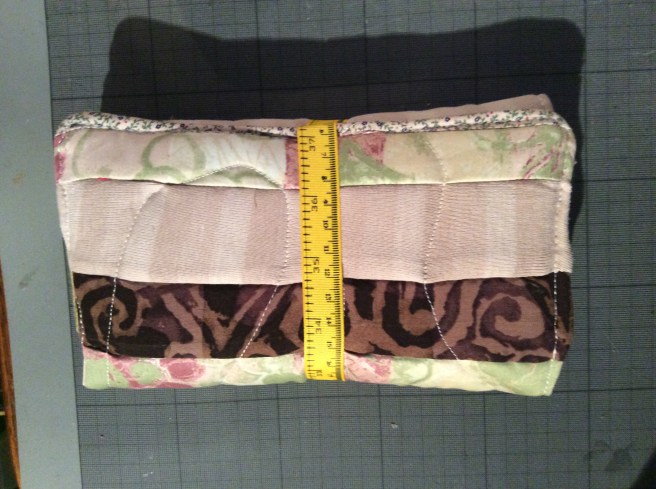
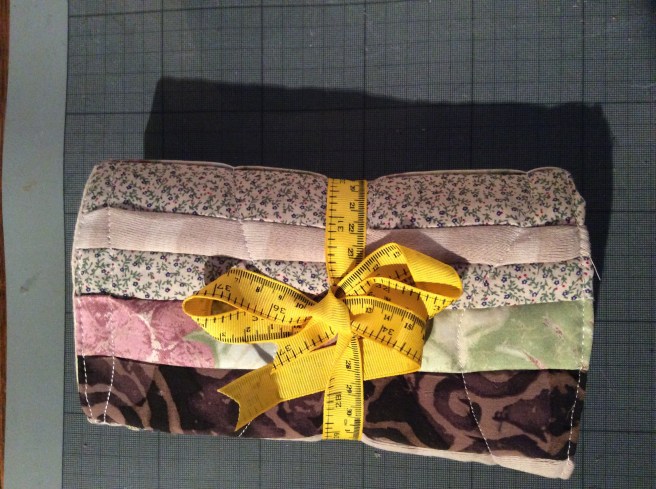
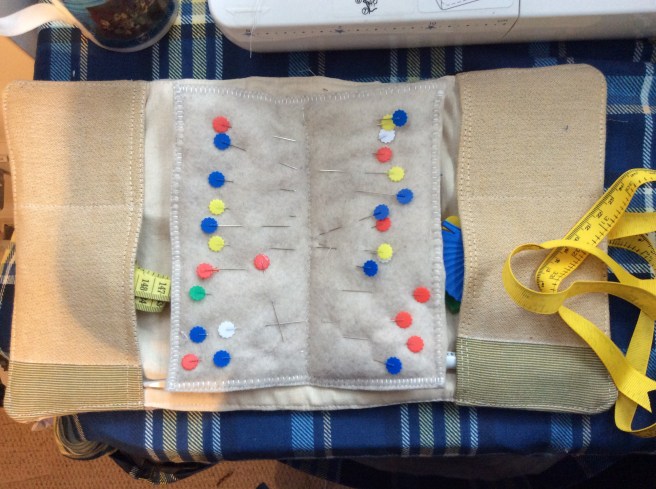 A scrap attack with a ‘quilt as you go’ exterior, free motioned on to wadding. The interior was just two pieces of folded fabric used to make the two pockets and a square of felt for the pin holder .
It was all sandwiched together right sides facing (with ribbon tie carefully pinned away from the sides) and once turned, top stitched to tidy.
Pyrography, done?
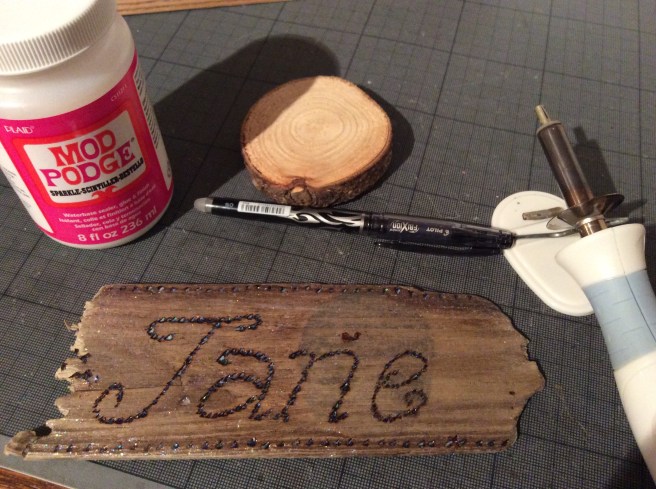
Another craft ticked off the list.
a piece of driftwood, my hot fix tool and I have established that if we ever need a new house sign, this is do-able.
ideally I would have a thin tip to draw with but my method works:
sketch the the word or design with an erasable pen, I used a friction one. Make dots by tapping the hot tip along the traced lines and repeat so that the dots join up. I sealed the finished piece with mod pudge
sea glass glitz
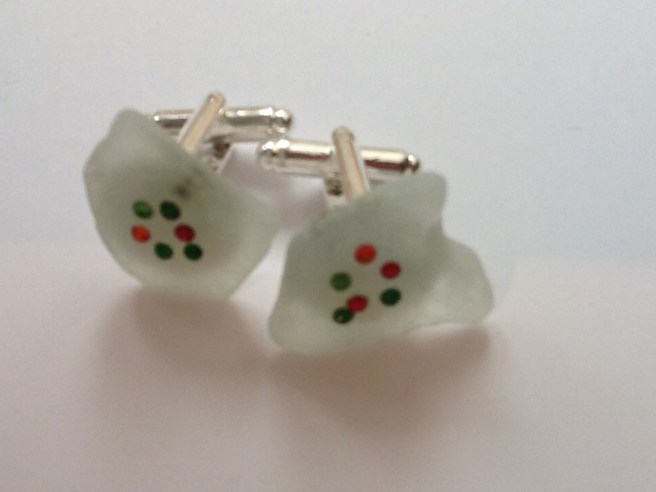 This year’s sea glass stash was only reduced a little by these gifts. A simple ring and cuff links made from the flattest pieces I had to hand which were then glitzed up with hot fix rhinestones – the smallest I had to hand – and stuck with jewellry cement. Note to self: research better ‘glue’ to stick glass to metal.
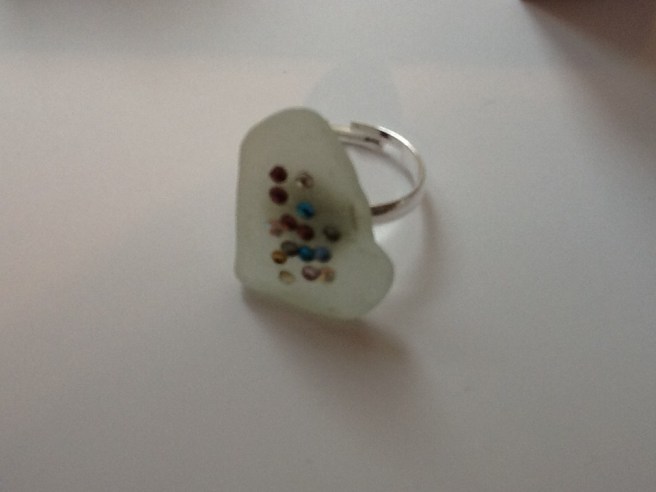
Key tag, lavender tag
Can you guess which one I bought and which I made?
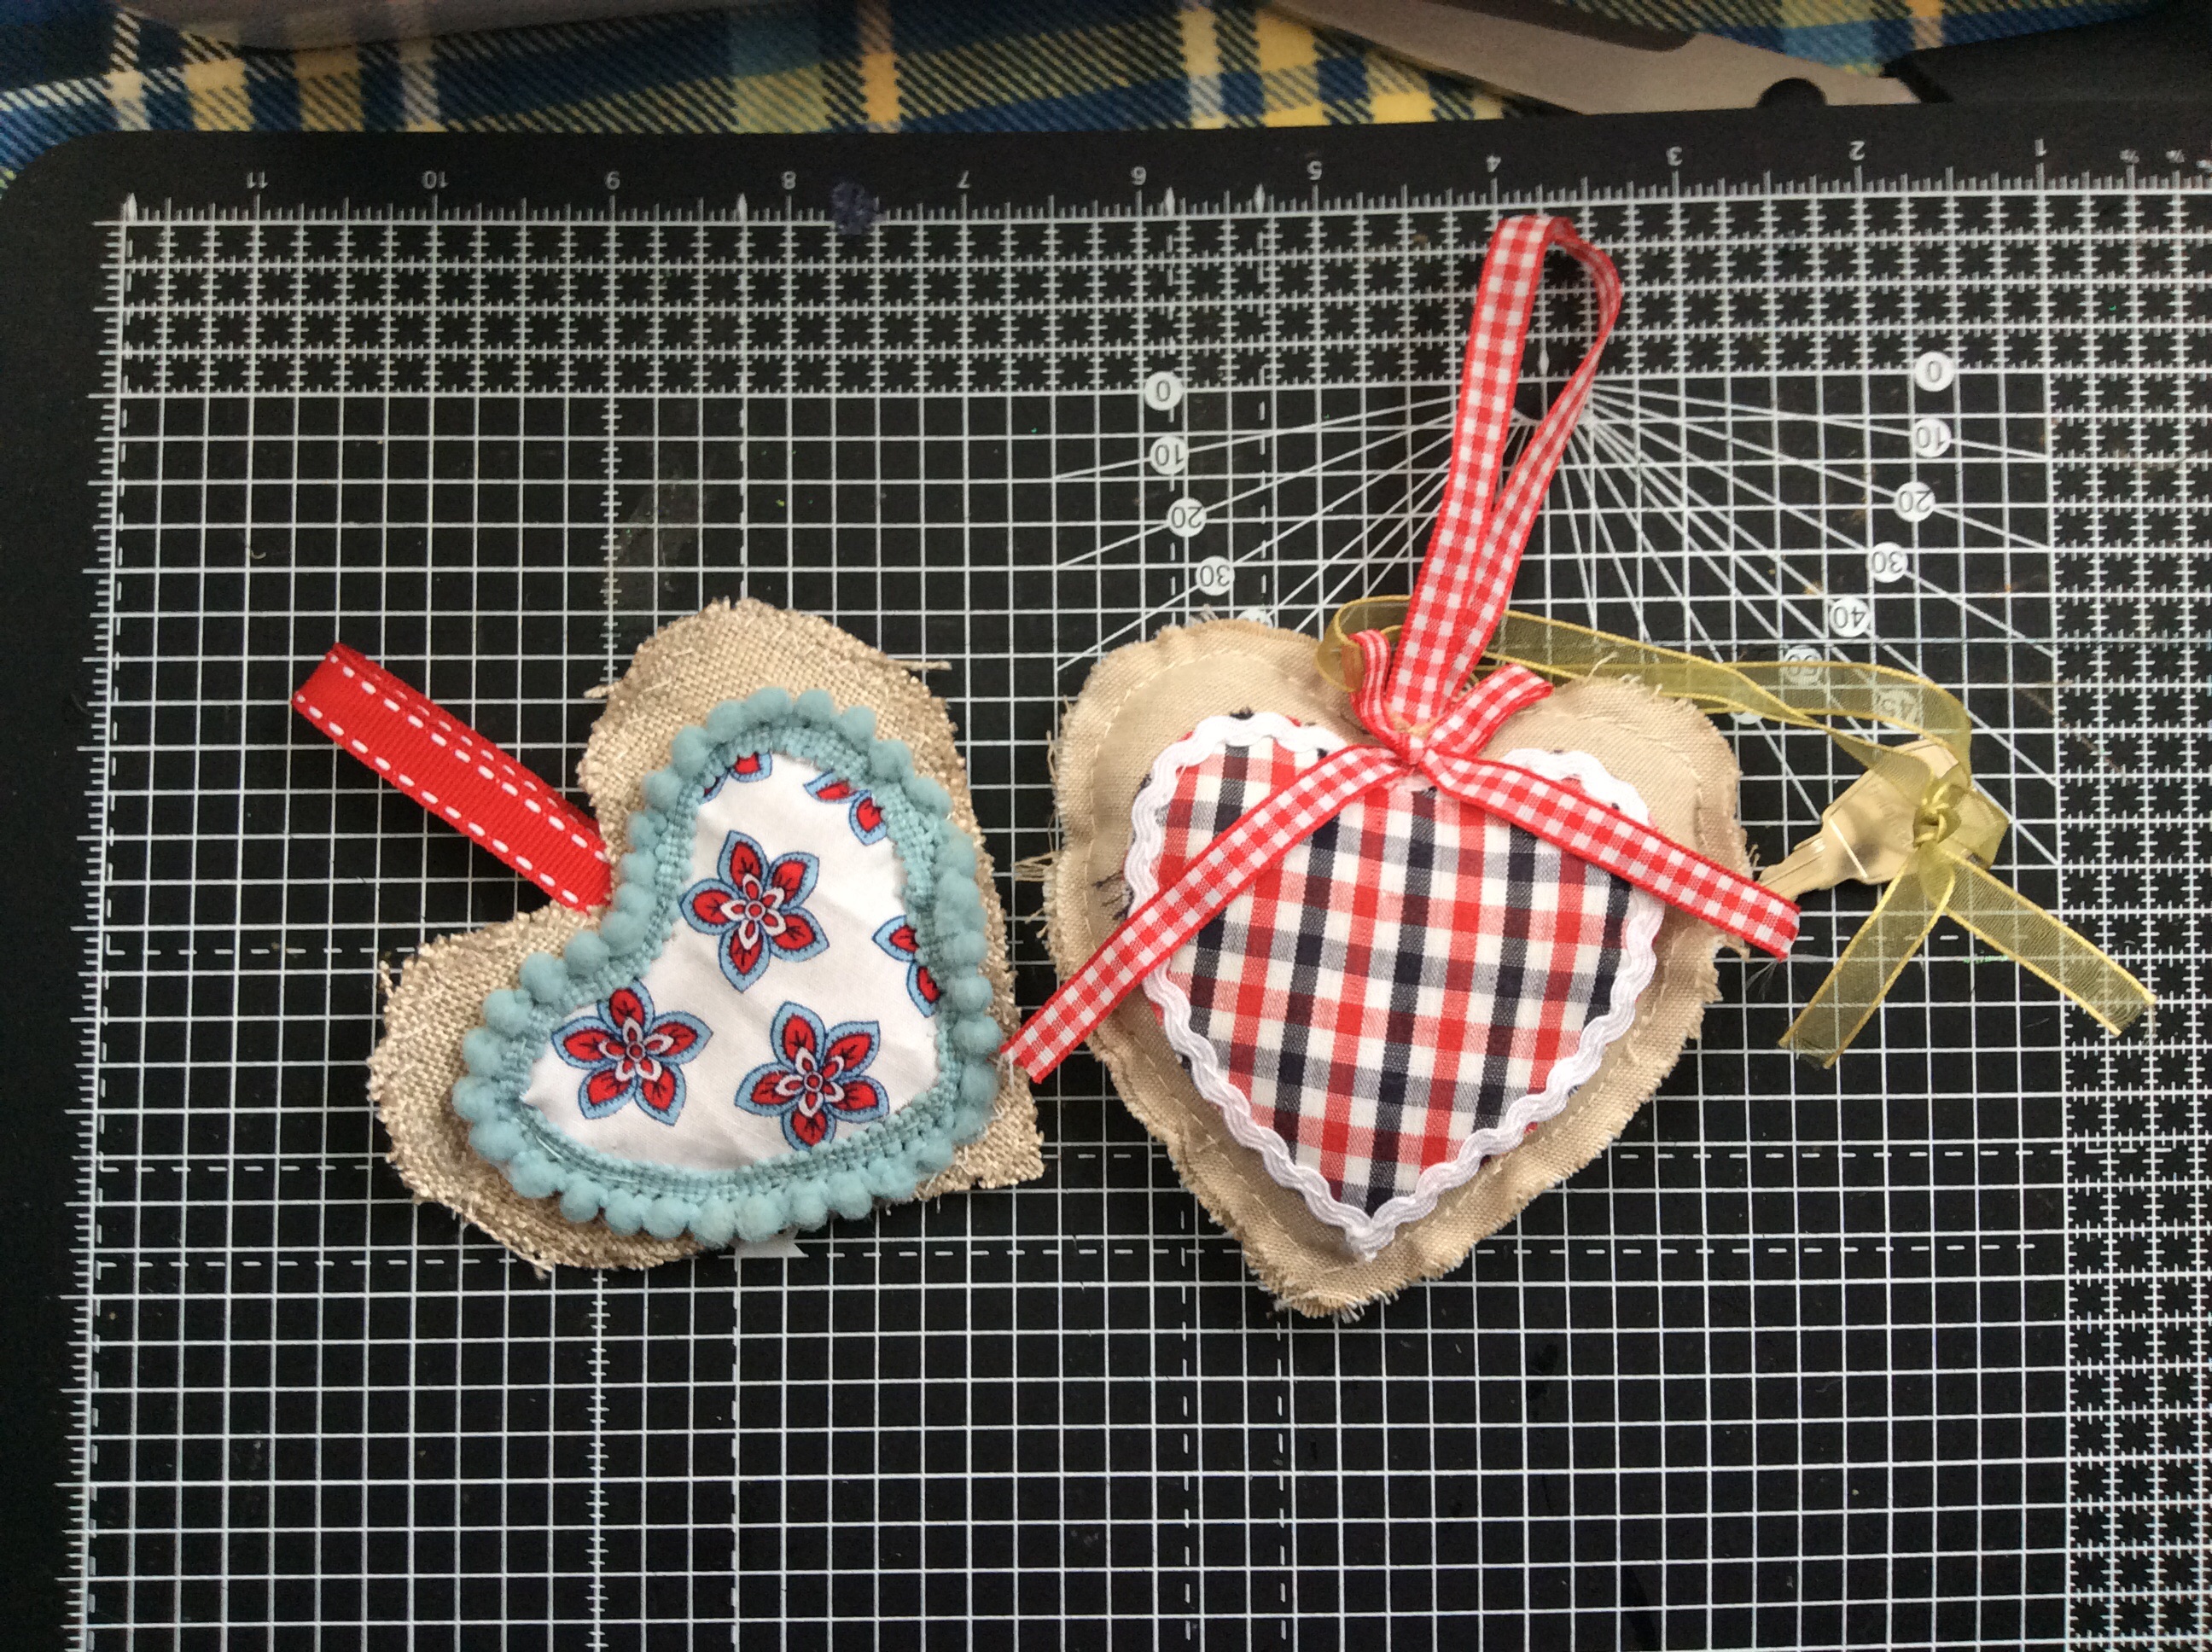
Simole hand sew with lavender stuffing when nearly finished
Scissor and craft tool holder
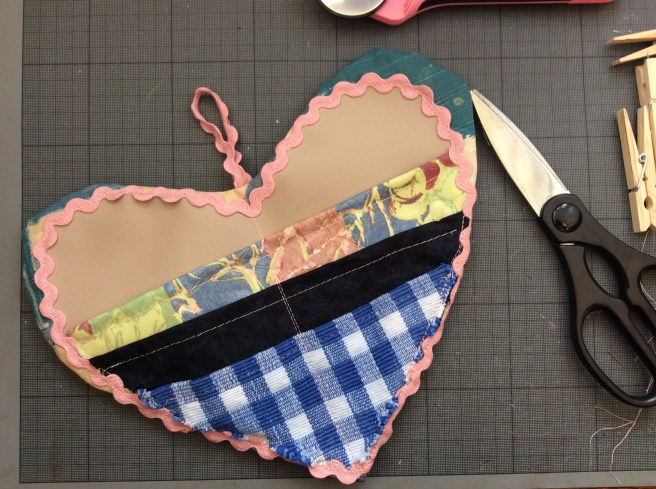 hmm, mistake with the gingham fabric, too open weave so lots of hand and over sewing. Still a rustic storage solution for bits I want to keep near the sewing machine.
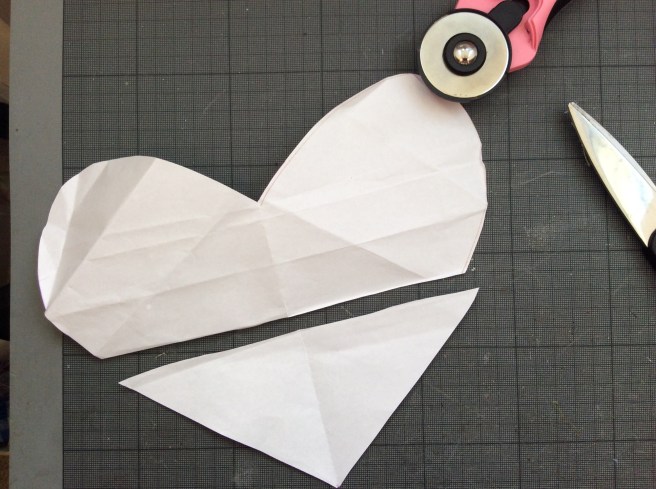
Method: use a paper template of a heart to cut two of the heavy weight fabric (denim or upholstery would do) backing pieces and a piece of wadding. Then cut inside the template for a slightly smaller panel piece (mine is the beige). Then fold the template in increasingly smaller sections to gauge the pocket pieces but cut with a one inch high extra on top which you fold over and top stitch to create a neat pocket top.
I did three pocket pieces and when top stitched clipped them on the panel piece and clipped that on one piece of backing. I stitched ric rac to cover the raw edges (at which point the gingham started to unravel like burlap). Then a line of straight stitches down the middle to create the half pockets.
Finally pin a loop of ribbon (I used the remains of my ric rac) facing loop down and raw edge protruding up a bit. then pin the other backing piece right side together and sew around leaving a gap for turning. Before you turn stick wadding to backing piece. When turned hand sew gap and voila!
Crafty cards
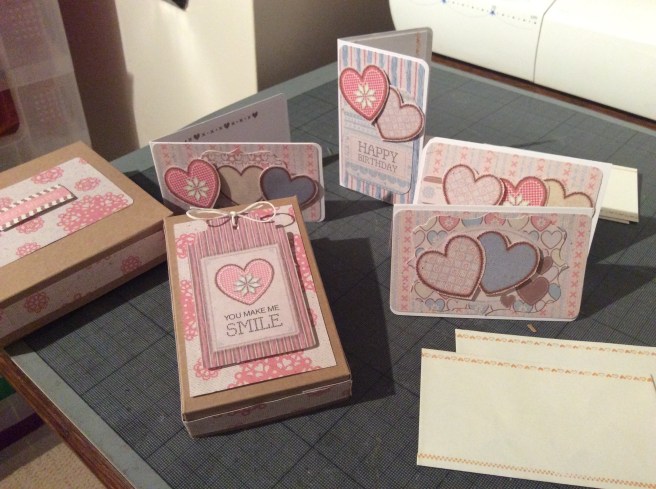 aah, my new paper trimmer makes me happy. Every piece of paper used to make batches of cards more expertly than before. Using Docrafts craft collection paper I have made gift sets of mini cards.
Dog coat
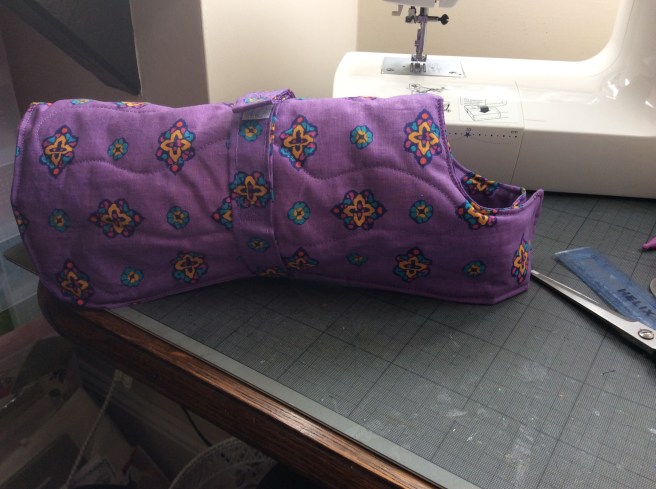 the most expensive dog coat turns out to be the easiest pattern to copy, just traced.
to fit Harvey this is 12.5 inches wide, 11.5 inches back to neck, 17 inches back to end of each tab
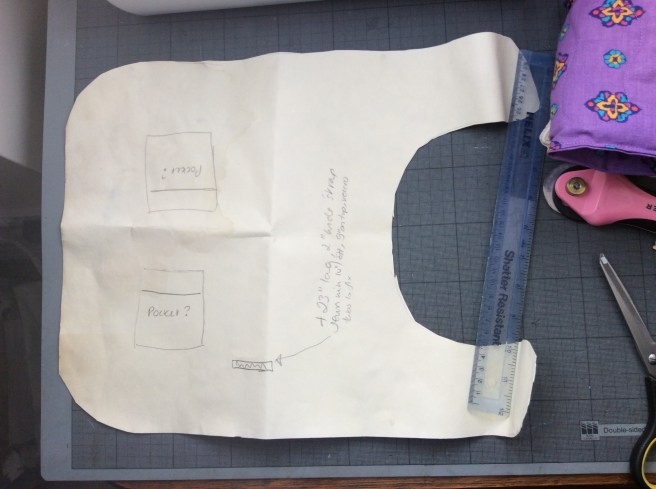
Method: use pattern to cut two fabric shapes and a 23 inch long four inch wide strip. Quilt wadding to the reverse of one shape then sew shapes wrong side together, leaving a gap to turn. Top stitch the edge, this also seals the turning gap. Iron the strip in half then turn in each edge to make a four ply strip . Top stitch along each edge and fix as on pattern.
once checked on doggie for fit, affix Velcro tabs on neck and on strip. Now just waiting for the reflective tape to arrive, so his night time walks are warm and safe.
Teapot stand and mug coasters
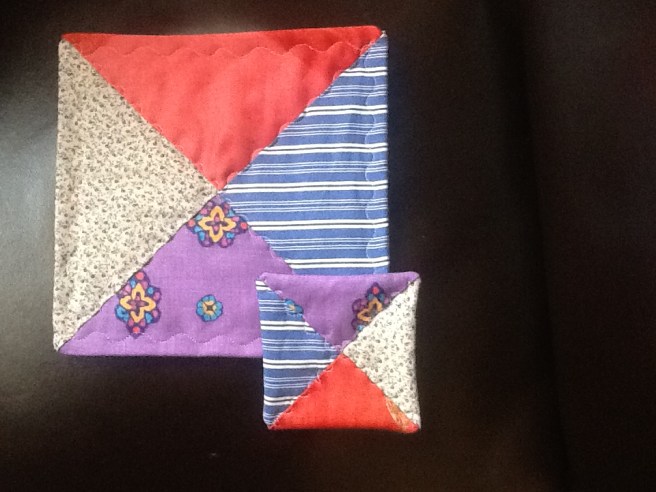
A simple sew project which I would make again, but with bigger coasters, with coordinating fabrics and in a set of two big mats and six coasters for dinner table rather than tea time use. Lots of web tutorials with variations to inspire you.
Materials:for each square you need five squares of fabric and one of fusible fleece. My teapot stand squares are 8 inches and coasters are four inches, should be five though.
Method: fuse fleece to whar will be your base square and then lay it right side up on your work table. Press remaining squares diagonally then lay then raw sides out to raw side of the base in sequence. The last one needs to be half tucked under the first one then all pieces pinned before you sew with a slim straight seam all the way round the edge. Clip the corners. Turn and poke out your corners so that the base is now showing and press to keep the centre tidy. I added a decorative top stitch but this isn’t necessary.


.
Cornered!
thanks to a great you tube tutorial from fabric junction, I have mitred corners on these place mats
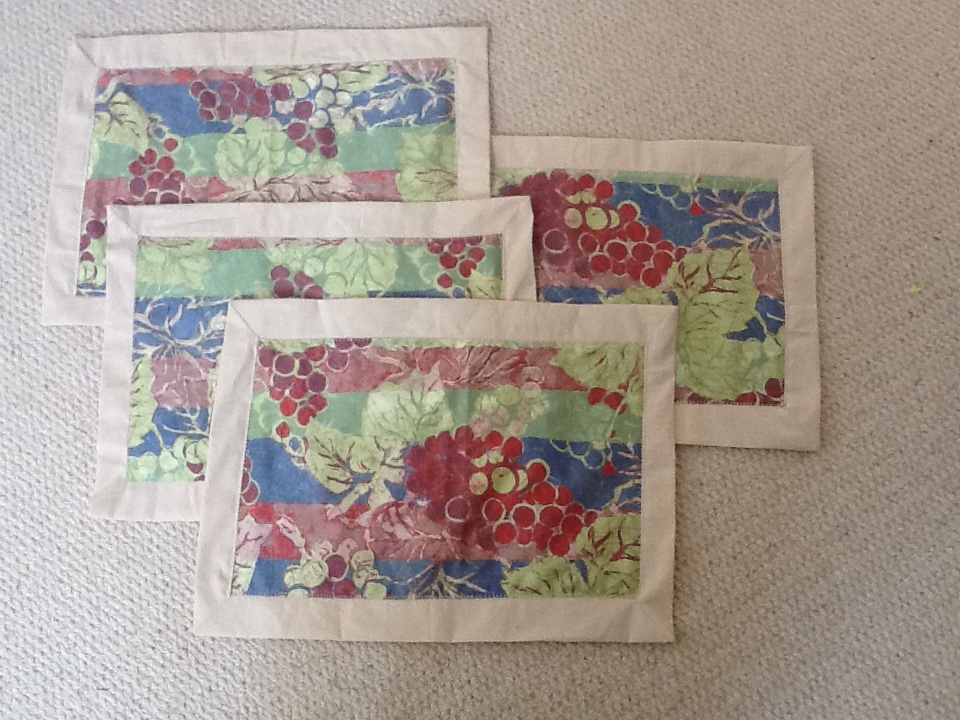 By pinning the centres of two proportionate rectangles and carefully marked boxes in the corners of my top fabric, it worked!
now, shall I make some napkins with the remnant?
don’t tell my mum, this is the home made part of her present
