Spring flower wreath

img_0198

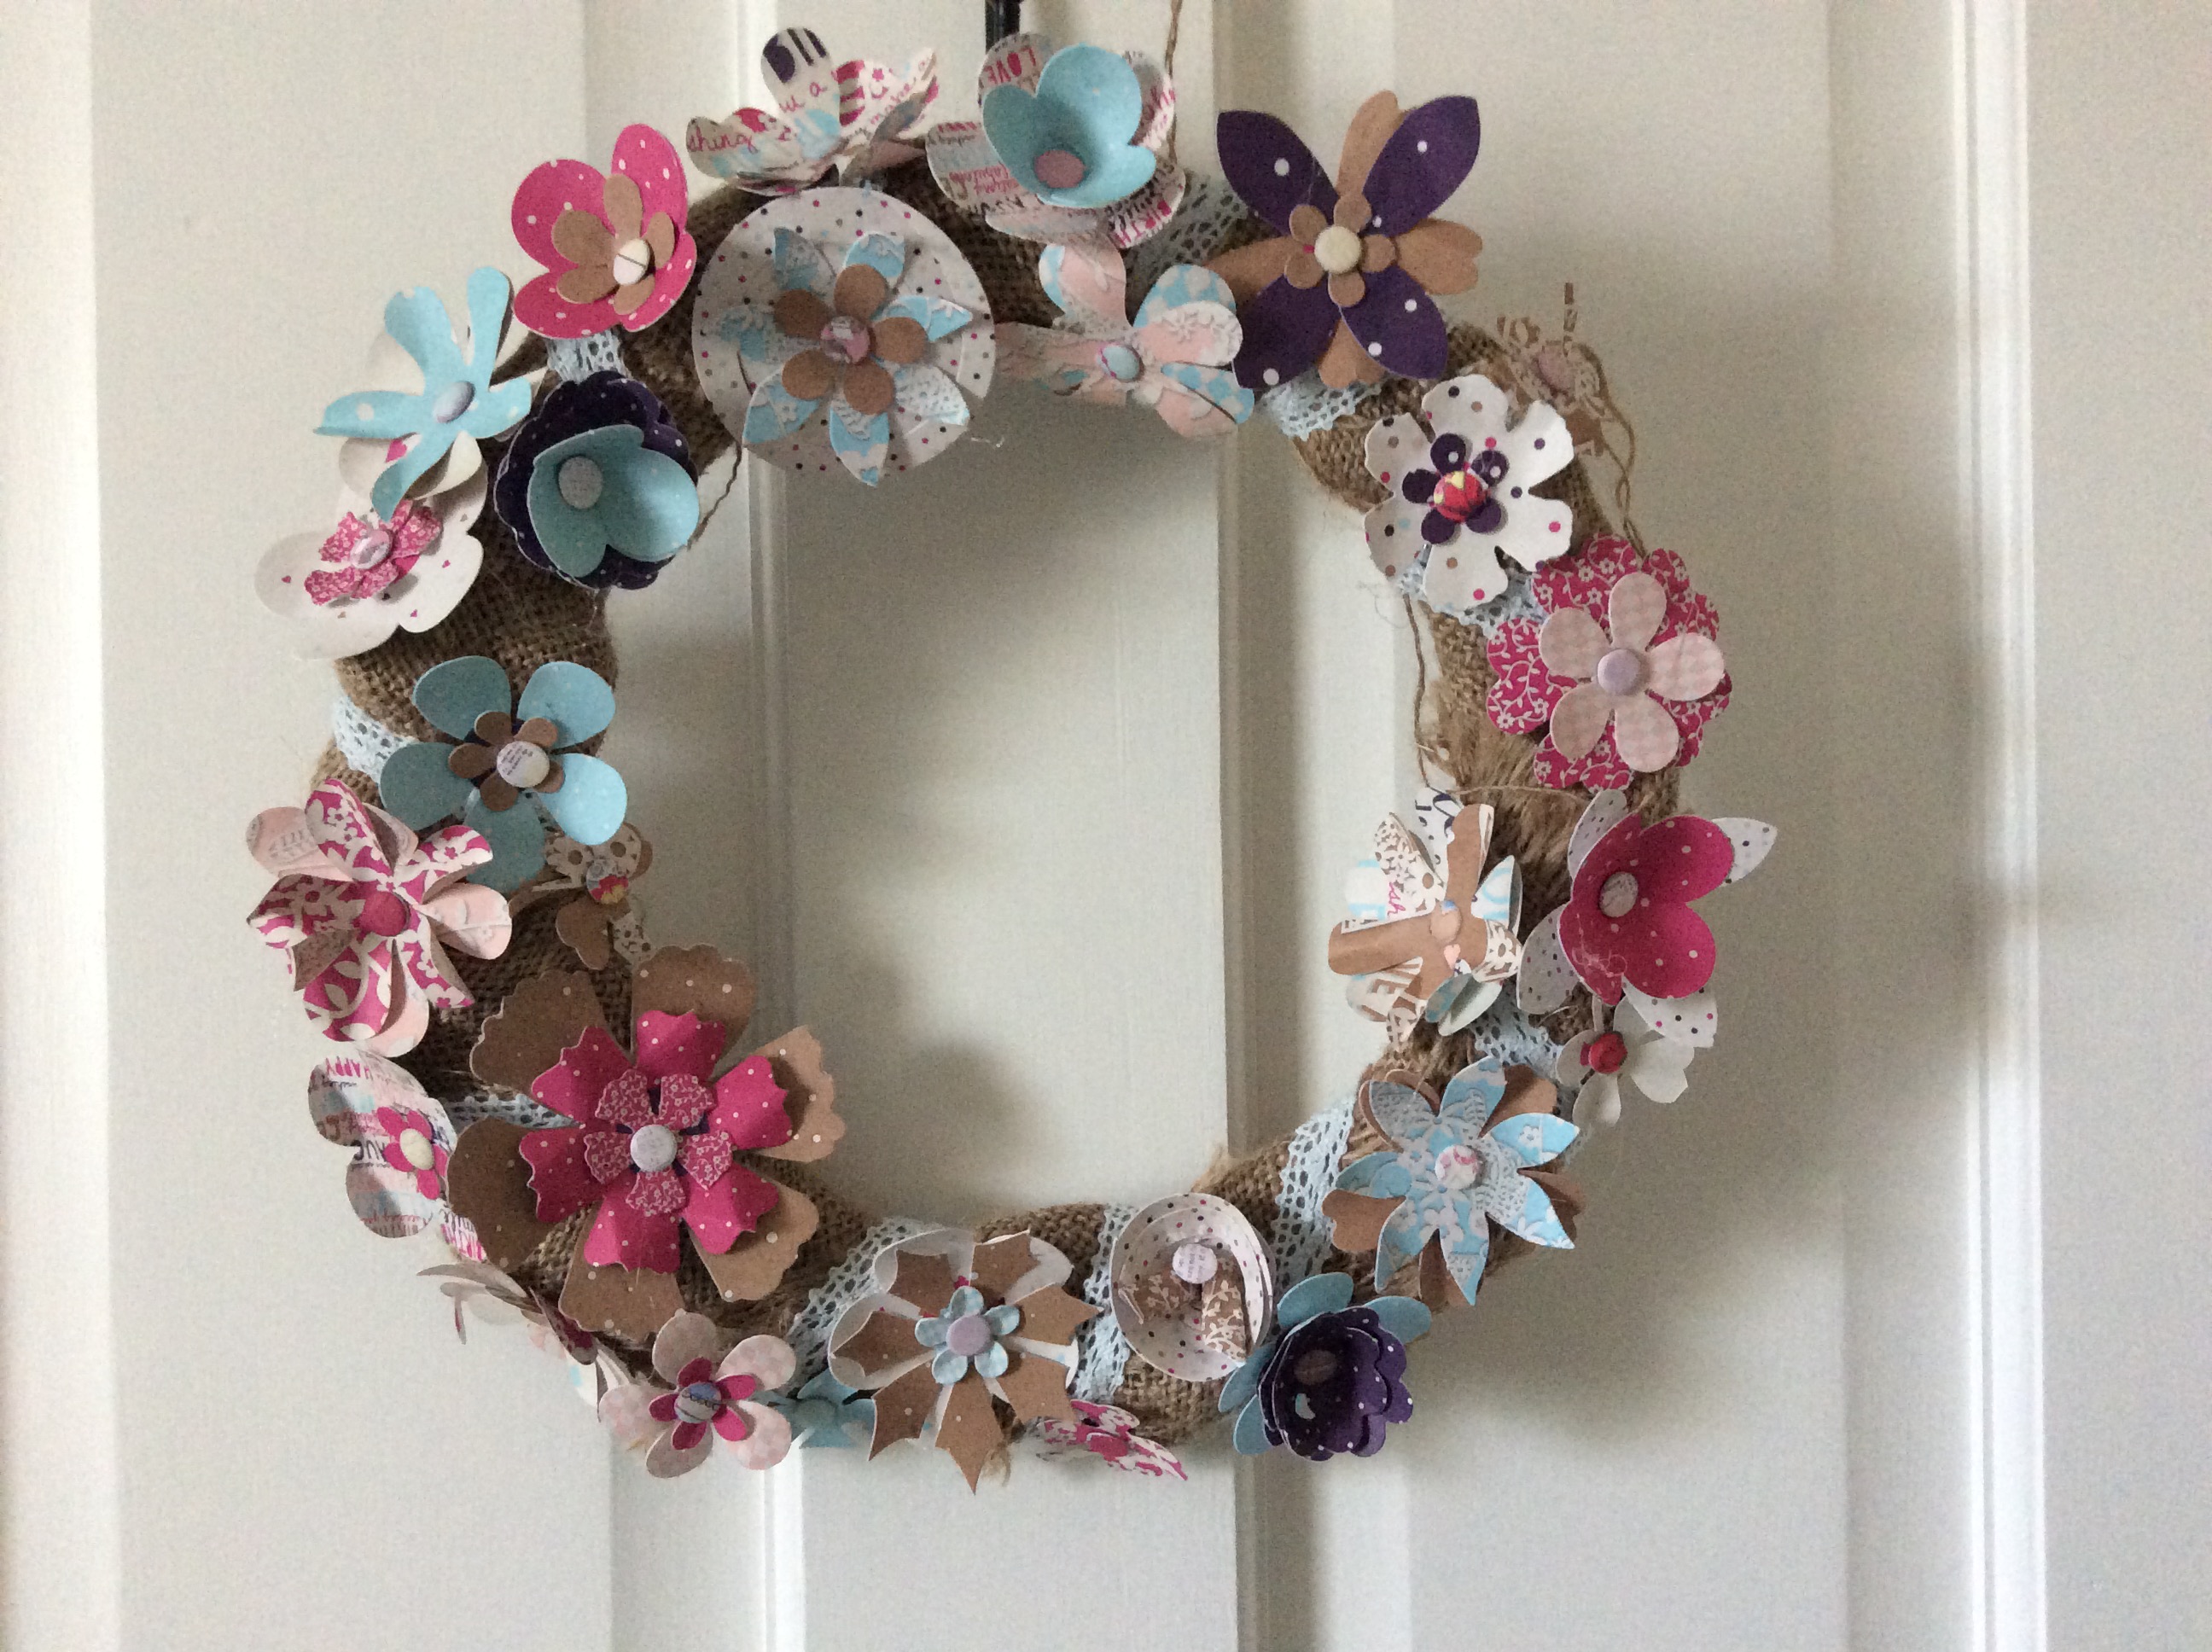
I love how this was made from bits and pieces…

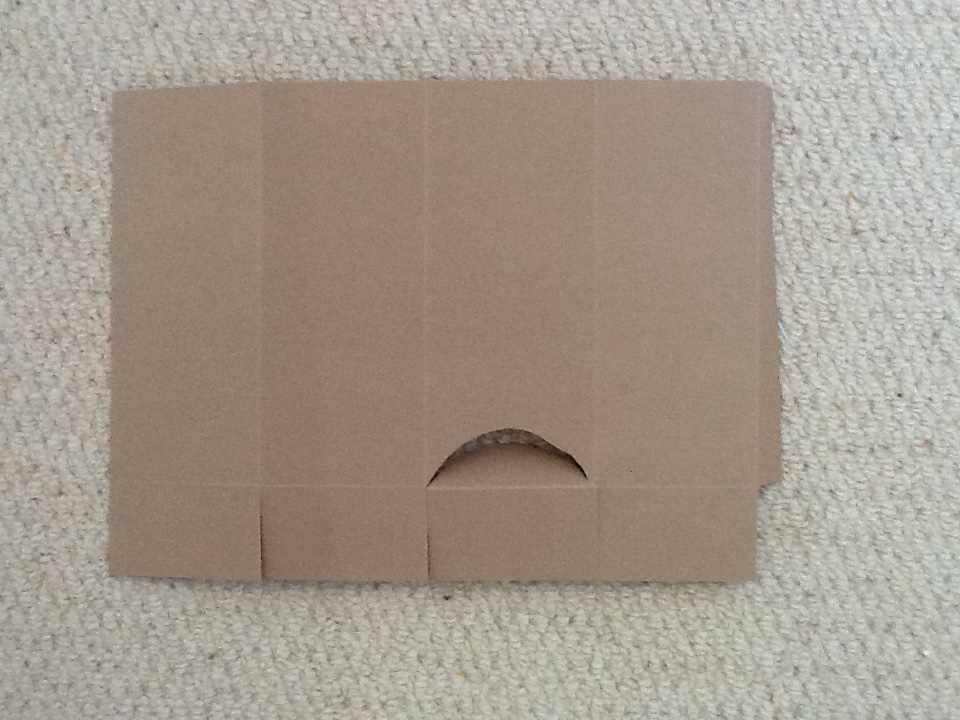
The cardboard box was cut into a ring doughnut shape using a craft knife around a dinner and side plate as templates. Honestly, the finished piece looks as good as a bought polystyrene ring would.

The ring was then wrapped with strips of burlap to give a bit of dimension and cover the card. Any plain fabric, canvas or even paper would do. I then wrapped lace effect cord on top of the burlap at about 10 centimeter spacing with about 20 cm spare at the end, which I pinned through the burlap to create a hanger.

You could use a longer loop for hanging if you wanted your cord to show and garden string looks good on burlap if you don’t have a long enough piece of cord. If you tie shorter pieces of string together, glue your decorations over the knots.

Pre cut, die cut flowers from a craftwork cards beau paper kit were stuck on with hot glue and supplemented with flowers cut on the scan n cut from the same paper pack.  I found putting the flowers on the inner and outer of the ring face added more dimension.

l added  ‘candi’ to the flower centre as a bit of detail,  but the waste from the office hole punch would work, as would beads or buttons if you like more frill effects.

When you feel it looks full enough, hang it up to check from every angle and fill in the gaps, as fuller is better to plump up the paper.

The beauty if this is that the theme and colours could change according to the paper you have –  from a glittery festive to a ‘natural’ palette.


Scan n cut snowflake garland/paper bunting

img_0185I followed a scan n cut you tube idea to create some home made decor this year. A modern version of paper chains!

For a Christmas themed garland you will need to cut out an assortment of paper snowflakes in different sizes.  I used a selection of papers and wish I had chosen doubled sided stuff as the garland twists a little in use.

if you don’t have a cutting machine folding the paper and hand cutting is an option if you have the time (or child labour!)

at the sewing machine pull a long tail of thread through then sew a long straight stitch through the centre of the first flake. (I used a white thread as most of the papers were pale or had white in but a contrast thread in a decorative stitch might be fun).

Be brave, go straight off the end of the flake and sew a few stitches in the gap before you put the next snowflake through. This creates a chain for your garland. You can overlap a few flakes or stitch a small one on top of a larger one as well.

Continue for the length you wish and leave a long tail of thread at the end for tying.

Easy to recreate for Valentines, Spring, Easter, Birthday, Halloween or Anniversary versions  …

Tip: remember that paper will blunt your machine needle

Papier-mâché experiment

img_0196 img_0197


A charity shop papier-mâché kit find motivated me to try bowl making… the kit suggested moulding the paper pulp provided around semi inflated balloons but my balloons were perished (the kit had probably been lingering in the shop for a while ) so I wrapped two bowls in cling film before moulding on the moistened pulp.

Pulp was much faster and less messy than tearing up squares of paper and pasting with glue as we did at school.

however, it was harder to get a level surface with pulp and when dry was rock hard, so when I tried to pull the bowls from the mounds they lost a little of their shape.

metallic finish paint to the rescue! Haven’t a clue about brand or colours as it came in the kit, but thre blues and the gold were lovely and I have saved the dregs for painting another box one day

Conclusion, my dexterity is not good enough to gift these bowls but I am glad I tried my £1.50 experiment. if I repeated the exercise would decoupage the finished bowls to distract from the flaws.

Who needs to buy a Fuse to make shaker pockets?

not me! Thanks to the brilliant frugal crafter blog, I dug out the hot fix soldering tool (meant to put gems on fabric) and sealed up some page protectors into mini pockets.

img_0194I used a steel ruler and silicone mat to avoid mishaps and tried not to worry about the burning smell!

i sealed three sides of my pocket and checked the seal was good before adding sequins and glitter then sealed the fourth side.  I then cut off the excess with scissors to make everything neat. Sometimes I did a double seam if I wasn’t confident everything was glitter tight.

Somehow I have lots of (unwanted) glitter and sequins which I managed to use lots of, so stash reduced and lots of card or tag ready sparkly little pockets created, for free!

Tea bag holder

image
the jumble of teas was a mess so a set of boxes to tidy them up was needed

i ordered some fill your own tea bags to sort the loose leaf teas and made and labelled the tags with paper scraps.

image

For the holder

1 sheet  craft card plus 11cm square craft card

2 sheets 8×8 inch scrapbook paper, I used Bohemian dreams from craftwork cards

scalpel, glue and roll of red liner tape

lay the sheet landscape in front of you and score at 7, 14, 21 and 28 cm down then 4 cm across. Cut out the tiddly corner and cut up the bottoms as shown to create the base flaps. Place the tape roll on one of the panels at the bottom crease and scalpel inside it to create the opening

image

on the square card score around at 2 cm and cut one side of each of the corners as shown. I find it tidier to cut a tiny wedge out of these snips to make folding neater.

image


tape the boxes with red liner to keep them secure, tape the half moon flap to the base for extra stability and cover the outside panels with paper that is just a bit smaller  to create a mat effect

image

Book cover

image image

take a quality corporate notebook and personalise it with a piece of beginner’s applique that I didn’t want to throw away…

cut applique and lining fabric one inch bigger on each side of the fully opened book. Cut two panels of pocket fabric the same height as the other pieces and double the width of the pocket you want. Fold each pocket piece and sandwich between lining face up and cover face down with raw edges to side so they will get caught in the seam.

hem all the way round leaving a gap for turning, a walking foot is useful here. Turn out and flip pockets to inside. Iron well. Fit book inside to see how much wriggle room you have. Tighten up the wriggle room with a decorative top stitch around the edge. I just did top and bottom, this also closes the turning gap..

so much fun I did another one with crazy quilting but this time made it wider than the book and just 1 inch taller, hemmed the edges all sides then folded back the two sides to make the pockets before blanket stitching them in place and turning right sides out. Ironed an applique on to use it up

image

image

Decoupage canister

image

A canister too nice to throw away but bearing branded copy needed playtime.

Ordinary craft paper (Docrafts floral collection) was stuck with mod podge gloss decoupage stuff and then sealed with it too. To cover some untidy cutting on the lid, I stuck on the ott fringe.

Now just need to decide what to store in it.

Wedding card

image

I have seen YouTube demos where metallic thread is twizzled to make an embellishment so a wedding card seems a good place to try it.

lots of tape required to sandwich loops of thread between card and topper.

while embellishing it seemed sensible to add vellum flourishes, pearl drops and silver pen strokes too.


Upcycled coasters

The drinks coasters were looking a bit sad, after years of (over) use they needed replacing or refreshing…

I was feeling guilty after a craft supplies binge so this is a no spend craft session

Supplies: modpodge decoupage glue and a strip of wallpaper from the wrapping box (I buy the remnant rolls from time to time) plus some gold pigment ink from my stamping box

method: cut wallpaper to just a bit bigger than needed. Matt modpodge on paper and coaster then rub carefully on, when nearly dry turn coaster over and trim excess paper with a scalpel, care round the corners. Rub the ink pad around the edge of the coaster top to blend it in with the gilt sides. Let ink dry then seal with gloss modpodge.

cheers!