

What shall I call this type of pouch?
There has to be a better name for this type of bag than ‘bum bag’ or ‘fanny pack’. It is the type that you thread on your belt as a hands free pouch. I am going to call it a Harvey pouch as it is big enough for my dog (Harvey) lead, treats, poo bags, my phone and more.
Materials: I cut a rectangle around the back pocket of some old jeans and a matching rectangle from the leg material plus two strips each three inches wide and about four inches long (to make the belt loops)
I then cut two rectangles from lining material (old duvet, I am being so economic) and a small rectangle to make an inside pocket, then I found a zip the same length as the width of my rectangles – although I could have chopped a longer one down or made a shorter one longer by adding tabs.
To assemble: make the belt loops by folding in the short ends of a strip, then folding it lengthwise in half and finally folding the long edges into the centre before sewing all the way round the edge of your thin layered strip. Repeat for the other strip then position both on the outer one of the denim rectangles.
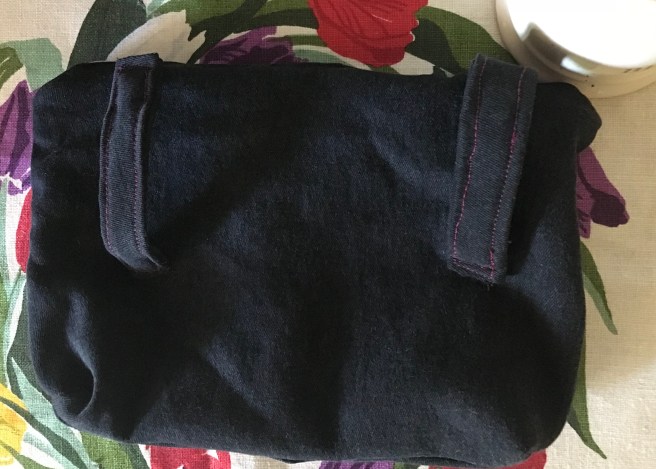
I want the jeans pocket with its stud and pattern to be on the front of my bag when it is on the belt so sewed my loops on the plain rectangle that I cut from the leg material. I positioned them nearer the top than the bottom and tried to make them equidistant from the edges, bearing in mind the seam allowance I planned
I then made the pocket for inside by folding under the raw edges of my pocket piece and top stitching the top edge, then seaming the three other sides to one of my lining pieces. I positioned the pocket it slightly lower down the panel to keep it out of the way of the zip I was planning. I also ran a seam down the centre of the pocket to make two compartments, each big enough for credit cards.
The zip was sewn, sandwiched between the right sides of an outer and lining rectangle on each side and top stitched before opening out the pieces with lining right sides facing on the left, outer right sides facing on the right and I sewed all the way around leaving a turning gap (yes I remembered to open the zip 3/4s of the way first). I boxed the corners of lining and outer to give the pouch a bit of shape before turning, finishing the lining then flipping the lining inside.

