Little dog tie

imageA straight work through the tutorial in dogundermydesk.com. Easy to make and fits a small dog. Another gift off the list!

materials, fabric 12 inches King by 6 inches wide , interfacing, cotton and sewing machine

method, cut fabric using shapes from dogundermydesk.com and follow her instructions, I made it a shade smaller as she recommended

Luggage tags

For the travellers on my Christmas list…

image


Materials: Two scraps of fabric 13×9 cm plus a length of 3cm wide matching fabric about 30 cm long. A piece of batting or wadding 12 x 8 ish, a piece of vinyl 6×8.5 and some elastic 25 cm.

Method:sew a 1/4 inch seam around the fabric squares which should be right sides facing, leaving a gap for turning. Stick the batting to one side the batting with a little fabric glue then turn. Push out the corners then top stitch all the way around the edge of the tag.  Sew a buttonhole at the top of the tag, make it wide enough to thread the elastic through.

cut the strip of fabric to the length of the four vinyl sides. Put a strip face side down, edge flush to the fabric and sew a line , better to peg than pin vinyl.imageimage Flip the top border over and top stitch it , this will be the open edge.  Fold the other border pieces over and clip in place on the base, a bit fiddly, before stitch I got the other three sides in position .

imageThis looks like I have a ladybird theme going on!

If you zig zag you will be sure to catch the hidden edge of the border and the vinyl. Nb people warned me sewing vinyl would be tough but my little Toyota was fine with it.

thread elastic through the buttonhole and zig zag back and forth over the overlapped edges.  All to do now is pop a piece of card with maybe jokey name and address for the recipient.  I tried to size mine to take a business card though.


Sea glass for Christmas

wire wrap a piece of sea glass, hot fix  stones for extra bling and we have a set of tree baubles …

image

How to: select a flat piece of weathered glass and cut about thirty centimetres of beading wire. Wind the mid point of the wire around the end of some long nosed pliers (or a pencil) four times to create a loop then twist the wire under the loop to fix it.  Wrap the tails of the wire around the front and back of the glass overlapping and going north south east and west until the wire runs out. Tweak the wires with pliers to tighten them around the glass and tuck the loose ends under any crossovers or back around the top loop. Taking care with the hot fix took stick sparkly bits front and back as you choose then tie a length of ribbon so your lovely bauble can hang from the tree!

image

Baubles card

Inspired by  last December’s Homemaker magazine I made this bauble card.

image

For the next one I used embroidery thread rather than twine and was more controlled with the glitter

image

how to: cut three circles of the same size for each bauble then score in half. I used three and two inch circles. Stick halves together to form half a ball which is then stuck over thread I n place. A pelmet to hide the string top and a stamped message to finish

image

(Don’t) Shut that door

image
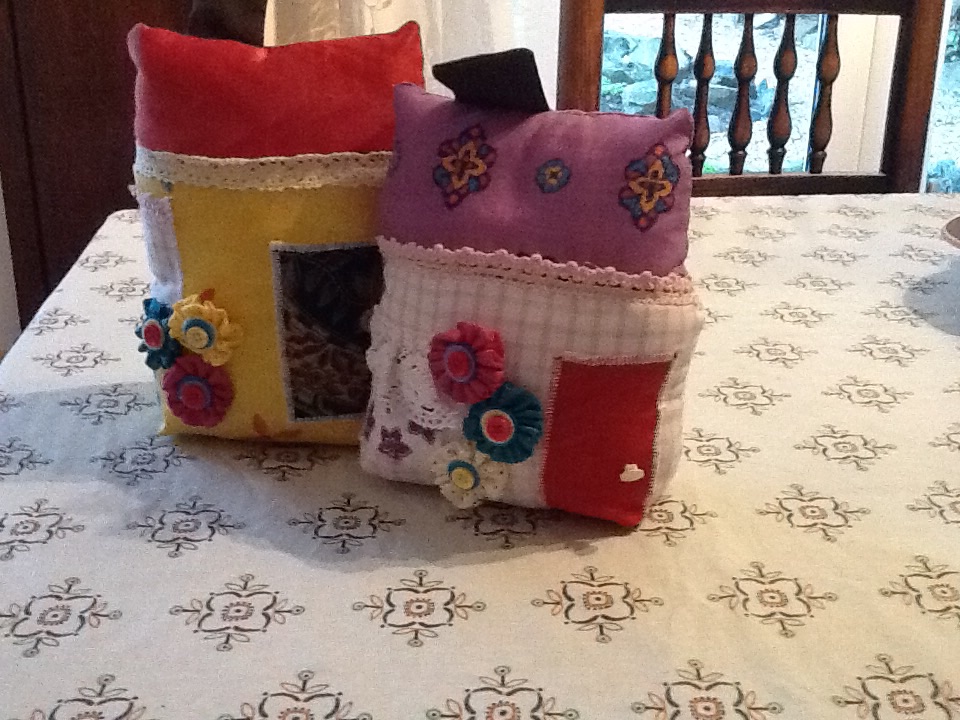
A pile of fabric bits, a Christmas list to make for and a ramble on YouTube produces more doorstop ideas, but the styling is due mainly to Debbie Shore’s post.

I have decided to stuff mine with whatever is to hand rather than buy specifically so for these I used gravel from the garden or salt put in ziplock plastic bags.  These  give a nice crackly noise to the project.

I have a feeling that these house doorstops are going to evolve as they are quick and fun.

How to: two squares of fabric the same size – mine 8 inches, two pieces for the roof which are the same width but not so tall. On the roof pieces draw a line 1 inch in from either end of the top out and down to the edge to make the roof angle.

sew on door, window and flower shapes to the front panel, centre them more than seems logical. If you want a chimney, take 2 small rectangles sew three sides and turn then pin facing downwards on a roof line

Sew each roof to its panel then right sides together sew all around the edges leaving a gap for turning. Box the corners before you do turn. *Stuff with old pillows and weighted bag. Hand stitch the stuffing hole closed.

to embellish further you can hot glue ribbon or ric rac on the gutter line between house and roof and add yo-yo or Suffolk puff flowers at the stage.

*boxing-  used in bag making mainly – means pin  the bottom and side seams facing to form a pointed corner at each end. Mark , pin and sew equal sized lines to form a triangle which you then snip off. OK I will do a proper explanation soon.
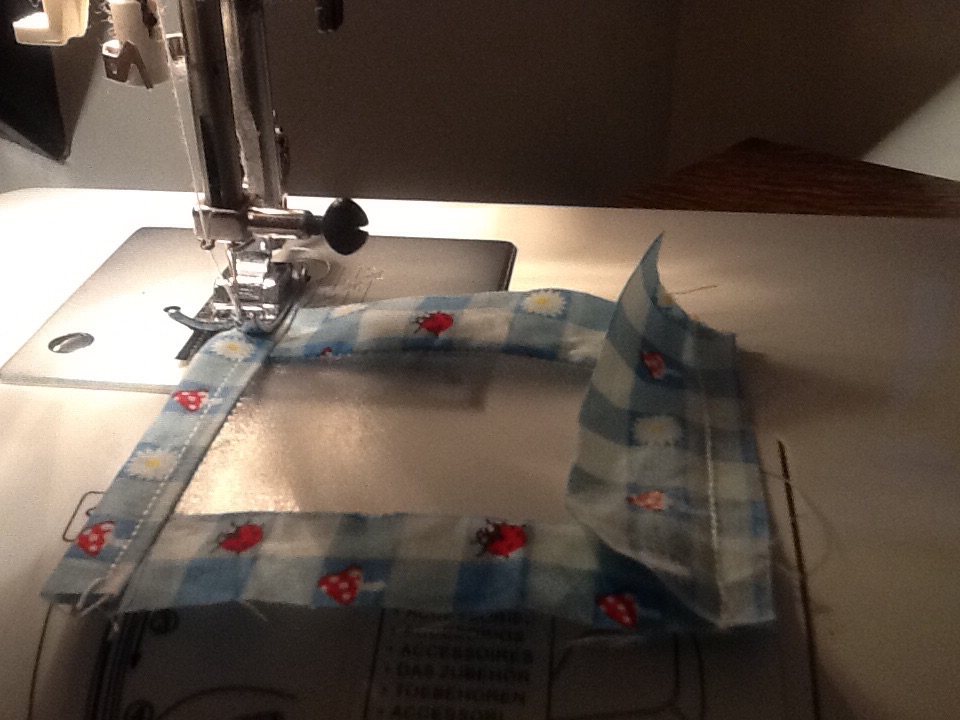
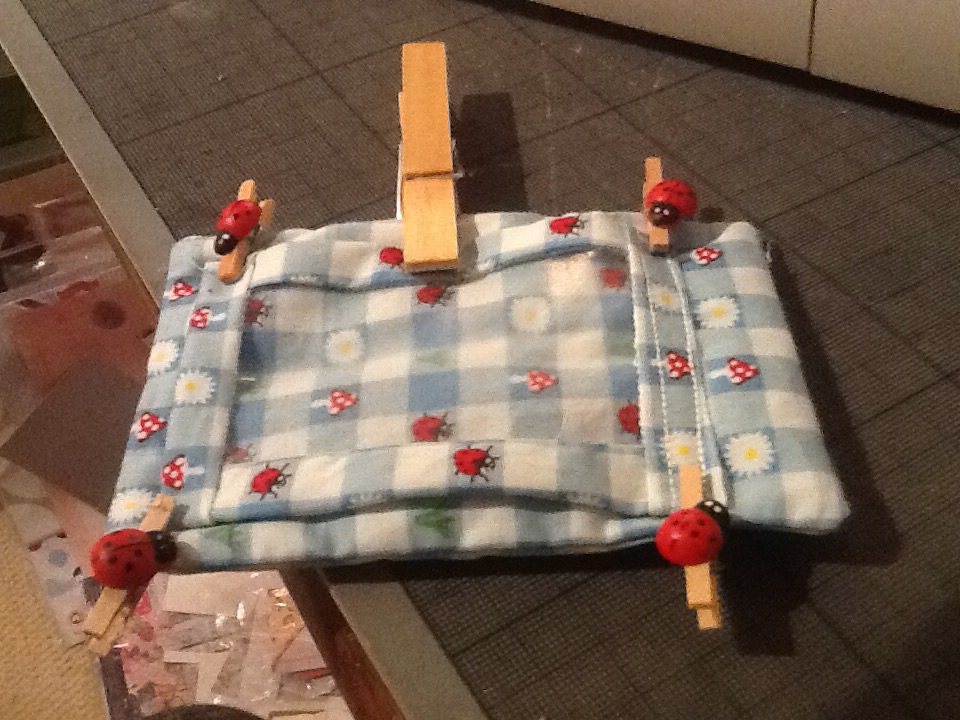
Wine glass lampshade

imagea little bit of geometry from wiki how and some pretty paper, add a charity shop glass with a battery tea light and another creation is finished!

Paper choice dictates the look – which here is a bit twee, but I can foresee a production line being created with i.e. music paper for different decor styles as gifts

image

First the cutting: on the reverse of an A4 sheet of patterned paper mark 2/3rds along the bottom long side(x). Draw a dotted line 110 degrees up. Set circle cutter (or compass) to double the diameter of your glass- mine typically 7cm – so circle cutter set to 14cm. With x as the centre of the circle, make the first arc from dotted line to base of paper. Next set the circle cutter or compass to the height of shade you want – mine 32 cm – and cut the second arc from dotted line to base again. Cut out your shape as shown above.

Stick the cone into shade shape with double sided tape then embellish or not as you choose

image

Christmas paper napkins, cheap to chic

Why didn’t I know about this when I first got my embossing stuff, instant success using stuff I already have!

deviating from a Halloween project (where I discovered that only white embossed well on black paper) here is the first of my Christmas creations

image image image ,

How to: Line up three napkins at a time on a firm surface, apply versamark watermark glue (comes in a stamp pad or pen) to your chosen stamp then stamp on the napkins. Sprinkle with embossing powder, then return the excess powder to the pot before using a heat gun to ‘turn’ the powder to its embossed effect. That’s it. You’re done.

Now to order some large alphabet stamps so I can do name and initial versions as name plates. Will also do some research on folding paper napkins to show off corner embossing to best effect.

A-tishoo! A tissue…

imageThe pile of fabric remnants seems to be growing on the craft room floor so a few bits have been used to make these tissue holders.
Outer 5.5″ x 6.5″ lining 5.5 x 7.5 and a simple stitch and they are done (thanks to two brown birds for a quick stitch method)